
Introduction: Adding Function and Flair to Your Windows
Window awnings are more than just decorative features; they serve a practical purpose by providing shade, reducing energy costs, and protecting your home’s interior from harmful UV rays. Embracing DIY window awning projects allows homeowners to customize their exteriors with a personal touch while enjoying these benefits. This guide walks you through the process of planning, designing, and constructing your own window awnings, ensuring a perfect blend of function and charm.
Planning Your Awning Project: Measuring and Material Selection
Assess Your Needs
Begin by determining which windows would most benefit from an awning. South-facing windows, for instance, receive the most sunlight and are prime candidates for shading.
Measure Accurately
Measure the width of the window and decide how far out you want the awning to extend. A common rule of thumb is for the awning to extend at least halfway beyond the window’s width to provide adequate shade.
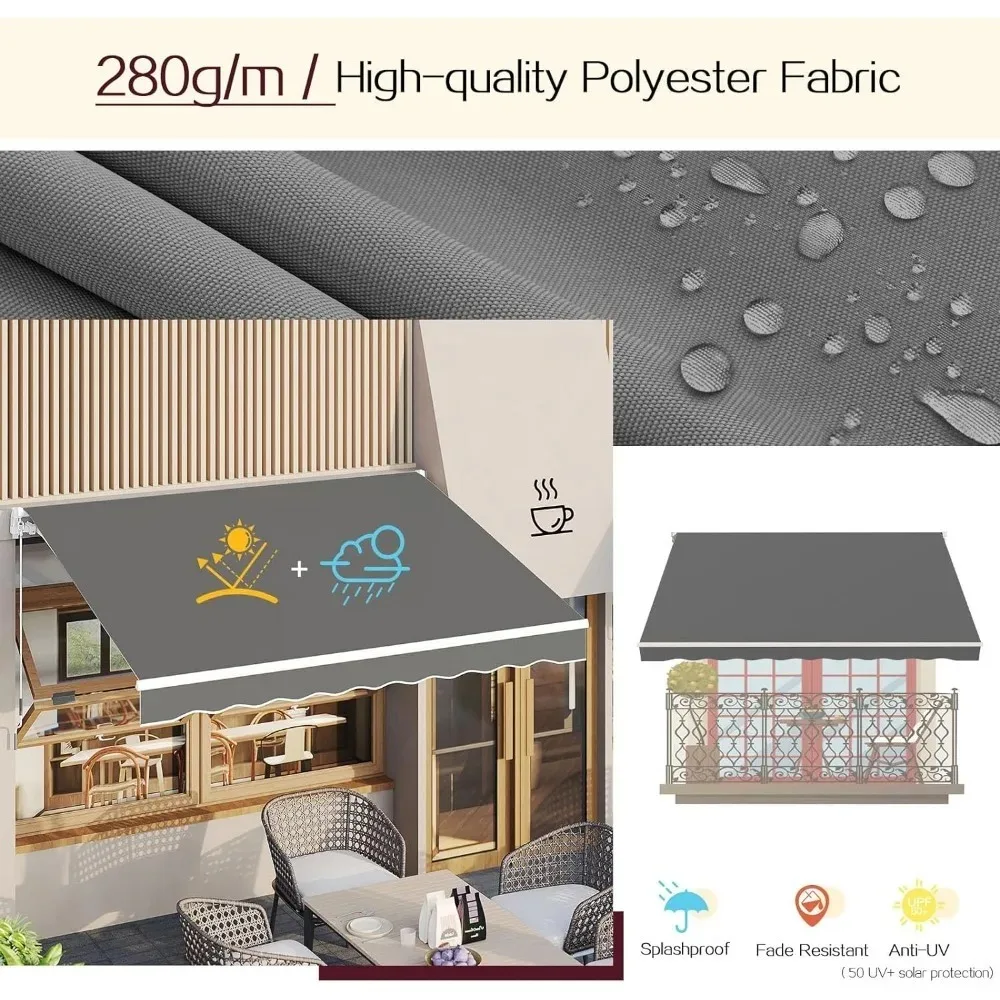
Selecting Materials
Choose materials based on durability, style, and budget. Popular options include canvas or acrylic fabric for a traditional look, metal for a modern touch, or even wood for a rustic appeal. Ensure the material is weather-resistant and suitable for your climate.
Designing Your Awning: Style and Color
Awning Styles
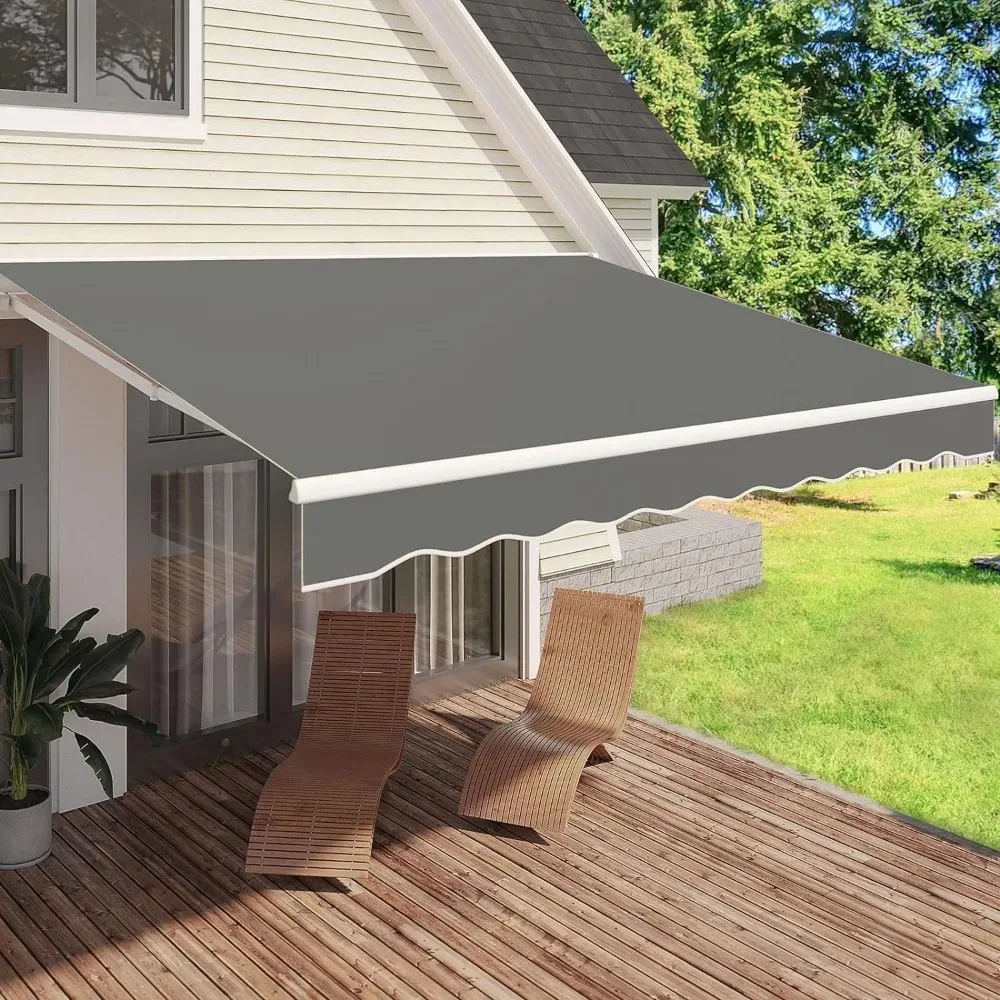
Explore different styles, such as fixed, retractable, or dome-shaped awnings, to complement your home’s architecture. A fixed awning provides constant shade, while a retractable one offers flexibility.
Color and Pattern
Select colors and patterns that enhance your home’s exterior. Neutral tones blend seamlessly, while bold hues and patterns can become a statement piece. Consider how the awning will look against your siding or brickwork.
Structural Considerations and Tools Needed
Support Structure
Decide on the type of support structure, whether it’s attached directly to the wall, supported by brackets, or freestanding. Ensure it’s sturdy enough to withstand wind loads and rain.
Tools and Equipment
Gather necessary tools including a measuring tape, level, drill, screwdriver, saw, staple gun, and appropriate fasteners for the chosen mounting method.
Building Your DIY Window Awning: Step-by-Step Guide
1. Frame Construction
Cut lumber or metal tubing to size according to your measurements. Assemble the frame, ensuring it’s square and level. Use rust-resistant screws or welding for metal frames.
2. Attaching Brackets
Install brackets securely to the wall, following manufacturer instructions. Ensure they’re level and can bear the weight of the awning.
3. Fabric Preparation
Cut the fabric to size, allowing extra material for wrapping around the frame and securing. Hem the edges for a clean finish.
4. Attaching Fabric to the Frame
Lay the fabric over the frame, pulling it taut. Staple or screw it in place, starting from the center and working outward to avoid bunching. Trim excess fabric if necessary.
5. Finishing Touches
Install trim or braid along the edges for added protection and aesthetics. Apply a waterproofing treatment if using a fabric awning to increase longevity.
Installation and Maintenance Tips
Proper Installation
With assistance, lift the awning onto the brackets and secure it firmly. Double-check that all connections are tight and stable.
Regular Maintenance
Clean the awning periodically to remove debris and dirt. For fabric awnings, use a mild soap solution and a soft brush. Inspect hardware annually for signs of wear and tighten or replace as needed.
Enhancing Curb Appeal and Energy Efficiency
Visual Impact
A well-designed awning can significantly enhance your home’s curb appeal, adding a pop of color or architectural interest. It can also increase property value by improving the overall aesthetic.
Energy Savings
By blocking direct sunlight, awnings reduce heat gain inside your home, lowering cooling costs during summer months. This eco-friendly solution promotes energy efficiency and sustainability.
Inspiring DIY Awning Ideas for Every Home
Rustic Wood and Canvas
Combine natural wood with canvas for a charming, rustic look. Stain or paint the wood to match your home’s exterior and choose a fabric that complements your color scheme.
Modern Metal and Acrylic
For contemporary homes, sleek metal frames paired with durable acrylic fabrics offer a clean, minimalistic appeal. Choose bold colors or metallic finishes for a striking contrast.
DIY Retractable Solutions
Invest in retractable awning kits that allow you to DIY a system that can be opened and closed depending on weather conditions or personal preference.
Upcycling and Repurposing
Get creative by repurposing old doors, shutters, or even sailcloth into unique, eco-friendly awnings that reflect your personal style and reduce waste.
Customizing Your Awning for Maximum Benefit
Adapting to Climate Conditions
Consider your region’s climate when choosing materials and designs. In areas prone to heavy rain or snow, ensure your awning has sufficient slope to allow for drainage and is made of weather-resistant materials. In hot, sunny climates, light-colored fabrics that reflect sunlight are optimal for reducing heat absorption.
Light Control and Privacy
If your goal is to filter light while maintaining privacy, a semi-transparent fabric or a design that incorporates lattice work can be ideal. This allows natural light to enter while obscuring views from outside, creating a cozy and intimate atmosphere indoors.
Incorporating Green Elements
Integrate greenery into your awning design by attaching planter boxes along its edge or suspending hanging baskets. This not only enhances the aesthetic appeal but also contributes to improved air quality and can provide additional shade.
Innovative Features for Enhanced Functionality
Built-in Lighting
For evening ambiance, install LED strip lights or pendant lamps along the underside of the awning. This not only extends your outdoor living hours but also accentuates the architectural feature, creating a warm and inviting atmosphere.
Integrated Solar Panels
Innovative awning designs incorporate solar panels, enabling you to harness the sun’s energy while shading your home. These panels can power outdoor lighting, charge devices, or even feed back into your home’s electrical grid.
Motorized Retractable Systems
Upgrade your DIY project with motorized retractability, allowing you to adjust the awning’s position effortlessly with a remote control. This feature adds convenience and flexibility, particularly during sudden weather changes.
DIY Awning Projects for Challenging Spaces
Odd-Shaped Windows
Custom-building an awning for unusually shaped windows may require creative problem-solving. Flexible materials like fabric can easily conform to curves, while modular metal frames can be adapted to fit irregular dimensions.
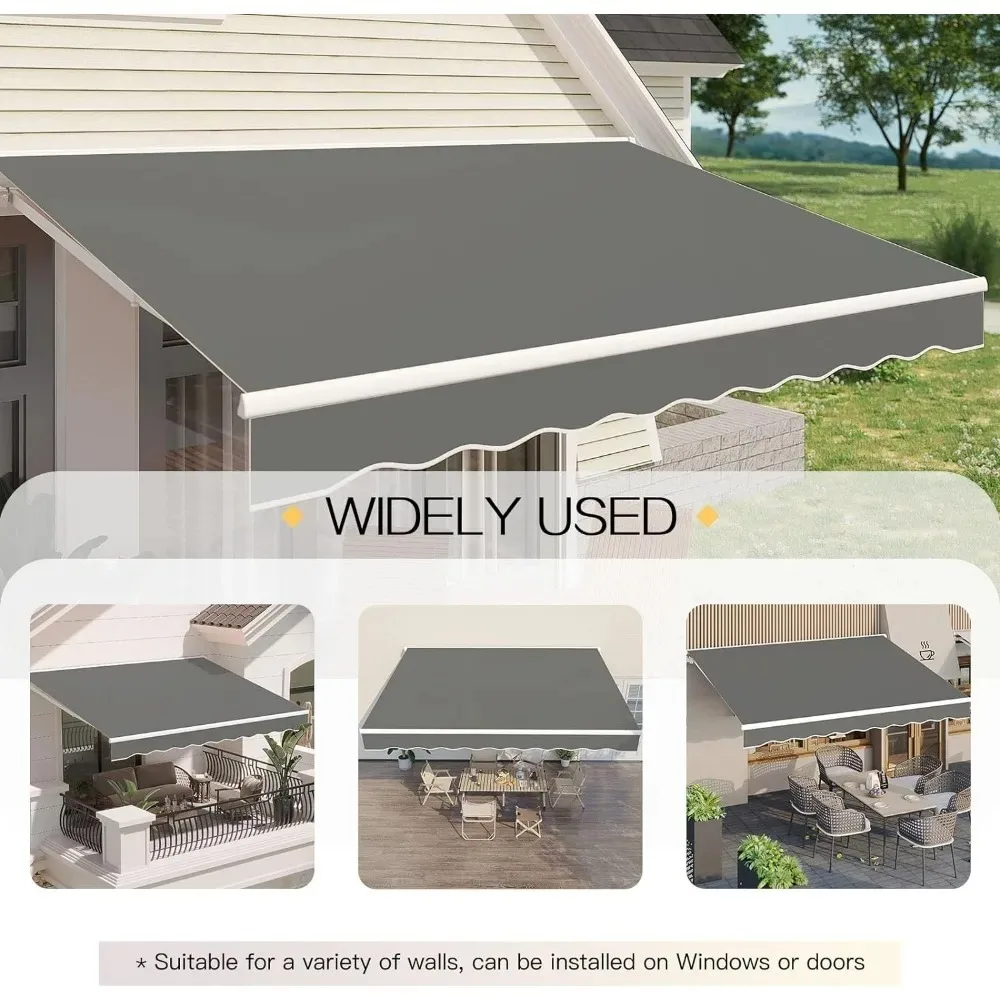
Small Spaces
Maximize limited outdoor areas by designing compact awnings or utilizing vertical space. Wall-mounted, fold-down awnings or even awning-style window shutters can provide shade without taking up precious ground space.
DIY Awning Maintenance Schedule
Seasonal Check-Ups
Inspect your awning at the beginning of each season, paying close attention to any signs of wear, rust, or damage from weather or pests. Address issues promptly to prevent further deterioration.
Post-Storm Assessment
After severe weather, check for any damage that may have occurred. Prompt repairs will help maintain the integrity of your awning and prevent minor issues from escalating.
Winter Preparation
If you live in an area with harsh winters, consider removing and storing fabric awnings to prevent damage from heavy snow or ice. For permanent structures, ensure they are cleared of snow regularly to avoid excess weight.
Embracing DIY Awning Projects as a Creative Outlet
Expressing Personal Style
DIY awning projects are not just about functionality; they’re a form of self-expression. From choosing vibrant colors to incorporating unique patterns, your awning can reflect your personality and style.
Family Bonding Activity
Engage family members in the project, turning it into a fun and educational bonding experience. Children can assist with simpler tasks, fostering teamwork and a sense of accomplishment.
Sharing and Inspiration
Document your DIY journey through photos or videos and share them online. You’ll inspire others while also joining a community of DIY enthusiasts who can offer tips, feedback, and encouragement.
Conclusion: Crafting a Personalized Outdoor Oasis
DIY window awning projects offer homeowners a rewarding opportunity to personalize their homes’ exteriors while enhancing practicality and aesthetics. Through careful planning, thoughtful design choices, and meticulous execution, you can create a shaded oasis that not only shields your home from harsh sunlight but also enriches its curb appeal. Whether you opt for a classic canvas awning, a sleek metal structure, or an innovative upcycling project, the satisfaction of a job well done and the resulting charm and comfort make the effort well worth it. So, roll up your sleeves, gather your tools, and embark on a journey to transform your home’s exterior with DIY window awnings that exude both shade and charm.