
Introduction: The Allure of a Hammock Chair Stand
Imagine lounging in a cozy hammock chair, gently swaying as you read a book, enjoy a cup of coffee, or simply soak in the ambiance of your surroundings. A hammock chair provides an idyllic retreat for relaxation, and having a standalone hammock chair stand allows you to place it anywhere, whether indoors or outdoors. Crafting your own hammock chair stand brings not only the satisfaction of a DIY project but also the opportunity to customize it to your style and preferences. This comprehensive guide covers everything you need to know about building a DIY hammock chair stand—from gathering materials to construction techniques and finishing touches—ensuring you create a sturdy, stylish piece that elevates your comfort.
Gathering Materials and Tools: Everything You Need
Before embarking on building your hammock chair stand, assembling the necessary materials and tools is essential for a smooth, successful project. The materials you will need include durable wood or metal pipes, screws or bolts, washers, and nuts. Choosing high-quality materials is vital for ensuring the stand’s stability and longevity.
If you opt for wood, consider hardwoods like oak, maple, or cedar, as they provide superior durability and resistance to weather conditions if you plan to use the stand outdoors. For metal, galvanized steel or aluminum pipes are excellent choices due to their strength and rust resistance.
Additionally, you will need certain tools, including a saw, drill, measuring tape, level, wrench, and sanding block or electric sander. Safety gear, such as gloves and safety glasses, should also be part of your preparation. Having all materials and tools on hand before starting the project will ensure you can focus on the construction process without unnecessary delays.
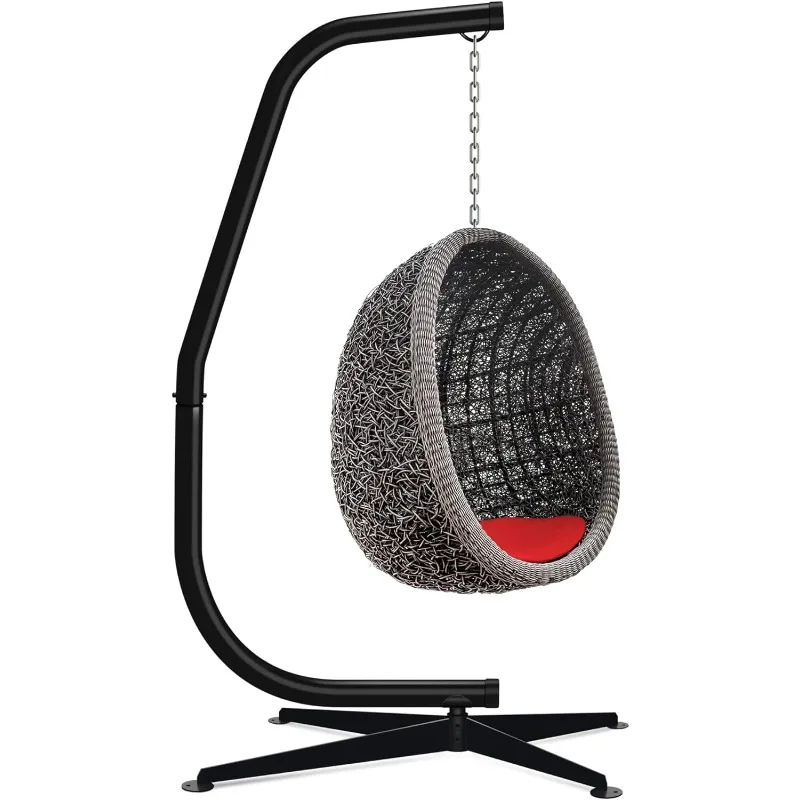
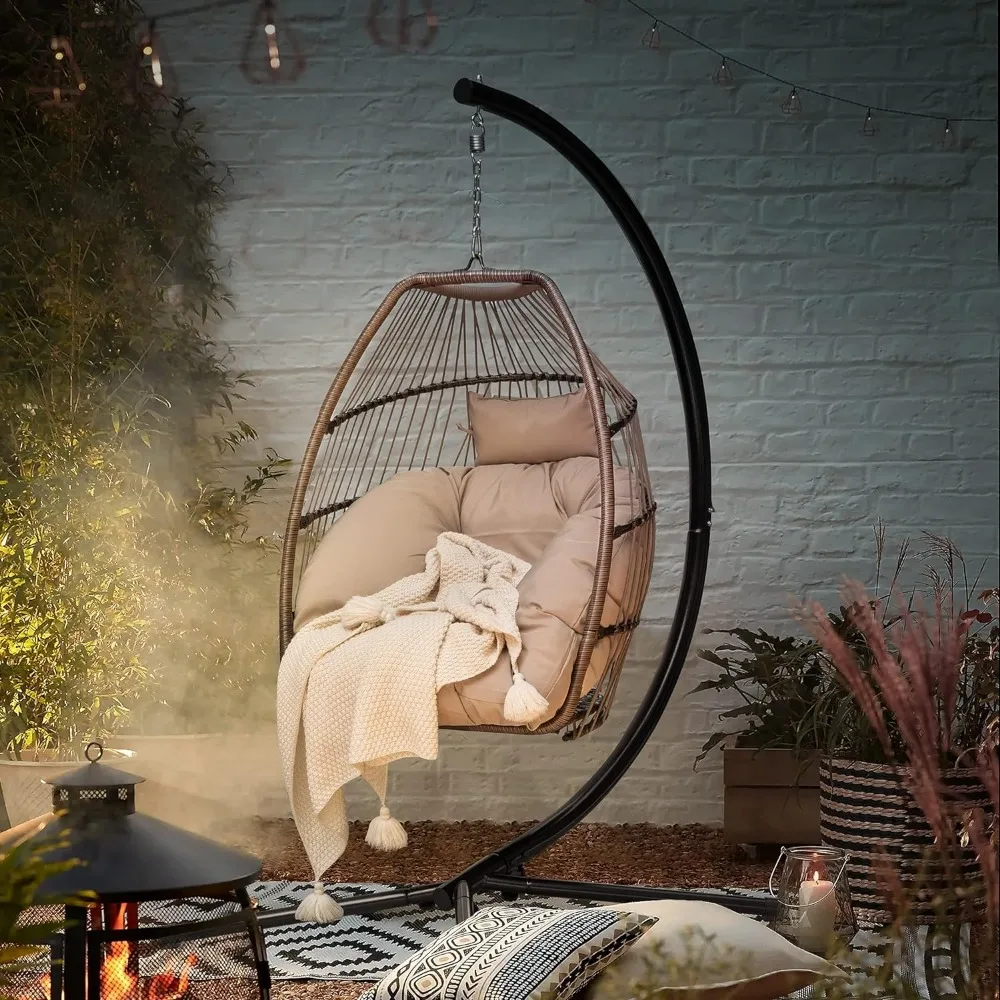
Designing Your Hammock Chair Stand: Style Meets Functionality
Designing your hammock chair stand combines creativity with practicality. The goal is to create a stand that is not only aesthetically pleasing but also functional and stable. There are several design options you can consider, from the classic A-frame to more elaborate shapes like curved or offset stands.
The A-frame design is straightforward and provides excellent stability. It consists of two angled legs that form the shape of an “A,” with a crossbar at the top to hang the hammock chair. This design is relatively easy to construct and requires fewer materials, making it an ideal choice for beginners.
Curved or offset stands offer a more modern and elegant look. These designs involve bending the pipes or shaping the wood to create a sweeping curve, often with a single anchor point at the top. While visually appealing, these designs can be more complex to execute and may require specialized tools or skills.
When designing your stand, consider the space where you will place it and select dimensions that provide ample room for movement while ensuring stability. The height of the stand should allow the hammock chair to hang at a comfortable level, and the width should accommodate the chair’s swing range without tipping over. Drawing a detailed plan with measurements will guide your construction process and help you visualize the final product.
Building the Base: Foundation for Stability
The base of your hammock chair stand is crucial for ensuring stability and safety. Whether you choose wood or metal, the base must be robust and well-balanced to support the weight of the chair and the person using it.
For a wooden A-frame stand, cut two equal-length legs at an angle (usually 45 degrees) to form the sides of the A-frame. Attach a horizontal crossbar at the top using strong bolts or screws, ensuring it is securely fastened. Additional support beams or braces between the legs can enhance stability.
If using metal pipes, assemble the base with pipe joints and connectors. A common approach involves creating a tripod or quadripod base with a central support rod extending upwards to hold the hammock chair. Ensure all connections are tight and secure, using washers and nuts where necessary to reinforce the joint integrity.
Regardless of the material, make sure the base sits level on the ground. Use a level tool to check for evenness and adjust the position of the legs if needed. Anchoring the base to a flat, stable surface with stakes or weights can further prevent tipping and enhance safety.
Constructing the Vertical Support: Strength and Height
The vertical support of the hammock chair stand is where the main weight and stress will be focused. This part of the stand must be strong and robust, capable of holding the hammock chair and providing ample clearance for comfortable use.
For a wooden stand, use a sturdy, straight piece of wood or beam for the vertical support. Screw or bolt it securely to the base. If additional height is required, consider using overlapping beams joined with metal brackets or plates for added strength. Ensure the wood is treated for outdoor use if the stand will be placed outside.
In constructing a metal stand, select a pipe of sufficient gauge and strength to hold the hammock chair without bending. Securely attach it to the base with pipe clamps or flanges. If constructing a curved or offset design, bending the pipe to the desired shape may require specialized tools or heating elements.
Securing the Attachment Points: Ensuring Safety
The attachment points for the hammock chair are critical for safety and comfort. These points must be exceptionally strong and reliable, as they bear the full weight of the user.
Install a heavy-duty eye bolt or a swivel hook at the top of the vertical support to hang the hammock chair. Ensure the hardware is rated for weights exceeding the maximum load to avoid failures. When attaching the eye bolt or hook, drill a pilot hole to avoid splitting the wood or weakening the stand structure.
For metal stands, consider welding or firmly securing the attachment hardware with nuts and washers. Using carabiners or quick links that rate for high weights can provide added safety and convenience, allowing you to easily attach and detach the hammock chair.
Painting and Finishing: Adding Personal Style
Once the structural components of your hammock chair stand are securely in place, you can focus on the aesthetic finishing touches. Painting and finishing not only enhance the visual appeal but also protect the stand from the elements, increasing its longevity.
For wooden stands, sanding the entire surface with fine-grit sandpaper ensures smoothness and prepares it for painting or staining. Choose a weather-resistant paint or wood stain that complements your outdoor or indoor decor. Applying a primer before painting can improve paint adhesion and durability. Once the paint or stain is applied, add a clear protective coat for added moisture resistance and UV protection.
Metal stands can be painted with rust-resistant spray paint available in a variety of finishes and colors. Clean the surface thoroughly and apply a primer designed for metal to ensure the paint adheres properly. Multiple light coats of spray paint provide an even finish and prevent drips or runs.
Testing and Safety Checks: Ensuring Durability and Security
Before fully enjoying your new hammock chair stand, performing thorough testing and safety checks is essential to ensure it is secure and reliable. Start by visually inspecting all joints, connections, and attachment points for any signs of weakness or instability.
Begin load-testing the stand by gradually applying weight, using bags of sand or similar objects, to simulate the maximum intended load. Monitor how the stand responds and listen for any creaks or unusual sounds indicating strain.
Once initial testing is complete, sit in the hammock chair yourself, gently shifting your weight and mimicking the usual motions you would expect during regular use. Ensure the stand remains stable and that all attachment points hold firm.

Conclusion: Crafting Comfort with Style
Building a DIY hammock chair stand is a rewarding project that combines practical skills with creative expression. From gathering high-quality materials and designing a functional. Stylish structure, to assembling the stand and adding personal finishing touches. Each step is an opportunity to infuse your unique style into a piece that offers relaxation and comfort.
By following this guide and paying attention to safety, stability, and aesthetics. You can create a hammock chair stand that enhances any space it occupies. Enjoy the satisfaction of creating something beautiful and functional. And take pride in the comfort and joy it brings to you and those who use it.