
There’s nothing quite like lounging in a hammock on a sunny day, letting the gentle sway and breeze lull you into a state of ultimate relaxation. However, ensuring that your hammock is securely tied is critical to prevent falls and ensure a peaceful experience. Knowing how to tie a hammock knot properly is an essential skill that allows you to enjoy your hammock without worrying about stability. This comprehensive guide will teach you various hammock knots, how to choose the best location, and tips to enhance your hammock experience.
Choosing the Best Location for Your Hammock
Before diving into knot-tying techniques, selecting the right location for your hammock is crucial. Look for two sturdy anchor points, such as trees, posts, or pre-installed hammock stands, that are spaced appropriately for the length of your hammock. For most hammocks, this distance ranges from 10 to 15 feet, but it’s always wise to measure your specific hammock and adjust accordingly. Ensure that the chosen trees or posts are healthy and robust enough to support your weight, avoiding slim or compromised structures. The location should also be free of sharp objects and debris that might damage the fabric or give you an uncomfortable lounging experience.
Basic Terminology and Tools: Getting Started
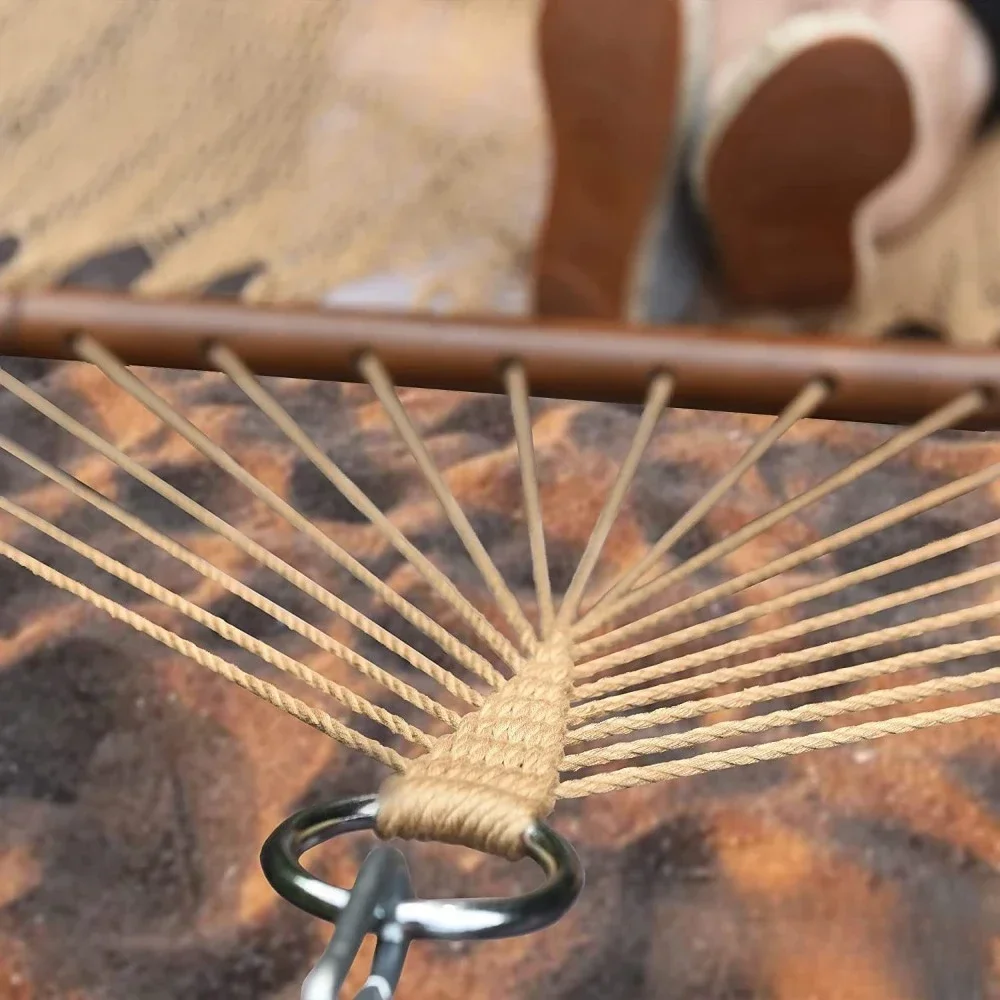
Understanding basic knot-tying terminology and having the necessary tools is the first step in securing your hammock. Essential terms include “standing end,” which refers to the longer part of the rope not involved in the knot, and “working end,” which is the part of the rope used to tie the knot. You might also need tools like carabiners, tree straps, or hammock-specific suspension systems, all designed to make setting up your hammock easier and more secure. Ensure your ropes and materials are rated for weight-bearing and are suitable for outdoor use, resisting UV rays and moisture to maintain their integrity over time.
The Bowline Knot: A Reliable and Easy Option
The bowline knot is one of the most reliable knots, commonly used for its strength and straightforward tying method. To tie a bowline knot, start by making a small loop (the “rabbit hole”) near the working end of the rope. Pass the working end (“rabbit”) up through the loop, around the standing end (“tree”), and back down through the loop. Tighten the knot by pulling the standing end while holding the loop in place. The bowline knot creates a fixed loop that won’t slip or come undone, making it ideal for one end of your hammock. Its stability and ease of untying make it a favorite among seasoned hammock users.

The Taut-Line Hitch: Adjustable and Secure
The taut-line hitch is an adjustable and secure knot that allows you to maintain tension and adjust the hammock’s height easily. Begin by wrapping the rope around the anchor point and pass the working end around the standing end to create a loop. Make two turns around the standing end inside the loop, then make one additional turn outside the loop. Tighten the knot by sliding it, ensuring it’s snug against the anchor point. The taut-line hitch’s adjustable nature lets you tighten or loosen the rope without retying the knot, providing flexibility in positioning your hammock at the perfect height for comfort.
The Clove Hitch: Quick and Effective
The clove hitch is a quick and effective knot for securing your hammock but should use with care as it can slip under significant pressure. To tie a clove hitch, start by wrapping the rope around the anchor point and bring it across itself to form an “X.” Wrap the rope around the anchor point again, tucking the working end under the “X” formed initially. Tighten the knot by pulling both ends of the rope. The clove hitch is easy to adjust and untie, making it suitable for temporarily holding your hammock. For added security, especially for longer lounging sessions, combine it with a secondary knot like the half hitch.
The Figure-Eight Knot: Simple and Strong
The figure-eight knot is simple and robust, widely used in climbing and sailing for its reliability. Form the knot by making a loop with the working end and passing it through the loop to create a figure-eight shape. Tuck the working end back through the loop following the path of the figure-eight. Tighten the knot by pulling both ends of the rope. This knot creates a secure loop that can use to attach your hammock to carabiners or hooks, providing a strong and trustworthy connection point. Its simplicity ensures that it can be quickly tied and untied when needed.
Advanced Knots for Hammock Enthusiasts
For hammock enthusiasts looking to further enhance their knot-tying repertoire, advanced knots offer additional security and versatility. The double sheet bend, for example, is perfect for joining two ropes of different diameters, ensuring a strong connection. Start by forming a loop in the thicker rope and pass the thinner rope through the loop, wrapping it around both sides of the loop and tucking it under itself. Tighten by pulling both ends. Another useful knot is the trucker’s hitch, which provides superior tension and is ideal for securing your hammock tightly. These advanced knots, while slightly more complex, offer enhanced security for various situations.
Using Suspension Systems: An Alternative Approach
Modern hammock suspension systems provide an alternative to traditional knot-tying, offering convenience and reliability. These systems typically include tree straps with loops and carabiners, allowing for quick and easy setup. Wrap the tree strap around the anchor point and attach the carabiner to the appropriate loop for your desired hammock height. Suspension systems evenly distribute weight and reduce the risk of damaging trees, making them an eco-friendly choice. While they may require an initial investment, their ease of use and durability make them a worthwhile addition to your hammock setup, especially for frequent hammock users.
Ensuring Safety and Comfort in Your Hammock
Proper setup and knot-tying are essential for ensuring safety and comfort while using your hammock. Always double-check the knots and connections before getting into the hammock. Ensure that the hammock is hung at a safe height. Typically no more than 18 inches off the ground, to minimize the risk of injury from falls. Spread your weight evenly across the hammock to prevent tipping and maintain stability. Use a ridgeline to create a consistent sag in your hammock. Enhancing comfort and providing a convenient place to hang gear. These precautions help create a secure and enjoyable hammock experience.
Seasonal Considerations for Hammock Use
Seasonal changes can affect your hammock setup, requiring adjustments to ensure stability and comfort. In warmer months, consider using lightweight, breathable materials to stay cool and comfortable. During colder seasons, add insulation like underquilts or sleeping pads to retain heat and prevent cold air from seeping through the bottom of the hammock. Check the condition of your ropes and suspension systems regularly, as weather exposure can weaken materials over time. Proper maintenance and seasonal adjustments help extend the lifespan of your hammock setup and ensure a comfortable experience throughout the year.
Hammock Care and Maintenance
Regular care and maintenance are crucial for preserving the longevity and performance of your hammock. After each use, inspect the ropes, knots, and fabric for signs of wear or damage. Clean the hammock fabric as needed, following the manufacturer’s instructions to avoid damaging the material. Store your hammock in a cool, dry place when not in use to prevent mold and mildew. Periodically treat ropes and suspension systems with protective products to enhance their durability against UV rays and moisture. By taking care of your hammock and its components, you ensure a safe and enjoyable experience for years to come.
Troubleshooting Common Hammock Issues
Even with proper setup and maintenance, you may encounter common issues with your hammock. If the hammock sags too much, adjust the tension using knots like the taut-line hitch or tightening the suspension system. For knots that slip or come undone, verify that they are tied correctly and consider using additional knots for extra security. If the fabric shows signs of wear or tear, repair or replace it promptly to prevent further damage. Addressing these issues promptly helps maintain the integrity of your hammock setup and ensures ongoing safety and comfort.

Getting Involved in the Hammock Community
Joining the hammock community can enhance your hammocking experience through shared tips, techniques, and adventures. Online forums and social media groups offer platforms to connect with fellow hammock enthusiasts. Exchange knot-tying advice, and share favorite hammocking spots. Local hammock clubs and events provide opportunities to meet like-minded individuals, participate in group hangs, and attend workshops. Engaging with the hammock community fosters a sense of camaraderie and provides valuable insights into improving your hammock setup and finding new destinations for relaxation.
Conclusion: Mastering the Art of Hammock Knot-Tying
Knowing how to tie a hammock knot is essential for securing your hammock and achieving the ultimate relaxation experience. By mastering reliable knots like the bowline, taut-line hitch, clove hitch, and figure-eight knot, you ensure a stable and comfortable setup for your hammock. Exploring advanced knots and modern suspension systems further enhances your ability to create a secure and versatile hammocking experience. Prioritizing safety, maintenance, and responsible hammocking practices allows you to fully enjoy the psychological and recreational benefits of hammocking. Engage with the hammock community, explore beautiful landscapes, and embrace the art of relaxation through well-tied hammock knots. Secure your hammock with confidence and indulge in the serenity of ultimate relaxation.