Essential Materials for Your Rope Hammock
To embark on your DIY rope hammock project, assembling the right materials is crucial. A hammock, at its core, is made of three primary elements: the rope, dowels, and hardware. Each has its distinct role in ensuring your hammock is not only comfortable but also safe and enduring.
Choosing the Right Type of Rope
The type of rope you select will affect your hammock’s comfort and durability. Natural cotton rope, particularly 6mm or 8mm, is soft and pleasant to the touch, making it ideal for the areas that will contact your skin. However, if you opt for a weather-resistant alternative, such as colored polypropylene multicord, your hammock can handle the elements better and requires less maintenance. Your hammock’s longevity and safety depend significantly on the strength of the rope you choose.
The Importance of Durable Wooden Dowels
Wooden dowels serve as the frame for your hammock, keeping the weave taut and in shape. A dowel with a diameter of 30-40mm is sturdy enough to support weight evenly. Dowels also help maintain the hammock’s width and stop it from curling in on you when you lie down. The right dowels will ensure a stable, flat surface to rest upon.
Selecting Weather-Resistant Hardware
The hardware you pick must withstand outdoor conditions. Stainless steel carbine hooks are recommended as they’re rust-resistant and facilitate easy attachment and detachment of the hammock. They offer a blend of strength and convenience, allowing you to bring your hammock indoors with ease when bad weather looms. Your hammock will last longer if you choose high-quality, weather-resistant hardware.
Preparing to Weave Your Hammock
Measuring and Cutting the Rope
Before you begin weaving, accurate measurement and cutting of the rope are essential. Start by calculating the length of your hammock and then add some extra for knotting and hanging. If you’re using 30m ropes, assess whether this length is suitable for your design or if adjustments are needed. Remember, it’s always better to have a bit too much rope than too little. Once you’ve got your measurements right, use a sharp cutting tool to create clean cuts without fraying the rope.
Drilling and Preparing the Wooden Dowels
The wooden dowels will frame your hammock, so they need to be prepared with care. Drill holes evenly spaced along the length of each dowel—this is where the rope will thread through. Make sure the holes are large enough for your rope but not too big to maintain tightness and stability. Sand down any rough edges on the dowels to prevent rope wear and splinters that could harm your skin.
Setting Up Your Work Area
A well-organized workspace ensures a smoother crafting process. Choose a flat and spacious area that allows you to lay out all your materials and tools conveniently. If you’re working indoors, protect the floor from potential damage during the drilling process. Having your measured and cut rope, prepared dowels, and other weaving supplies within reach will streamline your workflow and help you stay focused on crafting your hammock.
Step-by-Step Weaving Process
Crafting a hammock involves precise knotting and weaving techniques. Let’s explore these steps for a successful DIY project.
Tying the Initial Knots
Start by attaching your rope to the dowels. Secure the cotton rope with simple, yet strong knots to ensure it holds well. The ‘cow hitch’ knot is often recommended for its ease and reliability. Fold your rope in half, loop it around the dowel and pull the ends through. Do this for each rope segment, maintaining consistency for a solid foundation.
Creating the Macram? Pattern
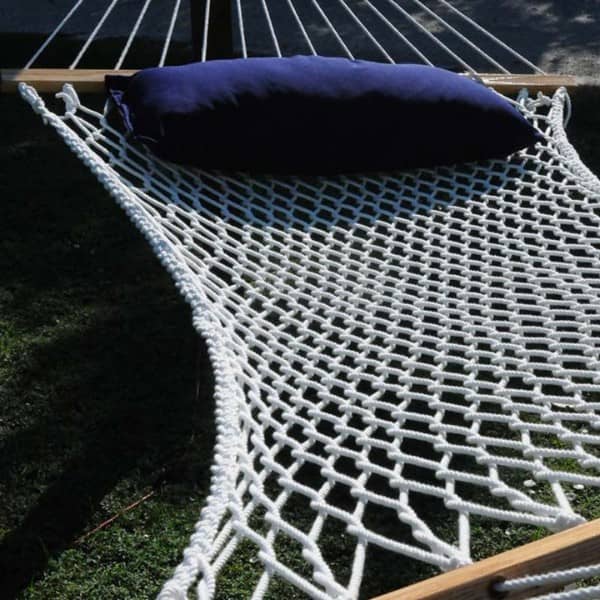
Macram? artistry is at the heart of your hammock’s design. After securing the ropes to the first dowel, begin weaving. Knot two adjacent ropes about two inches from the dowel, forming a basic overhand knot. Continue with the next pair, progressing across until the row is complete. For the following rows, alternate the knots to create the diamond pattern characteristic of macram? hammocks. Maintain even spacing for a neat look and comfortable feel.
Attaching the Rope to the Dowels
When the macram? pattern is near completion, it’s time to attach the weave to the second dowel. This dowel will help define the hammock’s shape and provide stability. Thread the ropes through pre-drilled holes in the dowel, ensuring they are evenly distributed. The final appearance of your hammock relies on this precision, so take care during this step.
These steps provide the basis for weaving a durable and comfortable hammock. Remember to measure twice, cut once, and knot tightly. With patience and attention to detail, you will soon have a beautiful and functional piece that encapsulates the essence of craftsmanship.
Finishing Touches
Once you’ve woven your cotton rope hammock, it’s time to add the finishing touches. These final steps are vital for the stability and safety of your hammock, ensuring a comfortable and serene lounging experience.
Securing the Rope Ends
After completing the weave, you’ll have rope ends that need to be firmly secured. Choose a sturdy knot, like the double overhand, to tie each rope end to the second wooden dowel. Ensure your knots are tight and uniform to avoid any unevenness or potential unraveling. It’s worth taking the time to review knot-tying tutorials if you’re unfamiliar with this technique. Double-check each knot for consistency and strength, as this will carry your weight in the hammock.
Adding the Hardware for Easy Hanging
With rope ends securely tied, attach stainless steel carbine hooks to each end of the dowels. These hooks are crucial as they allow for quick and easy installation and removal of the hammock, providing convenience and versatility. The hardware you choose must be durable and able to withstand the outdoor elements, ensuring your handmade hammock remains your cozy retreat for years to come. Position the hooks where they balance the hammock best and make sure they’re fixed in place so they won’t shift when weight is applied.
These finishing touches will transform your cotton rope hammock from a woven project into a functional piece of garden or camping equipment. By handling these final steps with care, you prepare to enjoy the fruits of your DIY labor – a personal haven crafted with your own hands.
How to Attach Your Hammock to Trees
Choosing the Right Trees and Location
The perfect hammock experience begins with picking the right trees. Look for robust trees, with trunks that are thick and healthy. The ideal distance between trees should be about 10 to 15 feet apart, depending on your hammock’s length. The area should be flat, clear of sharp objects, and away from high foot traffic to ensure safety and tranquility. Avoid trees with signs of disease or weakness, as they might not hold the weight securely.
Using Synthetic Hemp Rope for Secure Attachment
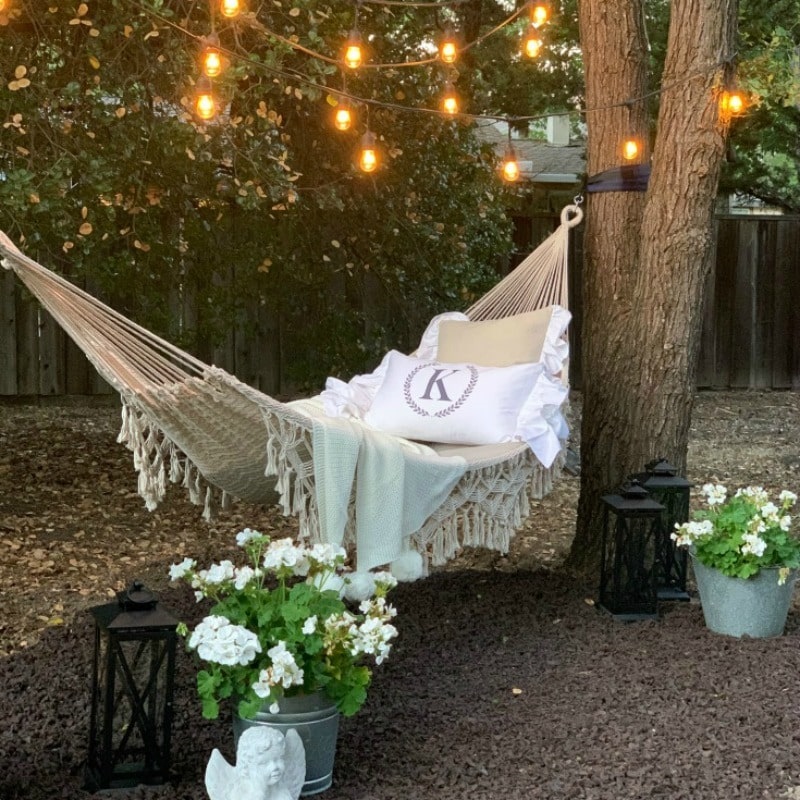
Synthetic hemp rope is your best choice for a strong and weather-resistant connection. Start by tying a loop at one end of the rope, ensuring it’s large enough to go around your chosen tree and through itself. This creates a tension loop that tightens when weighted. Wrap the rope around the tree a few times, threading the other end through the loop. Pull it tight to secure it firmly against the tree trunk, and then attach it to the hammock using the carbine hooks. Do this on both trees, making sure the hammock hangs with a slight dip when empty. This slight sag will provide a comfy and stable cradle when you lie down.
Maintenance and Care for Your Handmade Hammock
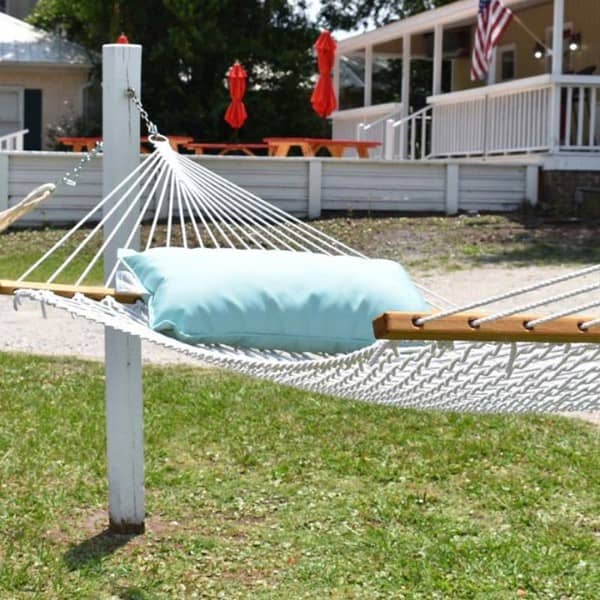
Your DIY cotton rope hammock is not just a comfortable retreat, but also a testament to your craftsmanship. To ensure its longevity, proper maintenance and care are essential. By protecting your hammock from the elements and cleaning it regularly, you can enjoy many seasons of relaxation.
Protecting Your Hammock from the Elements
To protect your hammock from weather wear, follow these tips:
- Avoid prolonged exposure to sun and rain whenever possible.
- Use weather-resistant synthetic hemp rope for hanging, as it withstands the elements.
- Bring the hammock indoors during extreme weather conditions.
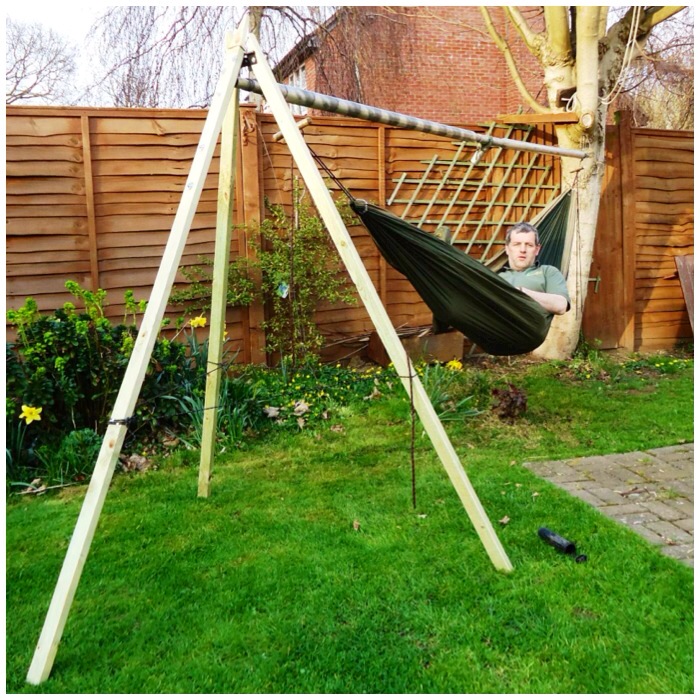
- Consider a hammock stand if suitable trees are not available.
- Apply a mildew-resistant spray if you live in a humid climate.
Cleaning and Storage Tips
Keeping your hammock clean ensures comfortable use. Here’s how to do it:
- Shake off loose debris and leaves before storage.
- Gently wash the hammock with soapy water and a soft brush.
- Rinse thoroughly with clean water to remove any soap residue.
- Air dry completely before storing to prevent mildew growth.
- Fold and store the hammock in a dry, cool place when not in use.
By implementing these straightforward tips, you can maintain the pristine condition and extend the life of your handmade hammock.
