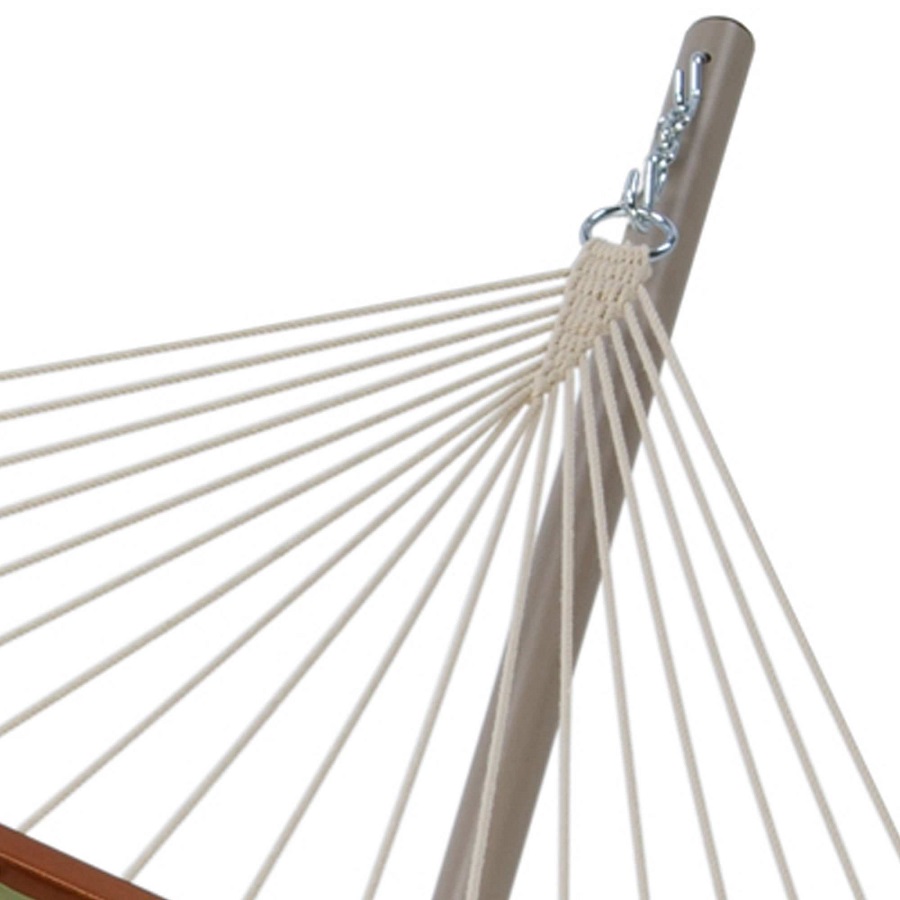
Introduction to Hammock Knots
Setting up a hammock can be simple with the right know-how. Knots play a central role in this process. They provide the security and adjustability needed for a comfortable hammock experience. As a hammocker, mastering a few essential knots is crucial.
Importance of Knot Knowledge for Hammock Setup
Knots are the foundation of a sturdy hammock setup. They keep you safely elevated while resting. Knowing how to tie reliable knots ensures your hammock won’t fail. It also enables quick assembly and disassembly in various settings. Whether you’re deep in the woods or lounging in your backyard, knot proficiency is key.
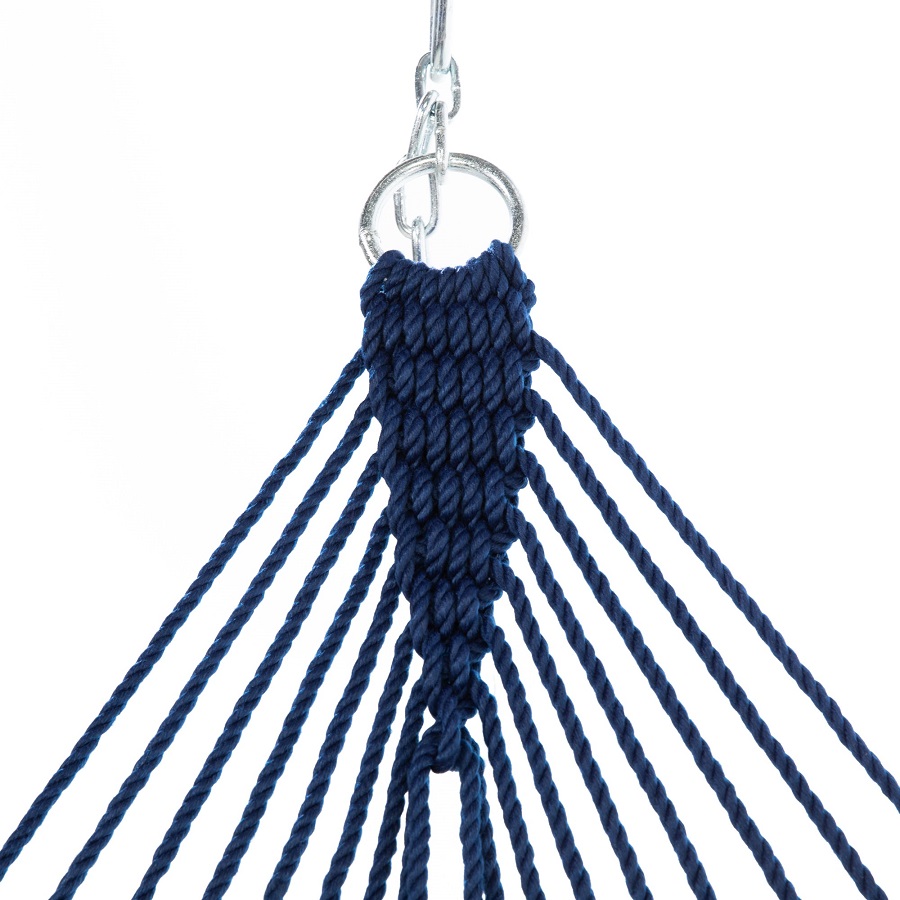
Types of Knots Used in Hammock Hanging
When setting up a hammock, different types of knots serve various purposes. Knowing which ones to use will ensure a secure and adjustable hammock setup. Let’s explore the knots that make hammock hanging a breeze.
Basic Knots and Their Functions
Basic knots serve as the building blocks for secure hammock setup. Their primary function is to act as stoppers. They prevent ropes from slipping through openings or coming undone. Examples include the Square Knot for binding, and the Figure 8 as a stopper. These simple knots are easy to learn and form the foundation of more complex knotting techniques.
Hitches for Securing Hammocks to Objects
Hitches are knots that connect a rope to an object like a tree or pole. They are essential for attaching your hammock securely. The Clove Hitch and Half Hitch are commonly used. They offer stability and easy release when you break camp. Hitches are ideal for ensuring your hammock remains tightly in place.
Bends to Connect Ropes Together
Sometimes, you need to extend a rope or connect two ropes of different sizes. Bends are the knots for this task. The Sheet Bend is favored for its ability to join ropes of varying thickness. These knots maintain rope integrity and strength, essential for a safe hammock setup.

Essential Knots for Hammock Setup
A good hammock setup relies on strong, reliable knots. Here are some essential ones to learn.
Half Hitch: Foundation for Many Knots
The Half Hitch is simple and often a starting point for other knots. Wrap the rope around a tree, pass the tail over the standing part, and through your loop. It’s quick to tie and untie but use it with other knots for strength.
Taut Line Hitch: Adjustable Tension Knot
The Taut Line Hitch lets you adjust tension without untying. Wrap your rope around an object, cross it over itself twice, then loop the tail end for a third pass. It slides to adjust but holds firm when loaded.
Clove Hitch: Temporary Securing Knot
A Clove Hitch is great for a quick hold. Loop the rope around an object and cross it over itself, then do it again and tuck the end under the last turn. It’s easy but not for long-term hanging.
Sheet Bend: Connecting Different Rope Sizes
To join ropes of different sizes, a Sheet Bend works well. Make a ‘J’ with the thicker rope, thread the thinner one through and wrap it around, tucking it under itself.
Fisherman’s Knot: Securing Objects to Rope
This knot ties ropes tightly together. Thread the end of one rope around another and back through the turns. Do this on both ends and then pull the standing lines to bring the knots together.
Bowline Knot: Load-Securing Knot
The Bowline creates a loop that won’t slip. Make a small loop, pass the tail through from below, wrap it around the standing end, then back down through the loop. This knot is trusted for heavy loads.
Reef/Square Knot: Binding Knot
A Reef or Square Knot is for tying two ends together. Cross right over left, then left over right, and pull tight. It’s simple and used for bundling gear.
Figure 8 Knots: Stopper and Climber’s Favorite
For a solid stopper, a Figure 8 Knot is ideal. Loop the rope, twist it to make an 8 shape, thread the tail through, and tighten. It’s strong and simple to untie.
Step-by-Step Guide to Tying Key Hammock Knots
Learning how to tie essential hammock knots is a valuable skill for any outdoor enthusiast. Knots ensure your hammock stays put, so you can relax worry-free. Below is a simple guide to key hammock knots.
Detailed Instructions for the Most Useful Knots
- Half Hitch
- Circle your rope around a tree.
- Pass the tail over the standing rope.
- Pull the tail through the loop formed.
It’s easy to do, but combine with other knots for more hold.
- Taut Line Hitch
- Wrap the rope around a steady object.
- Cross the rope over itself, twice.
- Make a third loop and pass the tail through.
Now adjust the rope’s tension by sliding the knot.
- Clove Hitch
- Loop the rope around something like a tree.
- Make two crosses over the standing rope.
- Pull the tail under the last turn and tighten.
Use this for short-term needs; it’s not meant for permanent weight bearing.
- Sheet Bend
- Create a ‘J’ with the larger rope.
- Pass the thinner rope through the hook.
- Encircle the ‘J’ and tuck under.
This connects ropes of different sizes effectively.
- Fisherman’s Knot
- Loop one rope around the other rope.
- Pass the tail through the loop, tie an overhand knot.
- Repeat on the other side and pull tight.
Secure tools or join ropes with this trusted knot.
- Bowline Knot
- Form a small loop in the rope’s center.
- Bring the tail up through this loop.
- Wrap the tail around the standing part, and back down.
This loop won’t slip, ideal for loads.
- Reef or Square Knot
- Cross right end over the left rope.
- Now, cross left over the right.
- Pull both ends to tighten into a square shape.
It’s perfect for bundling items together.
- Figure 8 Knot
- Twist a loop to form an 8.
- Pass the tail through and tighten.
This knot is a sturdy stopper and also beloved by climbers.
With these steps, you’re ready to secure your hammock safely. Practice makes perfect when it comes to knot-tying, so take the time to learn these knots before your next adventure.
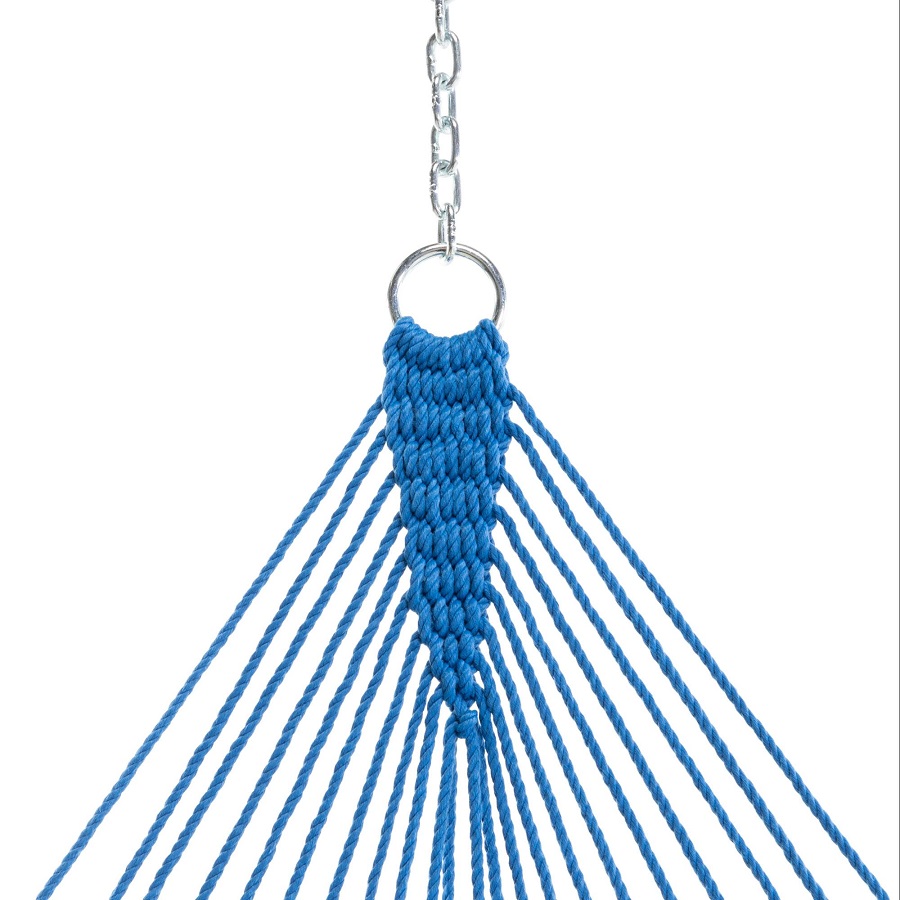
Alternatives to Knots for Hammock Hanging
While traditional knots are essential for hammocking, alternatives can offer easier setups. This section will guide you through some of these options.
Using Straps and Carabiners for Easy Setup
Straps paired with carabiners simplify hammock hanging. Follow these steps for a no-knot setup:
- Wrap a strap around a tree.
- Attach the strap’s end to a carabiner.
- Clip the carabiner to your hammock.
This method is quick and doesn’t require knot-tying skills.
Advantages of Tree Straps Over Ropes
Tree straps are better than ropes for several reasons:
- They protect tree bark from damage.
- Straps are easier and faster to set up.
- They often come with loops, eliminating the need for knots.
Using straps helps preserve nature and saves time during your hammock setup.
Hammock Setup Without Trees
Not all outdoor spaces or homes have trees for hammock hanging. But, don’t worry! There are other ways to set up a hammock without trees.
Indoor and Stand-Based Hammock Hanging Options
For indoor use or in treeless backyards, stands are a great solution. They provide a stable base for hammocks. Indoor hanging kits allow hammocks to attach to walls or ceilings safely. Look for stands that are strong and have a good base. Make sure the kit includes all necessary hardware. Stand-based hammocks are also portable. You can move them around to find the best spot. When using stands or kits, read instructions carefully. It will help to set up the hammock safely and correctly.
Tips for Safe and Secure Hammock Hanging
Proper hammock hanging not only enhances comfort but also ensures safety. Here’s how to hang your hammock right.
Choosing the Right Trees and Environment
Pick healthy, living trees with thick trunks for support. Avoid dead or weak trees that might snap.
Make sure trees sit apart at the right distance. Too close or far could affect hammock tension.
Scan the area above for loose branches that could fall. Safety first!
Select a flat area for setup. It helps if your hammock needs to come down quickly.
Finding the Optimal Hammock Angle and Height
Strive for a 30-degree hang angle. This angle distributes weight evenly for optimal comfort.
Attach ropes or straps around head height. After adjustment, the hammock should dip slightly.
The hammock should hover about 18 inches above the ground when occupied. This height allows for easy entry and exit.
Tweak the hang as needed. Adjust the tension until you feel stable and comfortable.
By following these tips, your hammock will be a safe haven for relaxation.
Conclusion: The Simplicity of Hammock Knots
Mastering a few simple knots can transform your hammocking experience. With the essential knots described in this guide, you’re well-equipped to hang a hammock quickly and securely. Knot-tying is a skill that once learned, becomes second nature. It allows for fast setups and adjustments, so you can focus on enjoying your outdoor adventures.
Encouraging Safe and Enjoyable Hammocking Experiences
Practicing and using proper hammock knots is about more than just ease – it’s about safety. By choosing the right trees, knowing the correct hang angle, and selecting the appropriate knot for the task, you ensure a secure hang. Safe hammocking also means protecting our natural surroundings, such as using tree straps instead of ropes to prevent damage to tree bark. As an advocate for responsible hammocking, I encourage you to embrace these practices for safe and enjoyable experiences in the great outdoors.
