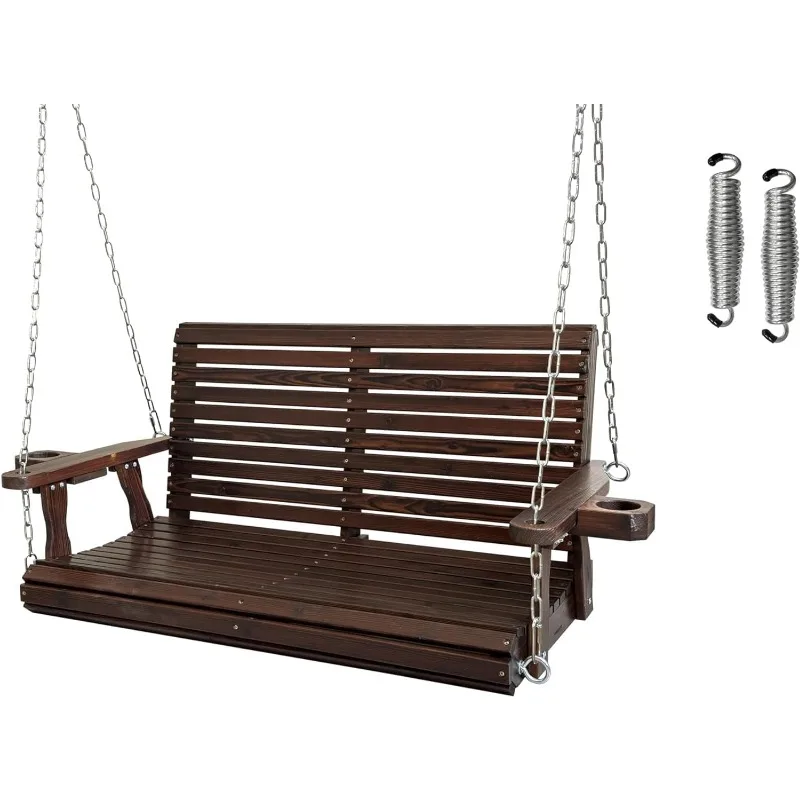
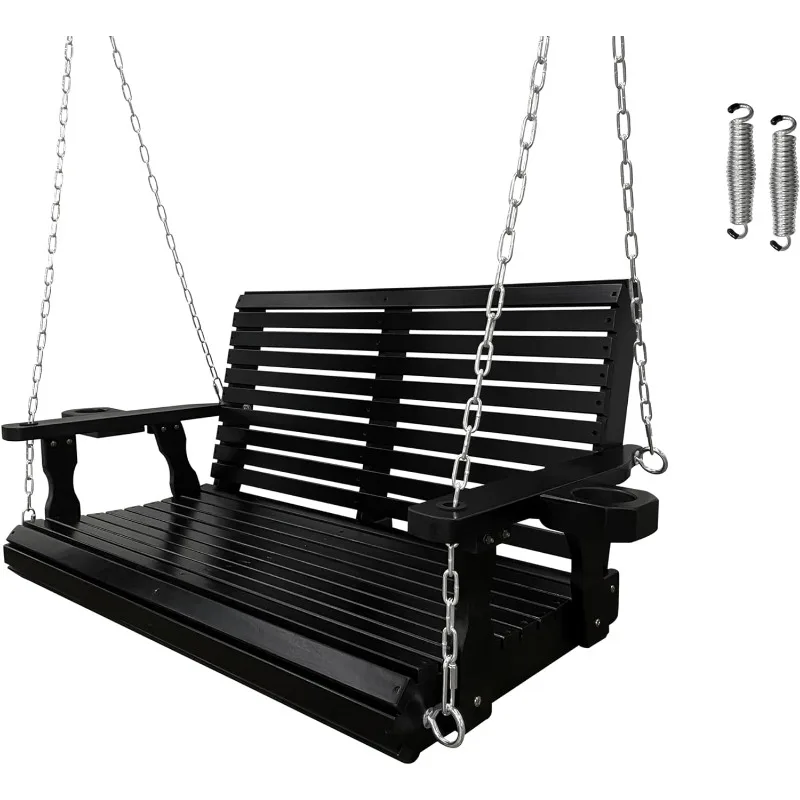
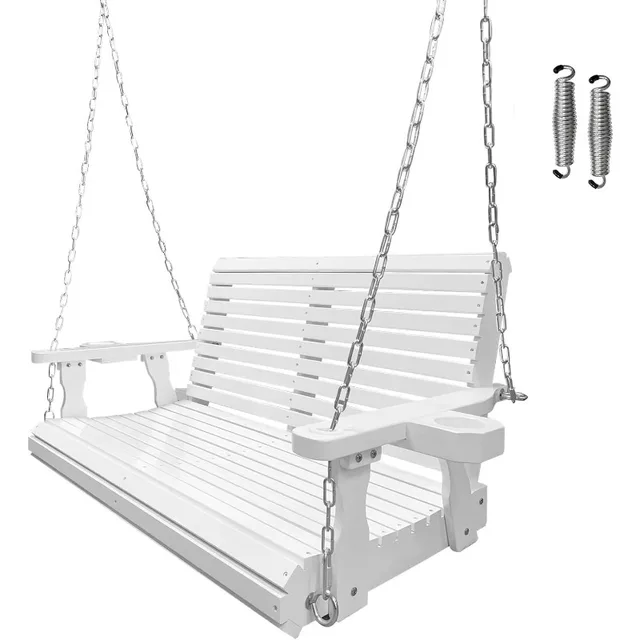
Installing a porch swing can transform your outdoor space into a cozy retreat. This guide will walk you through the entire process, from choosing the right swing to the final installation. Whether you’re a seasoned DIY enthusiast or a beginner, this step-by-step guide will ensure you successfully install your porch swing.
Choosing the Right Porch Swing
Understanding Your Options
Before diving into the installation process, it’s crucial to select the right porch swing for your space. Porch swings come in various styles, materials, and sizes. Common materials include wood, metal, and wicker, each offering unique aesthetics and durability. Wooden swings often provide a classic look, while metal swings can offer a modern touch. Consider the overall design of your home and the materials that will best complement your existing outdoor decor.
Size and Weight Capacity Considerations
The size of your porch swing should fit comfortably within your space. Measure the area where you plan to install the swing, ensuring there’s enough room for movement and comfort. Additionally, check the weight capacity of the swing to accommodate the intended users. Most swings specify weight limits, which is essential for safety and durability. A swing that is too small or has an insufficient weight capacity can lead to discomfort or even accidents.

Tools and Materials Needed
Essential Tools for Installation
To install a porch swing, you’ll need specific tools to ensure the job is done correctly. Gather the following tools before you begin: a drill, screwdriver, measuring tape, level, and a wrench. If you’re hanging the swing from a ceiling or an overhead beam, a stud finder is also recommended to locate secure anchor points. Having the right tools on hand will make the installation process smoother and more efficient.
Materials Required for a Successful Installation
In addition to tools, you’ll need several materials to complete the installation. These include the swing itself, heavy-duty eye bolts or swing hangers, chain or rope (if applicable), and safety hardware. Depending on your swing’s design, you may also need additional hardware, such as lag screws or quick links. Ensure all materials are rated for outdoor use and can withstand the elements.
Preparing the Installation Area
Selecting the Perfect Location
Choosing the right location for your porch swing is vital. Look for a spot that offers a nice view, shade from the sun, and protection from wind. The swing should be placed where it can be easily accessed, but also allows for a comfortable seating experience. If you have a covered porch, it can provide extra protection from the elements, extending the life of your swing.
Clearing and Leveling the Space
Once you’ve selected a location, clear the area of any debris or obstacles that could interfere with the swing’s installation. If your porch is uneven, consider leveling the area. This can be done by adding shims or using a leveling compound. A flat and stable surface is essential for the safety and longevity of your swing.
Installing the Porch Swing
Marking the Hanging Points
After preparing your area, it’s time to mark where the swing will hang. Use a measuring tape to determine the height at which you want the swing to be positioned. Typically, swings should hang around 18 to 24 inches above the ground. Mark the spots on the overhead structure where the swing will be attached. Ensuring proper height will make for a more enjoyable swinging experience.
Drilling Holes for Hardware
With your marks in place, it’s time to drill holes for the eye bolts or swing hangers. Use a drill bit appropriate for your chosen hardware and the material of your ceiling or beam. If you’re drilling into wood, pre-drilling the holes can prevent splitting. Make sure the holes are straight and aligned; this will help ensure the swing hangs evenly.
Attaching the Swing Hangers
Installing Eye Bolts or Hangers
Once your holes are drilled, it’s time to install the eye bolts or swing hangers. If using eye bolts, insert them into the drilled holes and secure them tightly with nuts. If you are using swing hangers, follow the manufacturer’s instructions for installation. Ensure that each hanger is installed at the same height to prevent the swing from tilting.
Double-Checking for Stability
Before proceeding, double-check that all hangers are securely fastened and stable. Give each one a gentle tug to ensure they can support the weight of the swing and its users. It’s crucial to take this step seriously, as the safety of the swing depends on the integrity of these components.

Hanging the Swing
Attaching Chains or Ropes
Now that your hangers are in place, it’s time to hang the swing. If your swing uses chains, attach one end to the swing and the other to the eye bolts or hangers. For ropes, make sure they are securely knotted and rated for outdoor use. Ensure that the swing hangs evenly and at the correct height.
Leveling the Swing
Once the swing is hung, use a level to check its position. Adjust the chains or ropes as necessary to ensure the swing is perfectly horizontal. A level swing will provide a more enjoyable experience and prevent wear on the swing’s components. If adjustments are needed, make them carefully, rechecking the level after each adjustment.
Final Adjustments and Safety Checks
Testing the Swing
With the swing securely hung, it’s essential to test its stability before use. Gently apply weight to the swing, first with your body and then with additional weight (like a bag of sand or bricks). This will help determine if the installation is secure and if any adjustments are necessary. Look for any signs of movement in the hangers or the swing itself.
Safety Measures and Maintenance Tips
After testing, it’s important to ensure ongoing safety and maintenance. Regularly check the hardware for signs of wear or loosening. Additionally, clean your swing regularly to prevent dirt and grime buildup. If the swing is made of wood, consider applying a weatherproof finish to extend its life. These maintenance steps will help ensure your swing remains a cherished part of your outdoor space for years to come.
Enjoying Your New Porch Swing
Creating the Perfect Atmosphere
Now that your porch swing install, it’s time to enjoy it! Consider adding cushions or throws to enhance comfort and style. Plants or outdoor lights can create a cozy atmosphere, making your swing a perfect spot for relaxation or social gatherings. Set up a small table nearby for drinks or snacks, and invite friends and family to share in your new outdoor retreat.
Embracing the Swing Lifestyle
Finally, embrace the lifestyle that comes with having a porch swing. Whether you spend quiet mornings sipping coffee, lazy afternoons reading a book, or entertaining guests, your swing will become a beloved feature of your home. Take the time to enjoy your outdoor space, and don’t hesitate to personalize your swing area to reflect your taste and style.

Conclusion: Your Guide to Porch Swing Installation
Installing a porch swing is a rewarding project that adds charm and comfort to your home. By following this step-by-step guide, you can ensure a safe and enjoyable experience from start to finish. Remember to prioritize safety, choose the right materials, and create a welcoming atmosphere. Your porch swing will quickly become a favorite spot for relaxation and enjoyment.
