Introduction to DIY Folding Table Legs
For those who love hands-on projects, crafting DIY folding table legs is both rewarding and practical. Not only does it allow for creative expression, but it also results in a functional piece of furniture that’s versatile and easily stored. Whether you’re in a small apartment or need extra surfaces for events, folding table legs are a go-to solution.
To get started, you’ll need to understand the basic requirements. These include selecting the right type of wood, gathering essential tools, and following a detailed step-by-step guide which will be covered in later sections of this article. With patience and effort, you will be able to construct sturdy, reliable, and attractive folding table legs.
Embrace the challenge and satisfaction that comes from building something with your own hands. Let’s dive into the world of DIY folding table legs and unlock the potential of your crafting skills.

Tools and Materials Needed
To start crafting your foldable table legs, you will need to gather the right tools and materials. This ensures a smooth process from start to finish.
Here’s what you need:
- Measuring tape: Essential for accurate measurements.
- Saw: A hand saw or power saw to cut wood to size.
- Drill: To create holes for screws and hinges.
- Screws and hinges: For assembling parts and creating the folding mechanism.
- Sandpaper: To smooth out rough edges.
- Wood glue: For added strength in joints.
- Clamps: To hold pieces together while the glue dries.
- Varnish or paint: To finish and protect the wood.
Choose tools that are comfortable to use and materials that match the strength and look you want for your folding table legs. It’s time to put these to good use in the next steps.
Choosing the Right Type of Wood
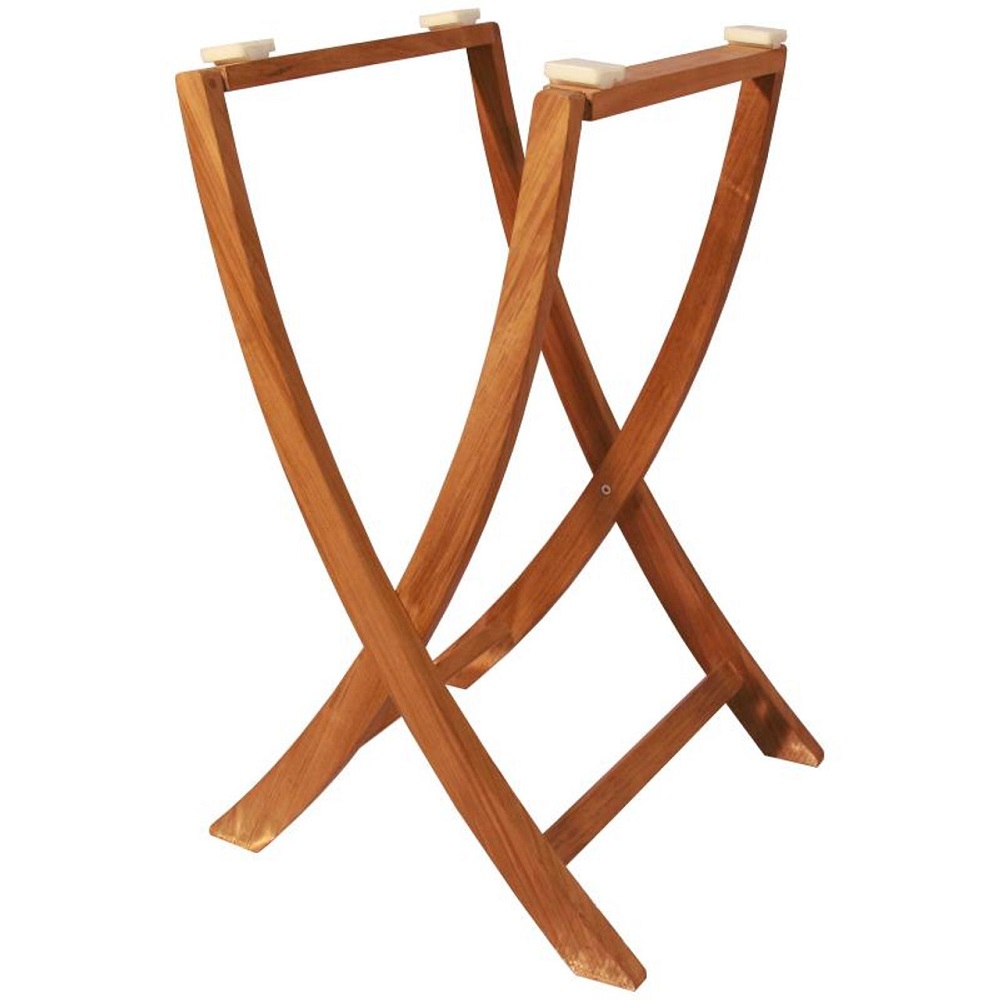
Selecting the right wood is crucial for your DIY folding table legs. The wood determines not only the look but also the durability and strength of the final product. Hardwoods like oak, maple, and birch are resilient and can bear weight, making them ideal choices. However, they can be heavy and may require power tools to work with.
For lighter folding table legs, consider softwoods like pine or cedar. These are easier to handle and cut but may not withstand heavy loads as hardwoods do. Always check the wood for any defects or warps before purchasing, as these can affect the quality of your project.
Keep in mind the environment where the table will be used. If it’s for outdoor use, choose wood that can endure weather changes, like cedar or treated lumber. For indoor tables, aesthetics might be more important, so choose a wood that complements your interior design.
In summary, for strong and long-lasting folding table legs, opt for hardwoods. If you prefer easier handling or a lighter structure, go for softwoods. Always inspect the wood and consider the table’s intended use.
Step-by-Step Process of Making Folding Table Legs
Now that we’ve selected our wood and gathered our tools, it’s time to outline the step-by-step process of putting together your DIY folding table legs. A bit of precision and care will have you assembling a sturdy and attractive set of legs for your table. Follow these steps and you’ll be on your way to adding a personalized touch to your home or workspace.
- Measure and Mark: Begin by determining the length you want your table legs to be. Use your measuring tape and mark the wood accurately.
- Cut the Wood: Using your saw, cut along the marked lines. If you’re using a power saw, make sure to follow safety guidelines.
- Drill Holes: Position where the screws and hinges will go. Drill the necessary holes, ensuring they are straight and aligned.
- Attach Hinges: Screw the hinges into place on one end of the cut wood. These will form the main folding mechanism.
- Sand Edges: Smooth all the cut edges and surfaces with sandpaper to prevent splinters and prepare for finishing.
- Assemble Legs: Connect the legs using the screws, ensuring they fold correctly and the action is smooth.
- Test Stability: Once assembled, test the folding table legs for any wobbliness and adjust as needed.
By following these straightforward steps, your folding table legs will start taking shape. Take care to ensure each joint and connection is strong and tight because the stability of your folding table depends on this craftsmanship. Next, we will learn how to properly attach these legs to a tabletop.
Attaching Legs to the Tabletop
After you have crafted your folding table legs, the next step is to attach them securely to the tabletop. Ensuring a solid attachment is crucial for the overall stability of your table. Here’s how to do it:
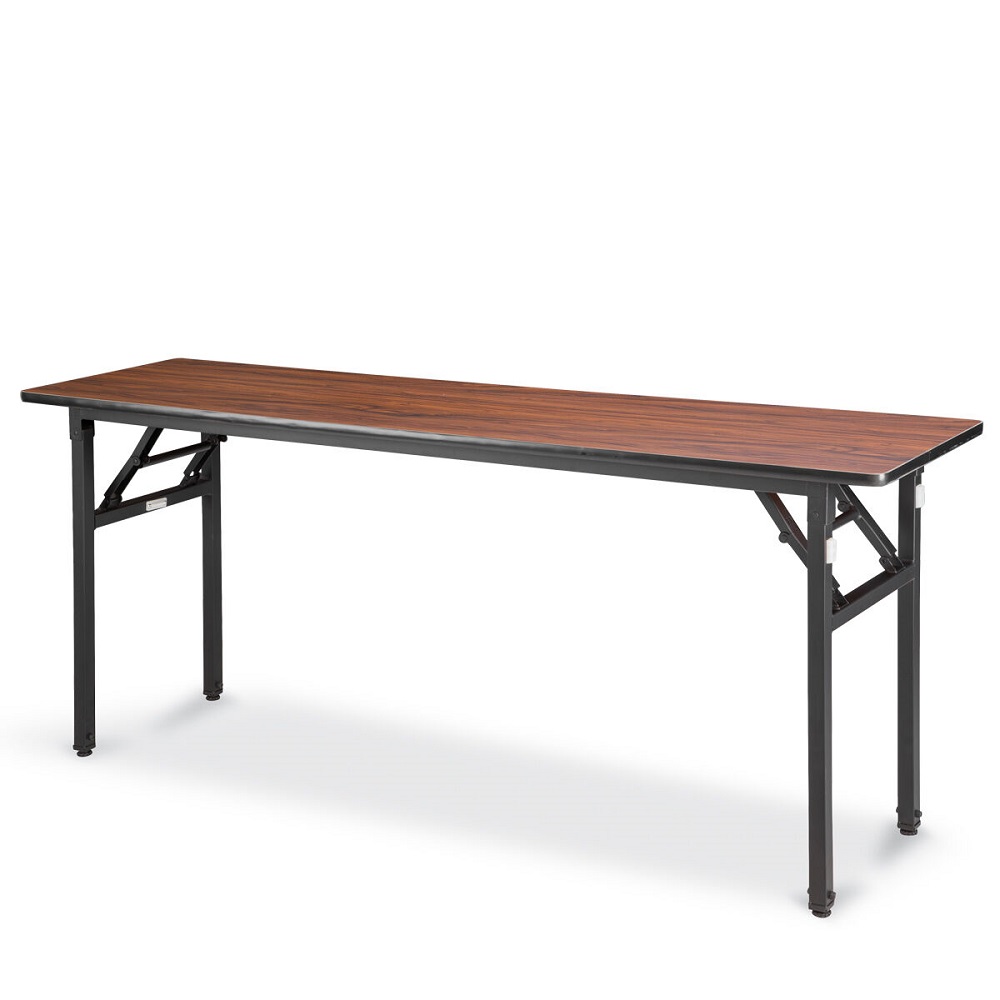
- Position the Legs: Place the legs where they should be attached to the tabletop. Make sure they are evenly spaced and positioned correctly for folding.
- Mark Screw Holes: Use a pencil to mark where screws will go. This helps to drill accurate holes.
- Pre-drill Holes: Before screwing, pre-drill holes into the tabletop. This prevents wood splitting.
- Attach with Screws: Align the legs with the pre-drilled holes. Use a drill to screw the legs to the tabletop tightly. Choose screws long enough to secure, but not so long they poke through the top.
- Test the Fold: Check that the legs fold smoothly and the tabletop is level when the legs are outstretched.
- Adjust if Necessary: If you find any misalignment, now is the time to adjust. You might need to reposition the legs or the hinges for a perfect fold.
By following these steps, you should have a fully functional folding table. Remember to handle each tool with care and follow safety guidelines when drilling and screwing. Happy crafting!

Tips for Ensuring Stability and Strength
When it comes to DIY folding table legs, ensuring stability and strength is key. Here are some tips to make sure your folding table legs are solid:
- Choose the Correct Hinges: The right hinges ensure smooth folding and unfolding. Opt for heavy-duty hinges to support weight.
- Secure Joints: Apply wood glue before screwing. It reinforces the hold. Let the glue dry fully.
- Even Leg Placement: Place legs symmetrically. It distributes weight evenly. This prevents wobbling.
- Thick Wood for Legs: Thicker wood can support more. It also reduces bending and breaking.
- Test and Retest: After assembling, check stability. Push the table from different sides. Make sure there is no movement.
- Cross Braces: Install cross braces between legs. They add extra support and rigidity.
- Proper Screws: Use screws that are the correct length. They should be long enough to hold, but not too long to split the wood.
- Regular Maintenance: Tighten screws and hinges over time. Wood can expand and contract, which may loosen joints.
By adhering to these straightforward suggestions, your DIY folding table legs will be robust and steady. Remember that safety comes first. Always handle tools with care and keep a tidy workspace.
Finishing Touches: Sanding and Sealing
After assembling your folding table legs, apply the finishing touches. These steps enhance the look and longevity of your project.
Sanding for Smoothness
Begin with sanding all surfaces of your table legs. Use sandpaper to smooth rough areas and edges. Start with a coarser grit and work towards a finer grit for a polished finish.
- Sand with the grain of the wood, not against it.
- Check the entire surface for even smoothness.
- Wipe dust with a clean cloth after sanding.
Sealing for Protection
Sealing shields the wood from damage and wear. Select a varnish or sealant suited for your table’s use. Apply following the product’s instructions.
- Ensure the wood is clean before sealing.
- Use a brush for even application.
- Allow the sealant to dry completely.
Do not rush these steps. Patience ensures a quality finish. Your DIY folding table legs are now ready to withstand daily use and maintain their appearance over time. Happy crafting!

Alternative Methods for Folding Mechanisms
When building DIY folding table legs, the folding mechanism is crucial for function and ease of use. Here are some alternative methods:
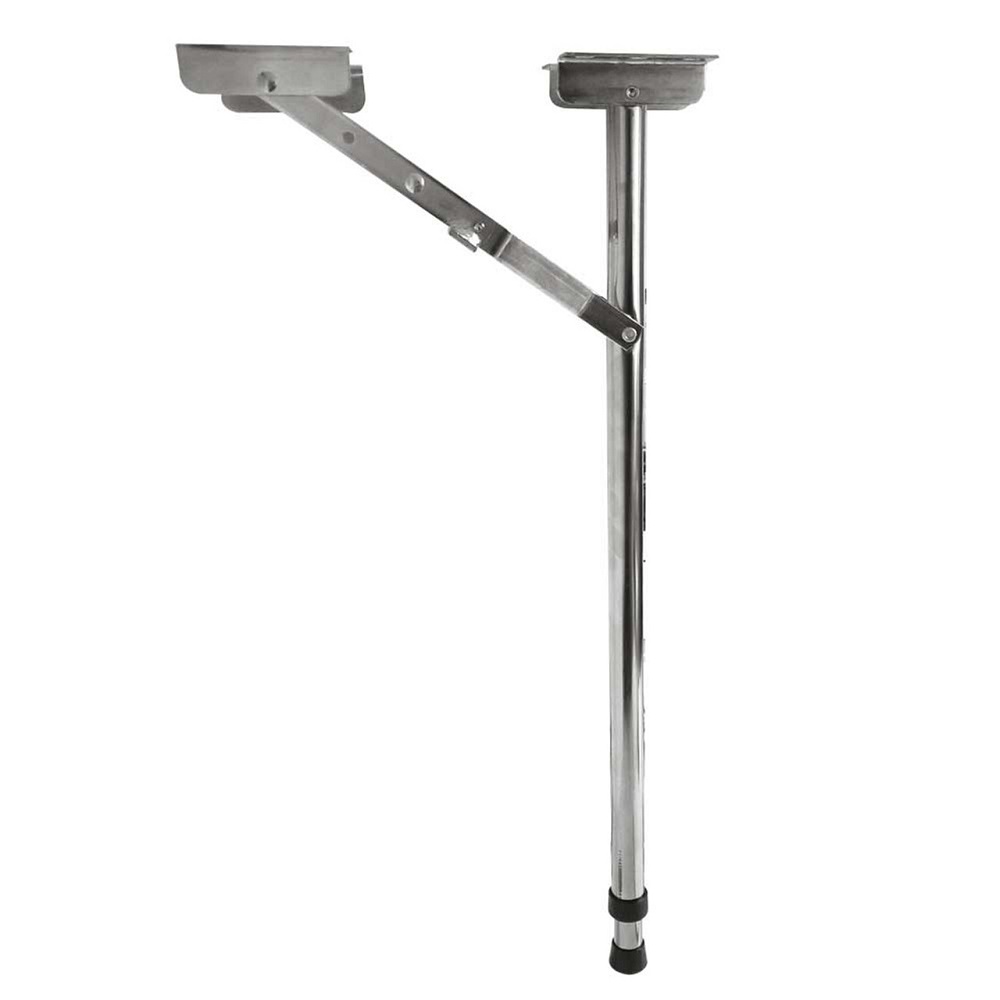
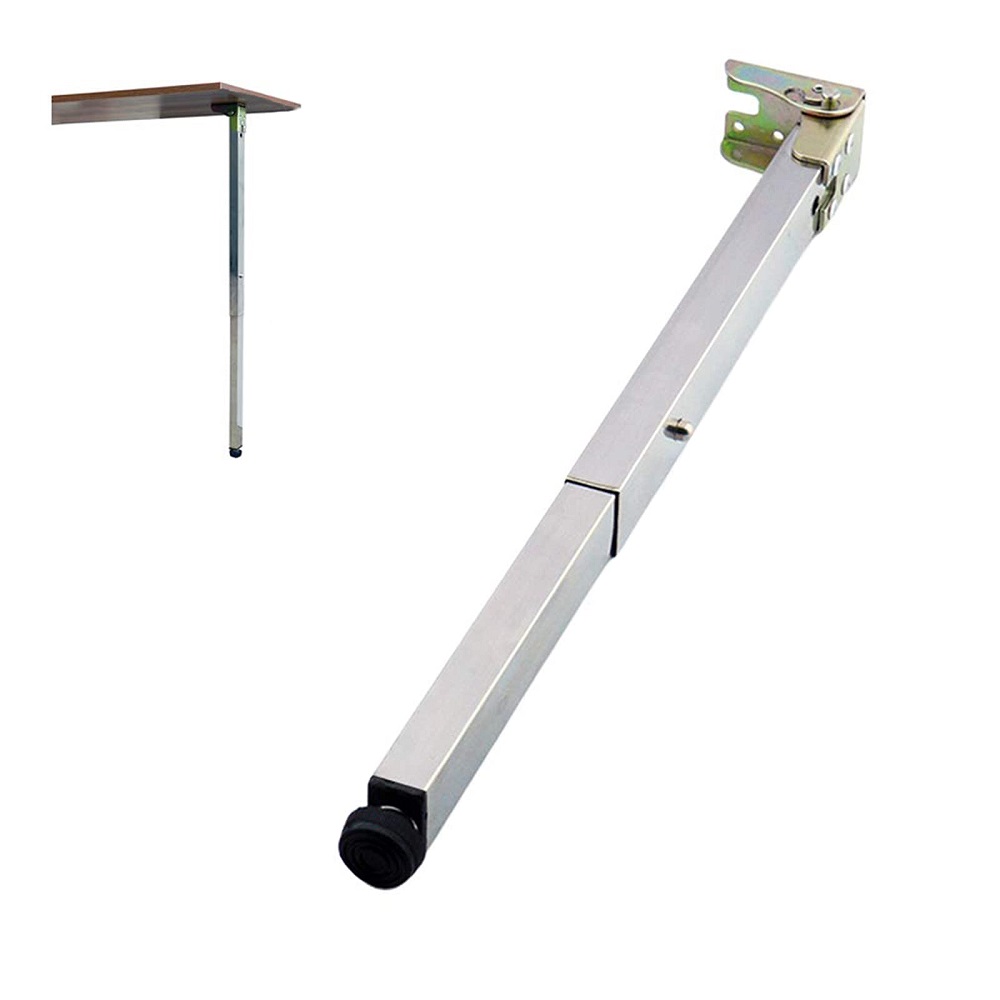
- Collapsible Brackets: Instead of hinges, use collapsible shelf brackets that lock in place when extended and fold flat against the leg when not in use.
- Gateleg Design: This historic method involves using a swinging gate-like support pivoting from the frame which folds out to hold the leg. Simple and elegant.
- Sliding Bars: Attach a sliding bar system where the leg slides into a secure position and locks. To fold, unlock and slide the leg back.
- Drop Leaf Supports: Ideal for small tables, these supports flip out from under the tabletop to support the leaf when open and tuck away when closed.
- Removable Pins: Insert pins through the leg and frame to hold the leg in place. Remove the pins to fold the legs.
- Rotating Discs: Use a disc that rotates at the joint. Lock it in place for use, and rotate to fold the leg inwards.
Choose an alternative method that best suits your design needs and skill level. They offer various benefits, such as increased strength, ease of operation, or aesthetic appeal. Keep practicability and the required stability of your folding table legs in mind.
