
In the quest for a more inviting and comfortable outdoor living space, a well-crafted wooden awning frame can transform your patio or deck into a true sanctuary. This DIY project not only adds aesthetic appeal to your home’s exterior but also provides a practical solution for shading against the sun’s relentless rays. In this comprehensive guide, we’ll embark on a step-by-step journey to construct a wooden awning frame that will elevate your outdoor haven.
Gathering Materials: The Foundation of Success
Before the first cut or screw is in place, the key to a successful DIY project lies in meticulous planning and material selection. For our wooden awning frame, you’ll need:
- Lumber: Pressure-treated pine or cedar are popular choices due to their durability and resistance to rot and insects. Estimate the length based on the desired awning size; typically, 2x4s or 2x6s for the frame and 1x4s or 1x6s for the slats.
- Fasteners: Galvanized screws or exterior-grade nails to withstand weathering.
- Roofing Material: Options range from traditional asphalt shingles to more modern corrugated metal or even canvas.
- Brackets and Hardware: To securely attach the awning to your house, choose sturdy brackets and appropriate hardware suited for your home’s exterior material.
- Tools: Circular saw, drill, measuring tape, level, ladder, and a spirit level are essentials.
Designing Your Awning: Tailoring to Your Vision
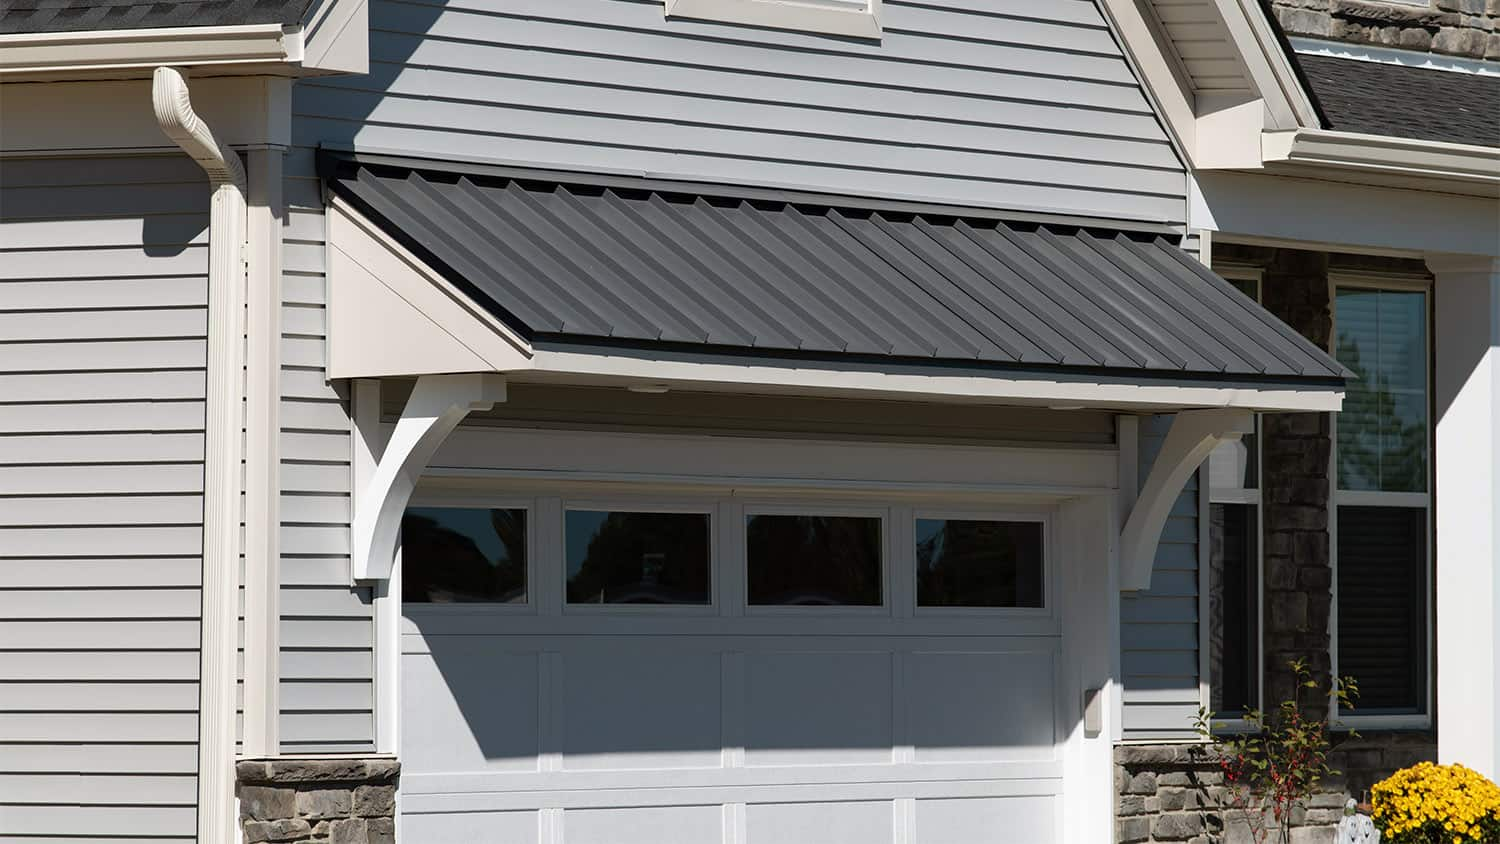
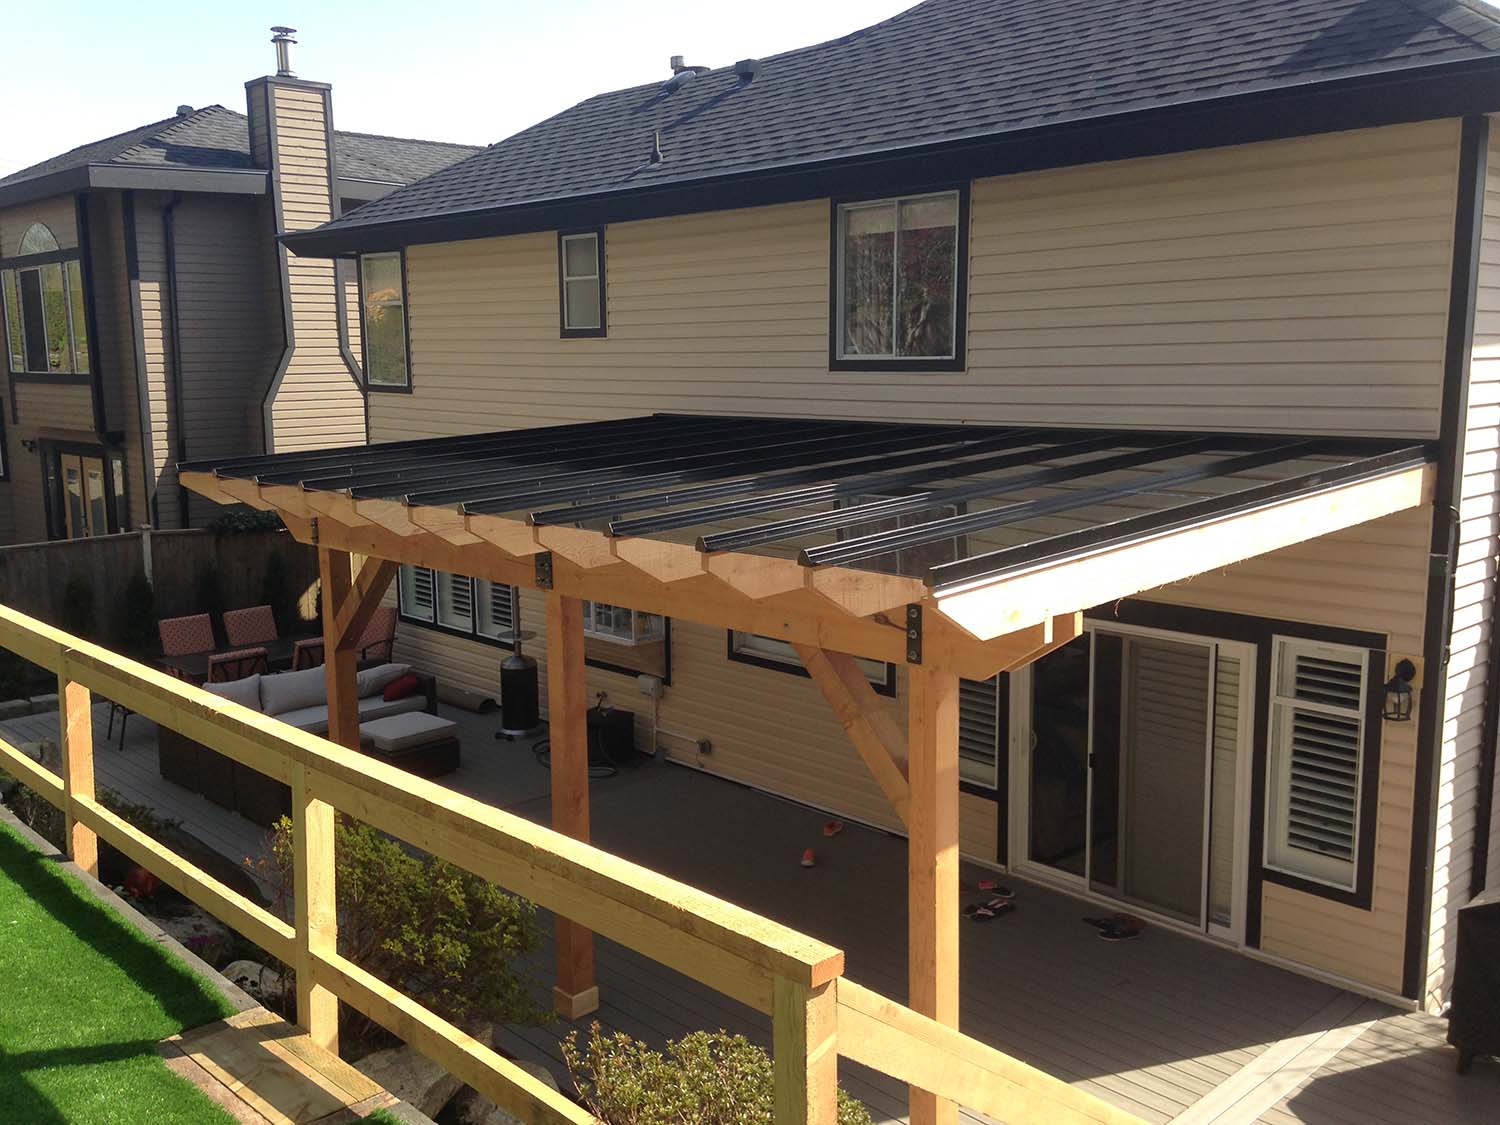
The design phase is where your creativity takes center stage. Consider the architectural style of your home, the available space, and your personal preferences. Will it be a simple, flat roof awning or a more elaborate pitched design? Measure the area carefully to ensure the awning provides ample shade without overwhelming the space. Sketch out your plans, noting dimensions and any special features like decorative trim or integrated lighting.
Preparation and Site Evaluation
Safety first! Ensure your work area is clear, and all necessary precautions are taken, especially if working at heights. Check with local authorities regarding permit requirements for such structures. Evaluate the attachment point on your house—ideally, it should be a solid structural element like a header beam or masonry wall. If unsure, consult a professional.
Constructing the Frame: Precision Meets Passion
Step 1: Cutting to Size
Using your measurements as a guide, cut your lumber to the required lengths. Accuracy here is paramount to ensure a sturdy and visually pleasing structure. Label each piece according to your plan to streamline assembly.
Step 2: Assembling the Skeleton
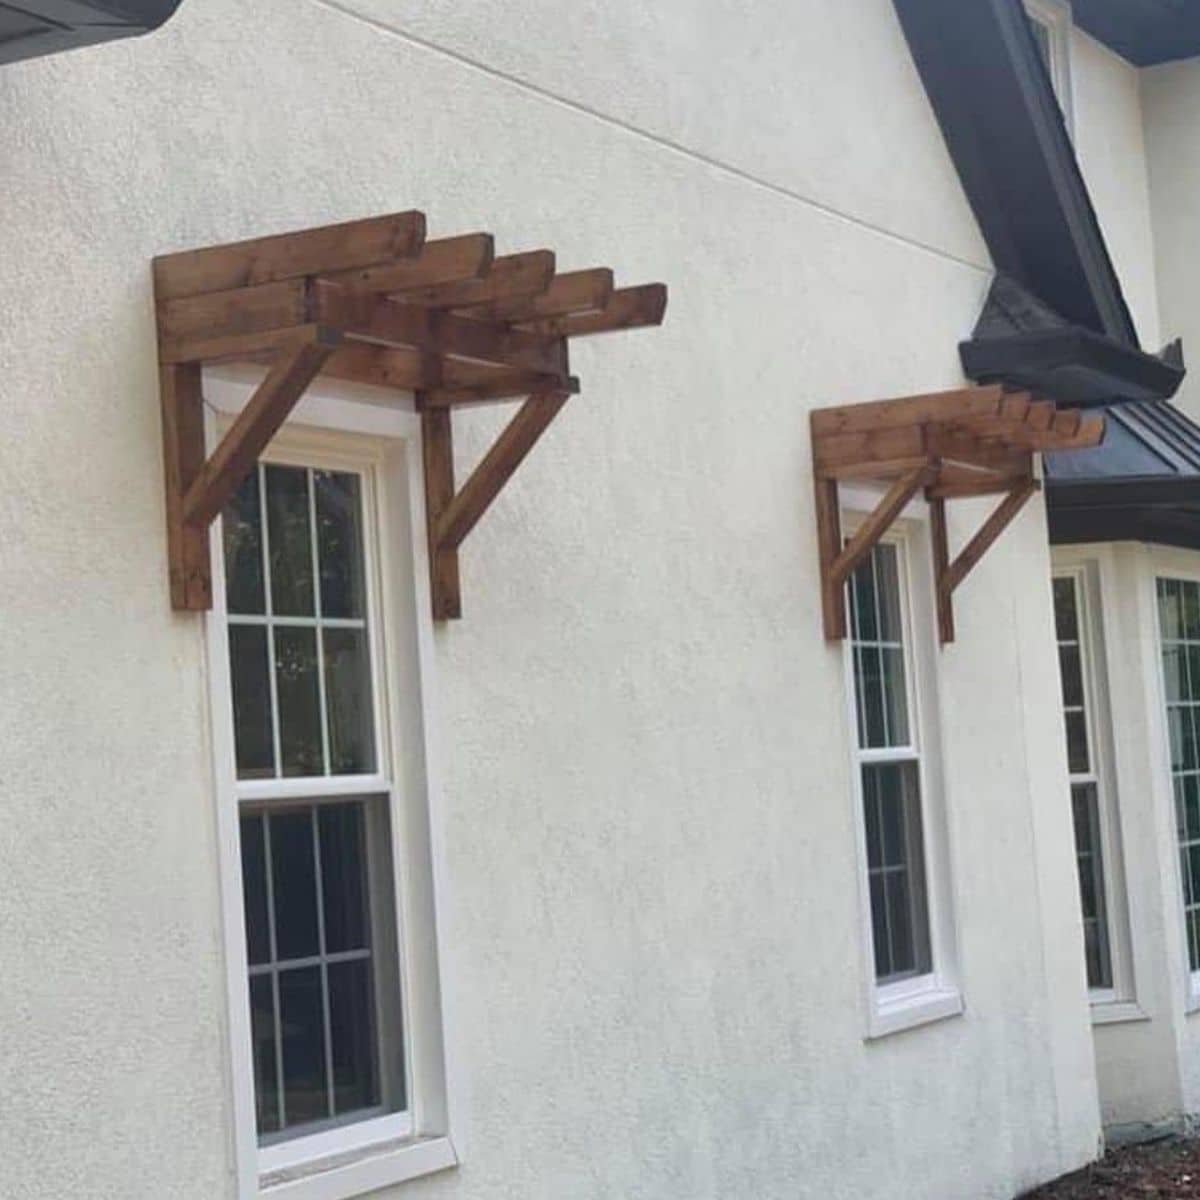
Lay out the frame pieces on a flat surface, using the 2x4s or 2x6s for the main rafters and cross braces. Fasten them together using galvanized screws or nails, ensuring corners are square using a carpenter’s square. Reinforce joints with additional brackets or corner braces for added stability.
Step 3: Attaching Brackets and Mounting
Securely fasten the brackets to the house using appropriate screws and anchors. Carefully lift the frame into position, ensuring it’s level both horizontally and vertically. Secure it to the brackets, checking again for stability before proceeding.
Adding the Roof and Finishing Touches
Step 4: Installing the Roofing Material
Once the frame is mounted, lay down your chosen roofing material. Follow the manufacturer’s instructions closely, ensuring proper overlap and sealing to prevent leaks. For a fabric cover, stretch it taut and secure it to the frame using grommets and fasteners designed for outdoor use.
Step 5: Trimming and Detailing
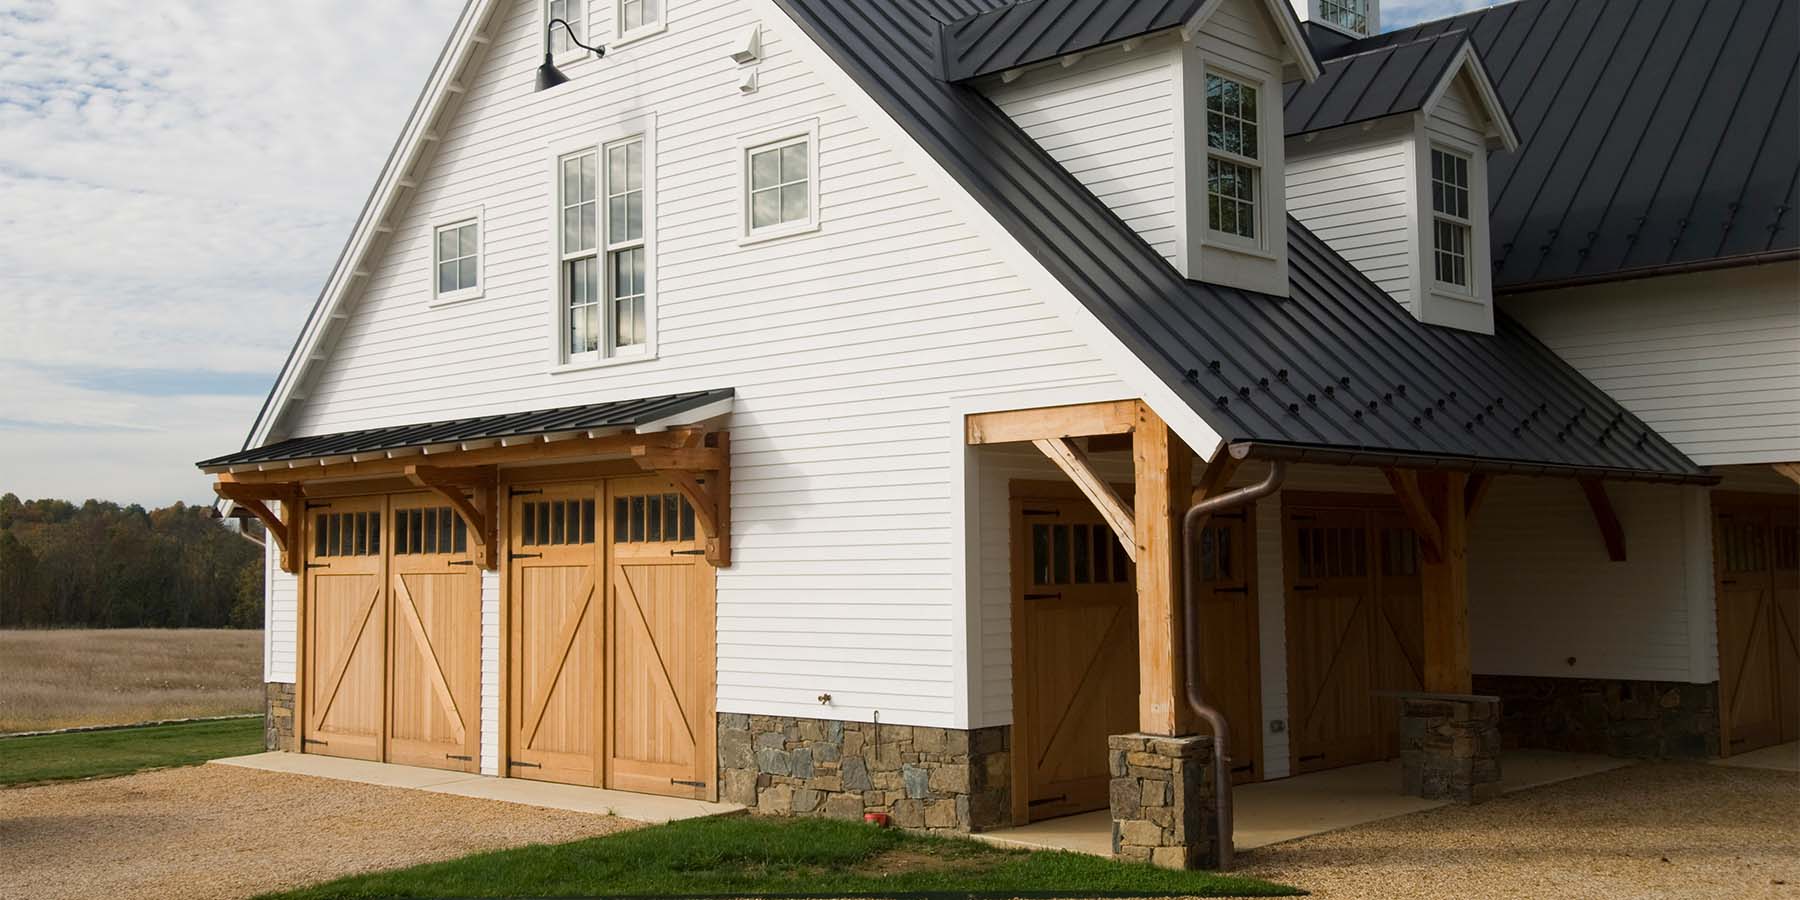
Enhance the visual appeal with trim boards around the edges of the awning. Not only do they provide a finished look, but they also help seal any gaps, improving weather resistance. Consider painting or staining the wood to match or complement your home’s exterior.
Maintenance and Enjoyment
Your DIY wooden awning is now complete, ready to provide years of shade and enjoyment. Regular maintenance, including cleaning and inspecting for signs of wear, will prolong its lifespan. Remember to reapply protective coatings periodically, especially if using natural woods like cedar.
Embracing Innovation: Integrating Smart Technology
As technology integrates further into our daily lives, consider taking your wooden awning project a step further by incorporating smart features. Here are a few ideas to elevate your outdoor living experience:
- Smart Lighting: Install LED strip lights or smart bulbs beneath the awning’s edge or within the framework. With voice control or mobile app integration, you can adjust the ambiance for evening gatherings or create a relaxing atmosphere at the touch of a button.
- Motorized Retractable Awnings: If your design allows, integrate a motorized system that lets you retract or extend the awning based on weather conditions or preference. Smart home systems can automate this process, ensuring optimal shade when needed and protection during storms.
- Solar Panels Integration: For an eco-friendly twist, mount solar panels on the top of the awning to harness sunlight for energy. This not only powers any integrated smart features but can contribute to your home’s overall electricity needs.
- Weather-Responsive Sensors: Install sensors that automatically adjust the awning position based on weather conditions. These can detect wind speed, rainfall, or excessive sun exposure, ensuring your outdoor space remains protected and comfortable.
-
Integrated Sound System: Embed wireless speakers into the awning structure, allowing you to stream music or podcasts seamlessly while enjoying your outdoor haven. Bluetooth connectivity ensures compatibility with most smart devices.
Celebrating Your Creation: Hosting Gatherings & Relaxation
With your technologically advanced wooden awning in place, it’s time to make the most of your new outdoor living space. Host summer barbecues, intimate dinner parties, or simply unwind with a good book under the comforting shelter it provides. The addition of smart features not only adds convenience but also transforms your outdoor space into a sophisticated, adaptable environment that can cater to any mood or event.
Sharing Your DIY Journey
Documenting and sharing your DIY wooden awning project can inspire others to embark on similar ventures. Whether through a blog, social media, or simply showing off your handiwork to friends and family, sharing your experience, challenges overcome, and the final result can foster a sense of community and encourage creativity among fellow DIY enthusiasts.
Reflecting on the Value Added
Beyond the immediate benefits of comfort and aesthetics, your wooden awning also contributes to the overall value of your property. Prospective buyers are often attracted to homes with well-designed outdoor living spaces, which can translate into a higher resale value. It’s a testament to the long-term investment you’ve made in both your lifestyle and the future of your home.
Conclusion: Crafting More Than Shade
This DIY project goes beyond just creating a shaded retreat; it’s an opportunity to infuse your outdoor space with personal style and craftsmanship. By following these steps, you’ve not only enhanced your home’s functionality but also its curb appeal, turning your outdoor haven into a true extension of your living space. So, sit back, relax under your new wooden awning, and enjoy the fruits of your labor—a cool, comfortable oasis amidst the warmth of summer days.