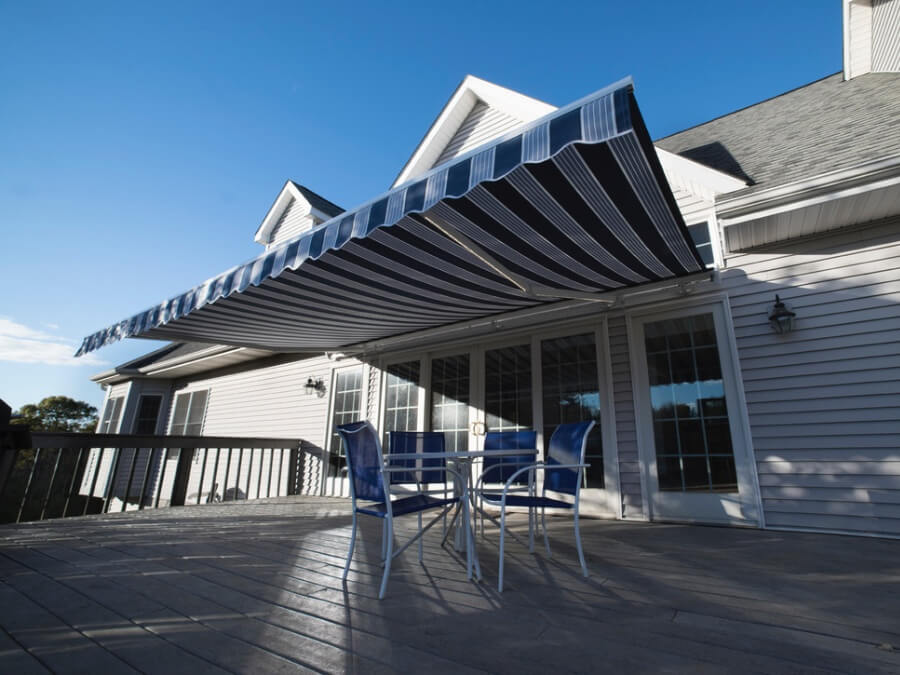
Outdoor spaces are wonderful extensions of our homes, providing areas where we can relax, entertain, and enjoy the beauty of nature. However, exposure to harsh sunlight or sudden rain showers can sometimes make these spaces less comfortable. An awning is a practical solution that offers both shade and shelter, enhancing the usability of your outdoor areas. This guide will walk you through the process of building your own awning, from selecting materials to final installation, ensuring you create a functional and attractive addition to your home.
Choosing the Right Location
The first step in building an awning is selecting the right location. Consider areas that get the most sun or are frequently used for activities such as dining, lounging, or socializing. Measure the space to determine the dimensions of the awning you need. Think about the direction of the sun and prevailing winds, as these factors will influence the effectiveness of your awning. Ensure the location is free of obstructions like tree branches, electrical wires, or other structures that might interfere with the installation. By carefully choosing the location, you set the foundation for a successful project.
Selecting Materials and Design
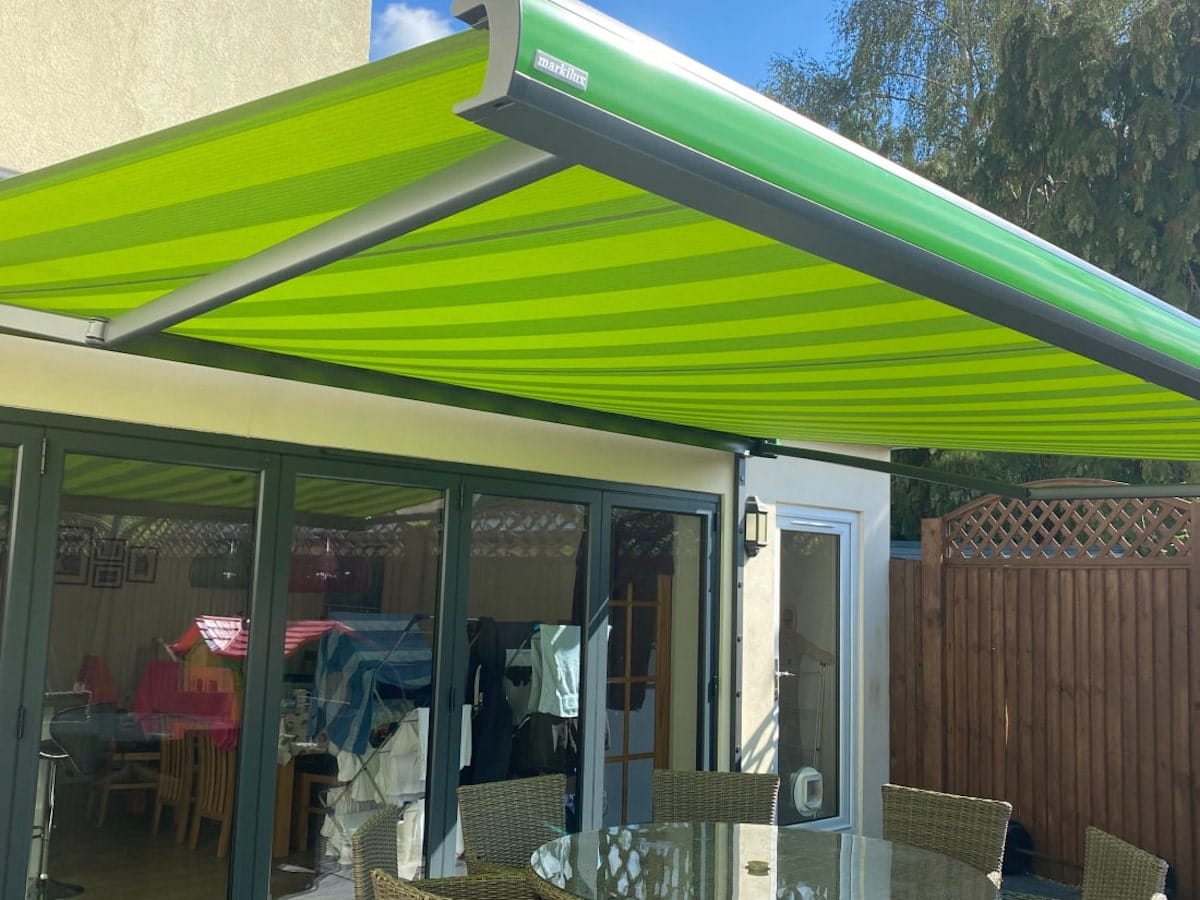
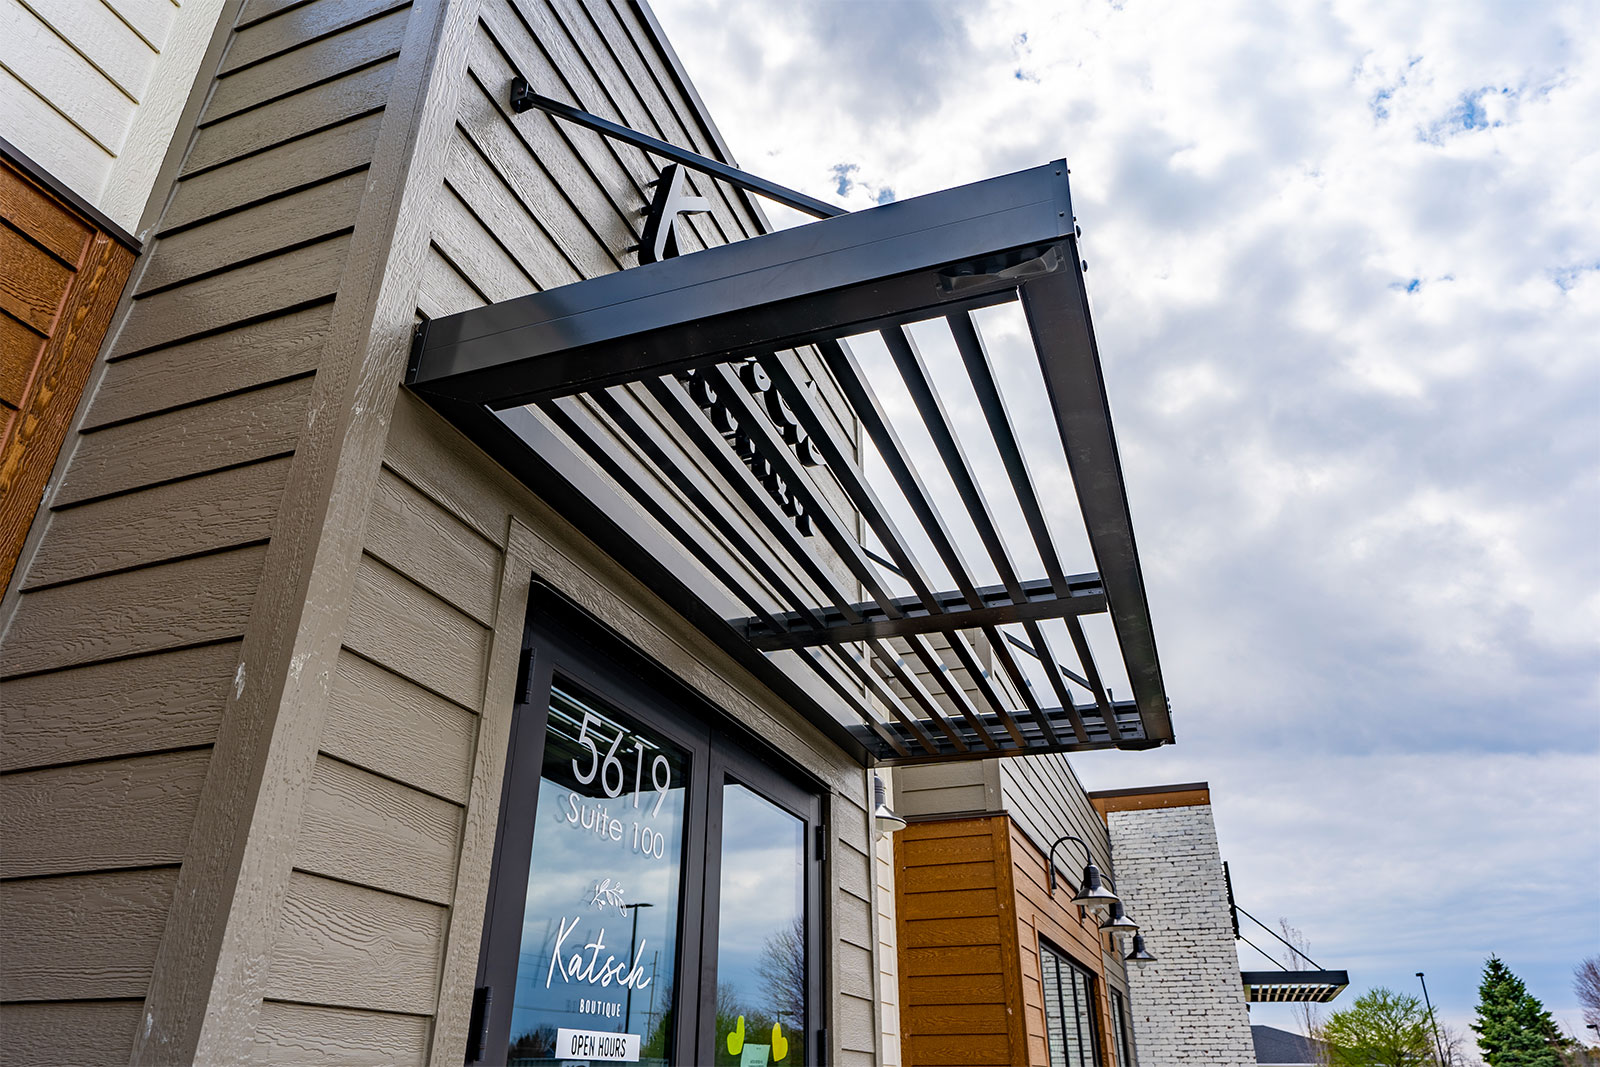
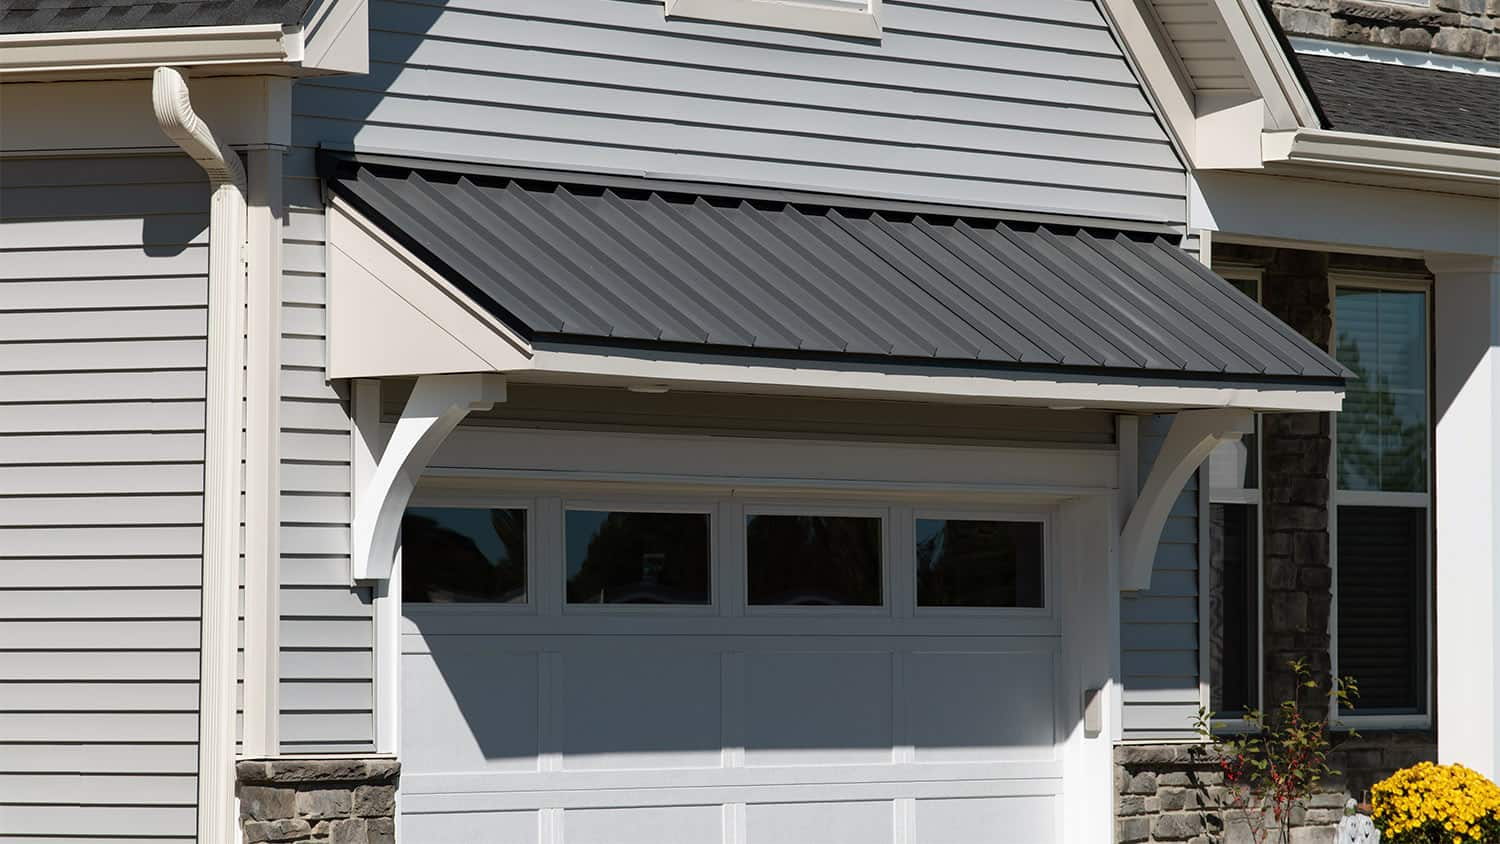
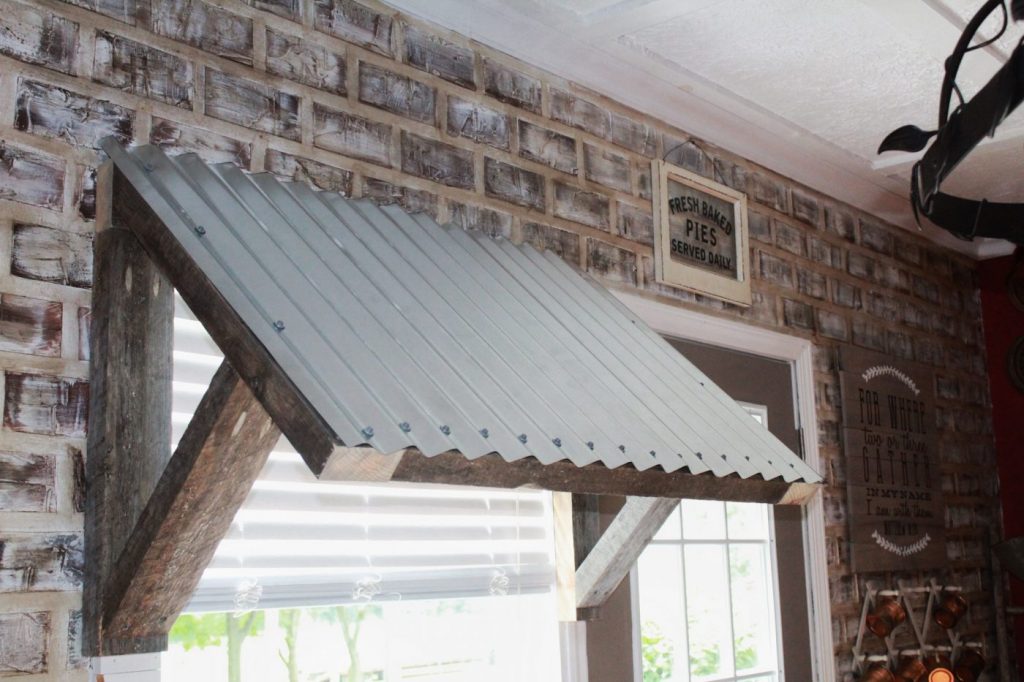
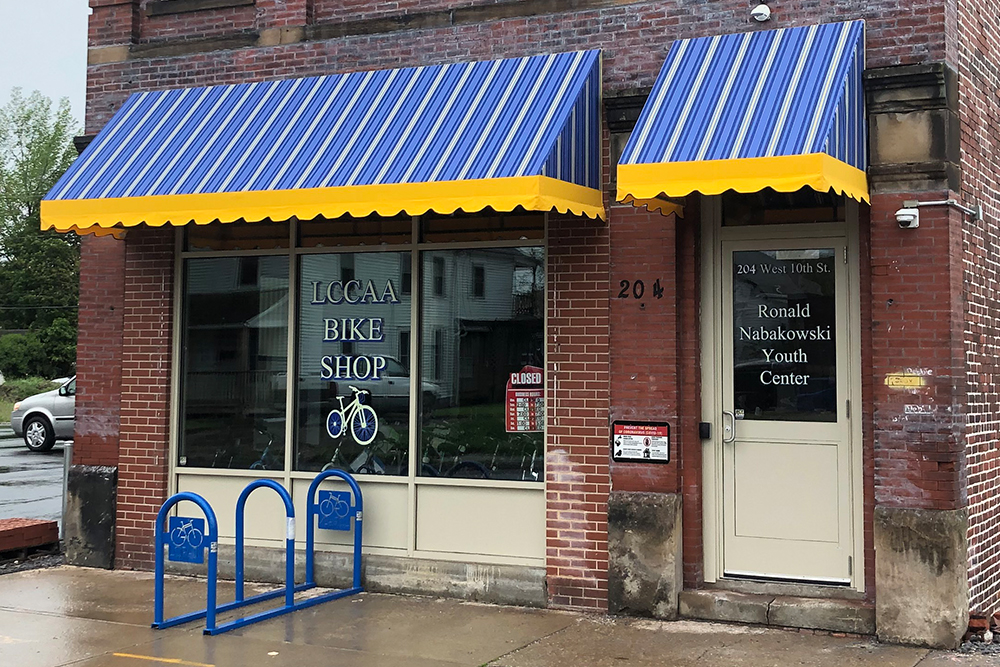
Once you’ve determined the location, it’s time to choose the materials and design for your awning. Awnings can be made from various materials, including metal, wood, and fabric. Metal frames, such as aluminum or steel, offer durability and low maintenance, while wood provides a more natural and aesthetic appeal but requires regular upkeep. For the covering, consider using durable outdoor fabrics like acrylic or polyester blends that resist UV rays, mildew, and water. Design options range from simple, flat-top awnings to more intricate, retractable models. Select a design that complements your home’s architecture and meets your functional needs.
Gathering Tools and Supplies
Before you begin construction, gather all the necessary tools and supplies. Essential tools include a tape measure, level, drill, screws, bolts, saw, and safety gear such as gloves and goggles. Depending on your chosen materials, you might also need a welding machine for metal frames or carpentry tools for wooden structures. Make sure you have all the components for the frame and covering, including brackets, support arms, and mounting hardware. Having everything ready before you start will streamline the construction process and prevent unnecessary interruptions.
Preparing the Site
Preparing the site is crucial for a smooth installation. Clear the area of any obstacles and ensure the surface is level. If you’re attaching the awning to an existing structure, such as a wall or roof, inspect the surface for any damage and make necessary repairs. Mark the locations where the brackets and supports will be installed, using a level to ensure accuracy. Double-check your measurements to avoid mistakes that could compromise the stability and appearance of the awning. Proper site preparation ensures a solid foundation and reduces potential issues during construction.
Building the Frame
With the site prepared, you can begin building the frame for your awning. Follow the design plans carefully, cutting the frame materials to the correct lengths and assembling them according to the instructions. For metal frames, welding may be required to join sections securely. For wooden frames, use screws and bolts to connect the pieces, reinforcing joints with brackets if necessary. Ensure the frame is square and level at each stage of assembly. The frame serves as the backbone of your awning, so take your time to construct it accurately and robustly.
Installing the Frame
Once the frame is assembled, it’s time to install it in the chosen location. Enlist the help of a friend or family member, as frames can be heavy and cumbersome to handle alone. Secure the brackets to the wall or roof, ensuring they are firmly attached and capable of supporting the weight of the awning. Lift the frame into position and attach it to the brackets, double-checking that everything is level and aligned correctly. Use appropriate hardware, such as anchor bolts for masonry walls or lag screws for wood, to ensure a secure installation. Properly installed frames provide the stability needed to withstand wind and weather conditions.
Attaching the Covering
With the frame securely in place, you can now attach the covering. If you’re using fabric, cut it to size, allowing for some overlap to ensure complete coverage. Attach the fabric to the frame using staples, screws, or clips, depending on the design of your awning. For metal or polycarbonate coverings, align the panels with the frame and secure them using screws or bolts. Ensure the covering is taut and free of wrinkles or sagging, which can collect water and cause damage. The covering not only provides shade and shelter but also adds to the overall aesthetic of your awning.
Adding Finishing Touches
After attaching the covering, add any finishing touches to enhance the functionality and appearance of your awning. Consider installing gutters or a drip edge to direct rainwater away from the seating area. You can also add curtains or side panels for additional shade and privacy. Decorative elements like trim, paint, or lighting can complement the design of your home and create a welcoming outdoor space. These finishing touches personalize your awning, making it a more enjoyable extension of your living area.
Ensuring Stability and Safety
Safety should always be a priority when building and using an awning. Regularly inspect the structure for signs of wear or damage, such as rust, loose bolts, or torn fabric. Tighten any loose fittings and replace damaged components promptly. If you live in an area prone to high winds or heavy snowfall, consider retracting or removing the awning during extreme weather to prevent damage. By maintaining the stability and safety of your awning, you can enjoy its benefits for years to come without worrying about accidents or structural failures.
Enjoying Your New Awning
With your new awning complete, it’s time to enjoy the enhanced comfort and usability of your outdoor space. Arrange furniture and decor under the awning to create a cozy and inviting area for relaxation or entertainment. Whether you’re hosting a summer barbecue, reading a book, or simply enjoying a cup of coffee, your awning provides a comfortable and shaded retreat. Take pride in your DIY accomplishment and share the space with friends and family, creating lasting memories in your beautiful outdoor oasis.
Maintaining Your Awning
Proper maintenance is essential to keep your awning looking good and functioning well. Regularly clean the fabric covering with mild soap and water to remove dirt and stains. Inspect the frame for signs of rust or corrosion and apply a protective coating if necessary. Tighten any loose screws or bolts to maintain the structural integrity of the awning. During the winter months, consider removing or retracting the awning to protect it from snow and ice. By following these maintenance tips, you can extend the lifespan of your awning and ensure it remains a valuable addition to your home.
Conclusion
Building an awning is a rewarding DIY project that enhances the functionality and aesthetics of your outdoor space. By carefully selecting the location, materials, and design, and following proper construction and installation techniques, you can create a durable and attractive awning that provides shade and shelter. With regular maintenance, your awning will continue to offer comfort and protection for many years. Embrace the opportunity to enhance your home and enjoy the many benefits of a well-designed awning, transforming your outdoor area into a versatile and inviting space.