Introduction to Hammock Knots
Setting up a hammock with confidence starts with knowing your knots. A good knot supports you and keeps your hammock from coming undone. Master the knots, and you’re on your way to relaxation wherever you choose to hang.
The Importance of Learning the Right Knots
Learning the right knots matters for safety and ease. The proper techniques can prevent falls and ensure lasting comfort. They also protect trees and make setup quick, important for any hammock enthusiast. Secure knots mean worry-free down time.

Selecting Your Hammock Hanging Spot
Finding the best spot for your hammock ensures a safe and enjoyable experience. Select two trees that are strong and the right distance apart. Make sure they can bear your weight plus the hammock’s.
Sourcing Healthy Trees and Using Tree-Friendly Straps
When you look for trees, check that they are healthy and sturdy. They should not show signs of disease or weakness. Also, they should be roughly 10 to 15 feet apart to match your hammock’s length. Use tree-friendly straps to avoid damaging the bark. These straps spread the load and prevent cuts into the tree. Be sure to wrap the straps at eye level and check that they sit snug and even around the tree. With the right trees and straps, you’re set for a safe hang.
The Shoelace Knot for Hammocks
Initiating your hammock hang begins with an easy, robust knot: the shoelace knot. This simple knot is a fundamental skill for securing hammocks quickly. You might recognize it from tying your footwear. It’s just as sturdy when you apply it to hammocks.
Step-by-Step Guide to Tying the Shoelace Knot
Begin with a rope and follow these short steps for a reliable hold:
- Loop the rope around the support, like a tree. Do this several times.
- Cross the rope’s ends over one another, as if starting to tie your shoe.
- Make a loop with one end, the same way you do with shoelaces.
- Wrap the other end around this loop, pulling it through the hole that forms.
- Pull on both ends to tighten the knot securely around the tree.
Behold, the shoelace knot! It’s simple to master and it offers a firm anchor for your hammock. Plus, its familiarity makes it a go-to choice for many hammock hangers. Remember to wrap the rope multiple times around the tree to distribute weight and prevent slipping. With this knot, you can rest easy, knowing your hammock is secure.
The Falconer’s Knot for Hammock Security
The Falconer’s Knot is a favorite among hammock enthusiasts. It’s simple to tie and very secure. You’ll want to learn this knot for situations where quick release is not a priority.
How to Tie the Falconer’s Knot
- Wrap the rope around the tree from right to left.
- Place the rope’s end that is attached to the hammock (the standing end) in your right hand.
- Grasp the free end with your left hand, crossing it over the standing end.
- Tuck the free end under and around the standing end, holding it between your index and middle finger.
- Create a loop by twisting your hand to the right with a thumbs-up gesture.
- Pass the free end through the loop made by your thumb.
- Thread the free end through the smaller loop now in front of your fingers.
- Pull both ends to tighten the knot around the tree.
Once you’ve mastered the Falconer’s Knot, it adds a reliable option for your hammock hanging adventures. Its strength is a major plus, making your hammock hang securely in place.

Mastering the Half Hitch for Added Stability
The Half Hitch is essential for hammock hanging as it provides additional stability.
Implementing the Half Hitch in Hammock Setup
To begin, wrap your rope around a sturdy tree or object. After looping the rope, let the tail end pass around the hanging rope. Next, thread it through the bottom loop. Pull it tight to secure the knot. Although the Half Hitch alone isn’t very strong, doubling it increases its strength. Use Double Half Hitches for holding a hammock effectively. This knot helps stabilize extension lines like rainflies. Practice makes perfect; keep tying until it feels natural.
The Strong and Versatile Bowline Knot
The Bowline Knot, notable for its strength and simplicity, is integral for secure hammock hanging.
Instructions for Tying a Bowline Knot
- Start by making a small loop near the rope’s end.
- Pass the tail end through the loop from the underside.
- Wrap the tail around the standing part of the rope.
- Bring the tail back down through the loop.
- Tighten the knot by pulling on both the tail and the standing rope.
Once tight, the Bowline Knot holds firmly, making it perfect for ensuring your hammock stays securely in place.
Using the Taut Line Hitch for Adjustable Tension
The Taut Line Hitch is ideal for those who need adjustable tension in their hammock setup. This knot allows for easy adjustments, making it perfect for ensuring your hammock is at the right tension for comfort and stability.
Techniques for Tying and Adjusting the Taut Line Hitch
- Start by wrapping the rope around a sturdy object, like a tree or pole.
- Loop the free end through the loop you just created.
- Wrap the end through the loop again, two times.
- Adjust the tension by sliding the knot up or down the rope.
- Test the adjustment by pulling slightly to ensure it holds under tension.
- Once adjusted, the taut line hitch should allow for movement along the rope without slipping.
Proper use of this knot is great for fine-tuning hammock suspension, providing a custom fit that enhances comfort. It’s a versatile tool that, once mastered, significantly improves your hammock experience.
Alternative Hammock Hanging Methods
While ropes and knots are traditional for hammock hanging, other methods exist. These alternatives can provide ease of use, environmental benefits, and versatility.
Tree Straps, Carabiners, and Hammock Stands
Tree Straps:
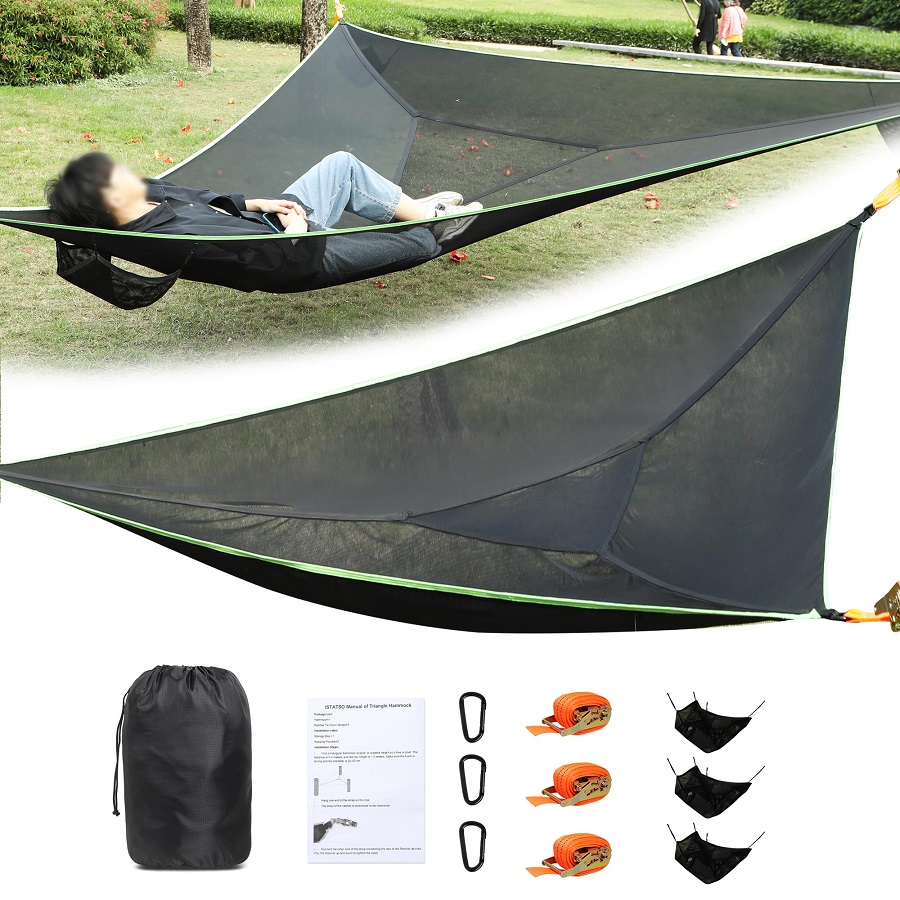
They are usually made of durable nylon. One end hooks to the hammock using carabiners. The other wraps around a tree. This method is easier than tying knots. It is also gentler on trees, preventing damage to the bark.
Carabiners:
Many hammocks come with carabiners attached at each end. Attach these directly to the tree straps or other secure points. Carabiners make it simple to clip and unclip your hammock. This is especially useful for quick setups and take-downs.
Hammock Stands:
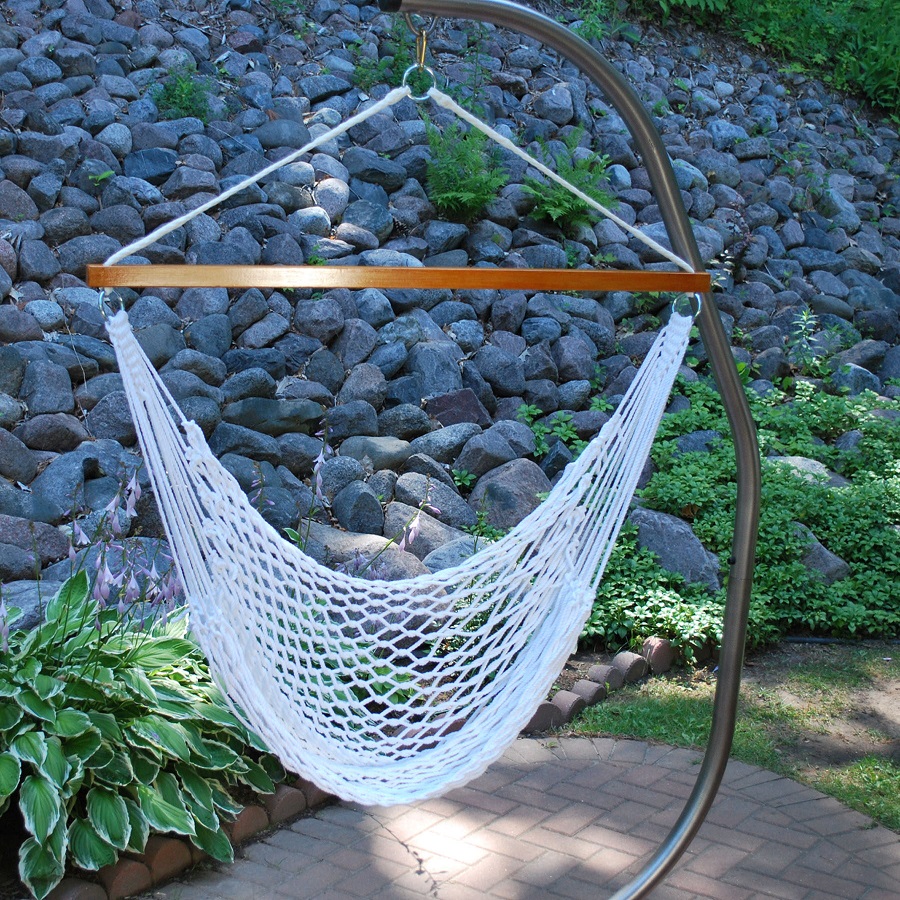
No trees? No problem! A hammock stand allows you to set up a hammock anywhere. Stands are great for patios, beaches, or camping in treeless areas. They eliminate the need for straps or ropes. Most are portable and easy to assemble.
These methods enable flexible hammock placement and less impact on natural surroundings. They cater to various environments and personal preferences. Also, they encourage responsible outdoor recreation practices.

Conclusion and Safety Tips for Hammock Hanging
Wrapping up, we know how vital good knots are for hammock safety. Use the knots we discussed for secure hangs. Always double-check your work. Safety comes first, so inspect your knots before relaxing.
Tips for Testing and Enjoying Your Hammock
Here’s how to test and enjoy your hammock safely:
- Gently push down on your hammock with your hands. This helps check stability.
- Sit slowly into the hammock. Make sure it supports your weight well.
- Look around for loose ends or slip-ups.
- Lie back gradually. Adjust position for comfort and balance.
- Swing slightly to ensure a solid hang.
- Relax and have fun. A well-hung hammock is a joy to use.
Remember these tips to stay safe and get the most out of hammocking. Happy hanging!
