Introduction to Porch Swing Building
Creating a DIY porch swing can be a rewarding project, not only because you end up with a beautiful piece of outdoor furniture but also because the process itself can be quite enjoyable. For many, the allure of building their own porch swing lies in the customization and sense of accomplishment that comes with completing a DIY project. In this guide, we’ll walk you through the steps of how to make a porch swing that will be the envy of your neighborhood.
Benefits of Building Your Own Porch Swing
There are numerous benefits to taking on the task of building your porch swing. Some of these advantages include:
- Cost-effectiveness: Often, making your own porch swing is less expensive than purchasing a pre-built one. You control the budget and pick materials that offer a balance between quality and affordability.
- Customization: When you build your own swing, you have the freedom to choose the design, size, and features that you want. Whether it’s a personalized carving or a built-in cup holder, your swing will be one of a kind.
- Quality Time: This project can be a fun way to spend time with family or friends. The collaborative effort can strengthen relationships and create lasting memories.
- Skill Building: Assembling a porch swing from scratch can help you improve your woodworking and tool-handling abilities. Every cut, drill, and sand moves you one step closer to becoming a more skilled DIY enthusiast.
- Satisfaction: There’s a unique sense of satisfaction and pride that comes from using furniture that you’ve built with your hands. It becomes a conversation starter and a true labor of love.
In the following sections, we will delve into the specifics of selecting the right tools and materials, outlining a step-by-step construction process, adding finishing touches, and maintaining your porch swing for years of enjoyment. Let’s get started on this exciting DIY journey!

Required Tools and Materials
Gathering the right tools and materials is the first step to ensuring your DIY porch swing project is successful and enjoyable. Selecting high-quality materials and having the correct tools on hand will streamline the construction process and result in a sturdy, long-lasting porch swing.
Choosing the Right Wood and Materials
When deciding on wood for your porch swing, consider factors like durability, weather resistance, and aesthetics. Cedar is a popular choice for its natural rot resistance and attractive finish but may require more sanding due to its powdery nature when cut. Pine is more affordable but less suitable for outdoor use unless properly treated. Remember to purchase hardware that is rated for exterior use to prevent rust and deterioration.
- Select weather-resistant wood like cedar or treated pine.
- Buy exterior-grade screws, bolts, and chains.
- Consider a traceable pattern or template for consistent cuts.
Essential Tools for Construction
Having the right tools will make the construction process smoother and safer. A drill is essential for making clean, precise holes, while a jigsaw is required for cutting the wood into the right shapes. Sanding tools are non-negotiable to ensure a smooth finish, and a router with a round-over bit can provide a soft edge to your swing. Clamps and a miter saw will also be helpful during assembly.
- Drill for holes and a screwdriver for assembly.
- Jigsaw for detailed cuts and a miter saw for straight cuts.
- Sandpaper or a sander for smooth surfaces.
- Router with a round-over bit for edges.
- Clamps to hold pieces in place during construction.
In the following sections, we’ll guide you through the step-by-step construction process, including how to prepare the wood, build the frame, and attach slats and supports.
Step-by-Step Construction Process
Preparing the Wood
To begin, select the best quality cedar or treated pine boards. If using cedar, remember that it can be powdery, so wearing a dust mask during sanding is advised. Firstly, measure and cut your wood according to the desired dimensions of your porch swing. Use a miter saw for straight cuts, ensuring precision. Once all pieces are cut, thoroughly sand each piece to create smooth surfaces and edges. This initial preparation will set the foundation for a sturdy and aesthetic swing.
Constructing the Frame
Start assembling the frame by laying out the bottom and back supports. Use a drill to make pilot holes, then secure the pieces using exterior-grade screws and bolts. If your design includes armrests or supports, attach these next. For accurate alignment and to prevent the wood from splitting, drill pilot holes before inserting any hardware. Construction of the frame is critical as it determines the overall strength and durability of your porch swing.
Attaching Slats and Supports
Once the frame is assembled, begin attaching the seat slats. Start from the front, moving towards the back, ensuring each slat is evenly spaced. Use a template or spacer for consistency. Predrill the holes to avoid wood splits and screw the slats into place. Attach the back slats similarly, and ensure all are secure. This step completes the basic structure of your porch swing. Check every joint and connection to ensure a robust build, ready to be finished and enjoyed.

Finishing Touches
After crafting your porch swing, it’s time to give it the final touches that not only enhance its appearance but also ensure its durability and comfort.
Sanding and Painting
Before you paint, make sure to sand your porch swing thoroughly. This smooths out any rough patches and prepares the surface for painting. Choose an outdoor-friendly paint that can withstand the elements. Apply at least two coats for a uniform and protective finish. Let each coat dry completely before applying the next.
Adding Chains and Hanging the Swing
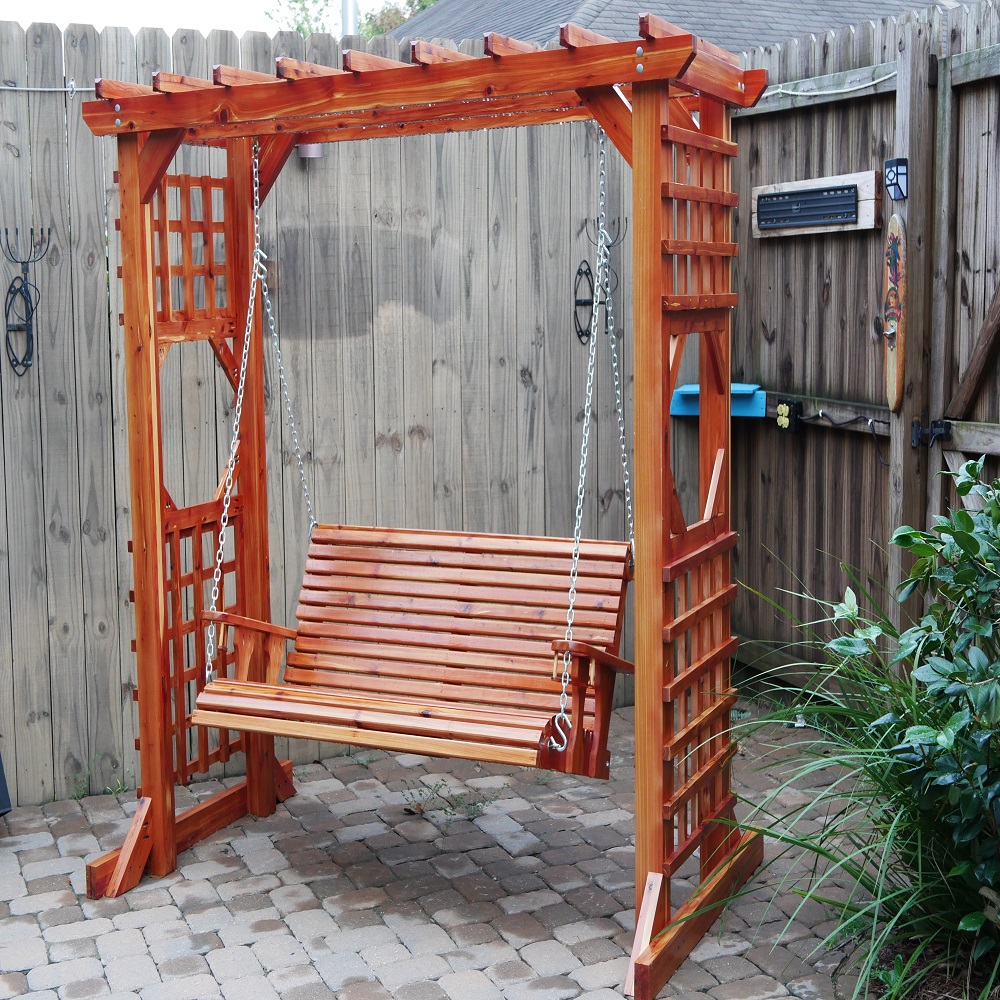
To hang your swing, you will need strong, weather-resistant chains. Measure how low you want your swing to sit, and adjust the chain length accordingly. Attach the chains securely to the reinforced areas of the swing’s frame. Always ensure the support beam, from which the swing will hang, can handle the weight. Once attached, test the swing gently to confirm it is securely installed and balanced. Enjoy your new DIY porch swing, perfect for relaxing outdoor moments.
Customization Ideas for Your Porch Swing
Your DIY porch swing doesn’t just have to be functional; it can be a reflection of your personal style and creativity. Here are some ideas to make your swing one-of-a-kind.
Design Variations
- Experiment with Shapes: Consider incorporating unique shapes into your swing’s backrest or armrests.
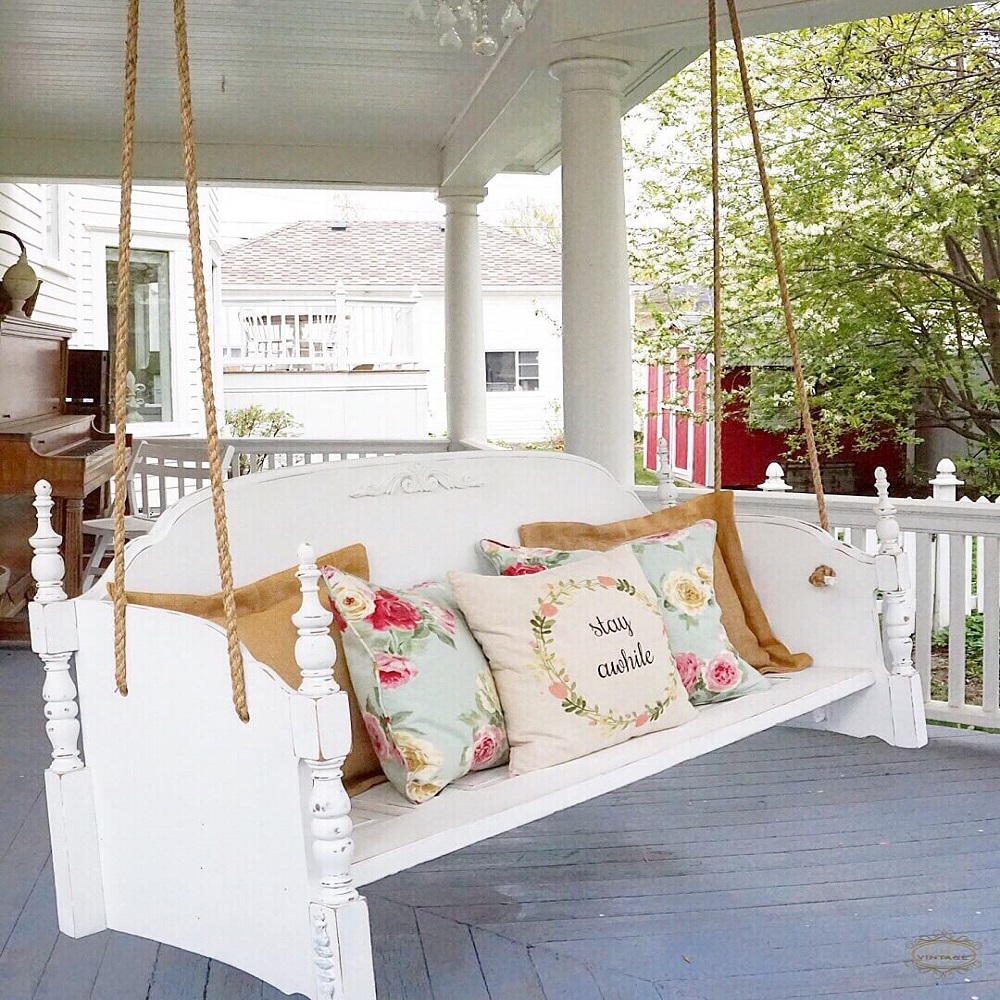
- Mix Materials: Use a combination of wood and metal, or add elements like rope or fabric for a distinct look.
- Adjustable Back: Create a reclining backrest for added comfort.
- Swing Size: Build your swing to fit more people or customize its size for a cozy nook.
These design tweaks can give your swing a unique twist, setting it apart from the standard models.
Personalized Carvings and Paint Jobs
- Names and Dates: Carve in names, important dates, or a favorite quote.
- Patterns and Motifs: Paint geometric patterns, stripes, or nature-inspired motifs.
- Color Schemes: Choose colors that complement your home or garden’s palette.
- Sealant with Tint: Pick a wood sealant that adds a tint for extra color while protecting.
Personal touches make your swing memorable and can add to the ambience of your outdoor space.
Maintenance Tips
Caring for your DIY porch swing ensures it remains beautiful and safe for years.
Regular Inspection and Upkeep
Regularly check your swing for any loose bolts or signs of wear. Tighten screws and bolts as necessary; some may loosen over time due to normal use. Look for any cracks or splinters in the wood. Sand these areas immediately to prevent them from worsening or causing injury. It is advisable to inspect the swing before each use and after severe weather conditions.
Weatherproofing Solutions
To protect your porch swing from the elements, apply a weatherproofing sealant annually. Choose a sealant suitable for the type of wood you used. This can help prevent water damage and wood rot. If possible, cover your swing during extreme weather or when not in use. Consider installing your swing under a covered area to lessen direct exposure to rain and sun.

Conclusion & Safety Tips
As you complete your DIY porch swing project, remember to perform final checks and adhere to safety measures. Completing your project brings a sense of satisfaction and adds a personal touch to your outdoor living space. Here’s what to keep in mind for a safe and durable swing.
Final Assembly Checks
Before enjoying your new swing, double-check every part:
- Inspect all bolts, screws, and chains to ensure they are tight.
- Look over the wood for splinters or cracks; sand if necessary.
- Confirm that the swing hangs level and has no wobbling.
- Test the swing gently to check its stability and balance.
These steps are key to ensuring a reliable and safe porch swing experience.
Safety Precautions while Using the Swing
Safety is crucial when using your porch swing:
- Only sit on the swing when it is completely still.
- Make sure the swing’s support beam is strong.
- Do not exceed the weight limit recommended for the swing.
- Keep children supervised when they use the swing.
By following these precautions, you help prevent accidents and enjoy your porch swing to the fullest.
