Introduction to Building a Porch Swing
Nothing compares to the serene pleasure of enjoying a gentle sway on a porch swing on a warm summer evening. Building a wooden porch swing by yourself can be a fulfilling project. It gives you the ability to craft something beautiful and functional with your own hands. Whether you’re a seasoned woodworker or a DIY enthusiast, this guide is tailored to help you every step of the way. We’ll provide you with straightforward instructions on how to build a wooden porch swing from scratch.
The process is simpler than you might think, and the result is a charming, sturdy swing that will enhance any porch or outdoor space. You can pick cedar for its natural resistance to rot or opt for pine and apply a sealant for budget-friendliness. With a few essential tools and materials, you’re set to create a space for relaxation and delight that can be enjoyed for years to come.
Get ready to embark on this woodworking journey that will not only teach you valuable building skills but will also leave you with a handcrafted item that is sure to be the highlight of your outdoor living area. Let’s begin the adventure of creating a place where memories are made, starting with a list of materials and tools you’ll need for the job in the next section.

Materials and Tools Needed
Before beginning your wooden porch swing project, gathering all necessary materials and tools is crucial. This preparation ensures a smooth process and helps avoid any interruptions once you start. Below is a comprehensive list that will aid you in how to build a wooden porch swing.
Materials
- Cedar boards (alternative: pine boards plus sealant for a budget option)
- Screws and carriage bolts
- Washers and nylon nuts
- Chains for hanging the swing
- Teak oil or other protective wood finish
Take special note that cedar is preferred due to its rot resistance, but pine can be used if treated adequately with a good sealant. Remember to buy extra material to account for any errors or missteps.
Tools Needed
- Jigsaw (an essential tool for cutting your boards to shape)
- Drill (for making holes and driving screws)
- Speed square (to ensure all your angles are accurate)
- Hammer (to tap bolts into place)
- Miter saw or an alternative saw if you don’t have one
- Router with a round-over bit (optional, for smooth edges)
- Countersink drill bit (to pre-drill for screws)
- Sandpaper (to soften any sharp edges by hand)
- Wrench (for tightening nuts and bolts)
This list includes both the basics and some optional tools that can give your swing a more polished look. If you lack some of the power tools, you can still complete the project with alternatives listed. Preparing your tools in advance will make the building process more efficient and enjoyable. The next sections will guide you through the assembly and finishing steps, so let’s get your tools ready and start building your own wooden porch swing!

Step 1: Assembling the Bottom and Back Support
Building a sturdy foundation is the first step in learning how to build a wooden porch swing. Start by laying out your cedar or pine boards for the bottom support and the back support. These elements are critical for a strong and durable swing. Use a speed square to ensure that the bottom support aligns perfectly with the footer. This precision guarantees a right angle for a balanced swing.
Align the speed square with the bottom support and footer, then secure it. Once set, drive in screws at the left and right ends, leaving the others for later. You only need a couple of screws for each support at this stage. The goal is to create a solid base that will later support the weight of the swing and its occupants.
Remember, if you chose pine over cedar, prepare to apply a robust sealant later on. Whichever wood you select, you’re on your way to building a beautiful porch swing that will last for years. Now that the bottom and back support are assembled, you’re ready to move on to the next step — preparing and attaching the arms.
Step 2: Preparing and Attaching the Arms
After setting up the base of the swing, the next step involves preparing and attaching the arms. This component is crucial for ensuring comfort and stability in your porch swing.
Firstly, measure and cut the arms to the desired length using your jigsaw. Precision is key, so make sure to double-check your measurements. Next, take the cut pieces to your drill press. Drill a hole at each end of the arms. This hole is where you will later attach the arms to the back supports of the swing.
Now, it’s time to attach the arms. Align the arm so that the drilled holes match up with the corresponding points on the back supports. Use carriage bolts to connect these parts. Slide the bolts through the holes and secure them with washers and nylon nuts on the other side. It’s advisable to use a hammer to tap the bolts through if they fit snugly.
Ensure everything is tightened and sits flush. The arms should be sturdy and should not wobble. Double-check all connections to ensure that everything is assembled correctly and securely.
With the arms now firmly in place, your porch swing starts to take shape. Next, you’ll be moving on to creating the arm and cup holder assembly, rounding out the structure for maximum comfort and functionality.
Step 3: Constructing the Arm and Cup Holder Assembly
Moving forward in learning how to build a wooden porch swing, we focus on comfort and convenience. Constructing the arm and cup holder assembly is your next step. This feature highlights the swing’s thoughtful design, catering to your relaxing moments with a beverage.
First, ensure that the front arm support is secure. Position it accurately and use screws from above to keep it in place. This will form a stable base for attaching the cup holder. Next, unite the bottom and back parts of the cup holder. When they are joined, affix this entire assembly to the arm. Use screws for a strong hold.
As you attach, keep things level and even. A well-built cup holder means no spills as you enjoy your swing. Take your time here, as doing it right adds to the swing’s overall charm and usability.
By completing this step, you enhance the swing’s functionality with a place to rest your drink. With the arm and cup holder assembled, your porch swing now combines comfort with practicality. Prepare for the next phase where we will focus on the seat and backrest, creating and attaching the slats.

Step 4: Creating and Attaching the Slats
In step four of learning how to build a wooden porch swing, we focus on the seat and back. For a snug and inviting swing, fitting the slats properly is vital. Here is how to create and attach them with ease.
First, choose your boards for the slats. You can opt for 1x2s or cut down 1x6s for a more cost-effective approach. Make sure to pick straight boards for an even finish. To soften the edges, use a router with a round-over bit. If you don’t have one, sanding by hand also works.
Next, cut the boards to the correct length. A miter saw is perfect for this task, but you can use a jigsaw if necessary. Once cut, begin securing the slats to the swing. Start at the front and back ends, working towards the middle. Use a drill with a countersink bit to make pilot holes. Then, switch to a Phillips bit to screw in the slats. Keep them evenly spaced with a scrap piece of wood as a guide.
With the slats in place, your swing’s shape comes to life. This step brings you one step closer to a handmade porch swing. Ensure all slats are fixed firmly and correctly. Doing so sets the stage for a durable and stable swing for years of enjoyment.
Step 5: Finishing Touches and Protective Coating
After assembling your porch swing, it’s time to add the finishing touches. The goal is to protect the wood and enhance its appearance. Here’s how to apply a protective coating with ease.
First, select a protective wood finish. Teak oil is a great choice for its ability to penetrate deep into the wood. It offers robust protection against the elements. If you opted for pine, applying a sealant is especially important to prevent rot.
Next, prepare the wood surface. Ensure it’s clean and free of dust. You may use sandpaper for a smooth finish. Wipe the swing with a cloth to remove any particles.
Now, apply the teak oil or sealant. Use a brush for an even coat. Cover all nooks and crannies to prevent moisture from seeping in. Allow the first coat to dry as per the product’s instructions. Then, apply a second coat for added protection.
Once dry, admire your swing’s enhanced natural beauty. The wood’s grain should stand out, and the surface should feel smooth to touch. Now, you’re ready to add the chains for hanging. Your swing is almost complete for the ultimate backyard relaxation spot.
Step 6: Attaching the Chains and Final Assembly
After applying the protective coating, it’s time to attach the chains. This step is crucial for ensuring that your porch swing is safely suspended and ready for use.
Start by measuring the appropriate chain length. This depends on your porch’s height and your preferred swing level. It’s best to leave some extra length for adjustments. Cut two equal lengths of chain.
Next, drill holes on either side of the swing’s top bar, making sure they align exactly opposite each other. This keeps the swing balanced. Insert a carriage bolt through each hole, and secure it with a washer and nylon nut. Ensure these are tightened to prevent any movement.
Connect one end of each chain to the bolts you just installed. Use ‘S’ hooks to secure the chains in place. These hooks offer easy adjustments and strong support.
Once the chains are attached, choose a stable and suitable spot for hanging your swing. Ensure the overhead support is robust enough to carry the swing’s weight, along with its occupants.
For the final assembly, double-check all the screws and bolts. Make sure everything is tight and secure. Your porch swing is now ready to hang and enjoy.
By following these steps, you have transformed simple materials into a delightful retreat. Sit back, relax, and enjoy the gentle sway of your newly crafted wooden porch swing.
Customizing Your Porch Swing
Adding personal touches to your porch swing can turn a great project into an outstanding one. Customization allows you to infuse your style and meet specific needs. Here are a few ways to make your wooden porch swing uniquely yours:
- Choose a Color: Paint or stain your swing to match your home’s exterior or to blend with your outdoor decor. Vivid colors can make your swing a focal point, while neutral tones will give it a classic look.
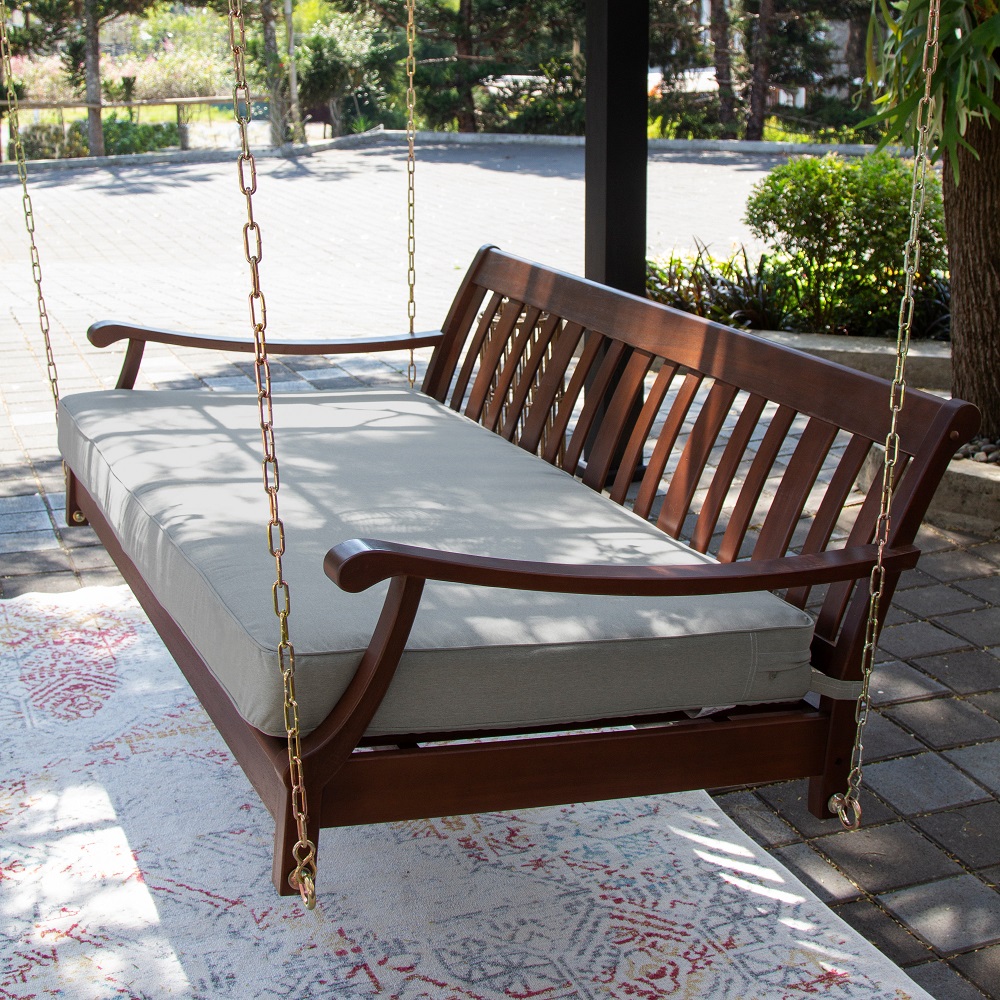
- Add Comfort with Cushions: Select outdoor cushions that complement your swing’s color. Comfortable cushions invite relaxation and add a cozy feel.
- Incorporate Carvings or Engravings: Carve designs or engrave names to add a personal history to your swing. This could be a family name, a special date, or a favorite quote.
- Install Side Tables: If you have the space, consider attaching small foldable side tables to your swing’s arms. They’re perfect for holding books, drinks, or decorative items.
Remember to use weather-resistant materials and coatings to maintain your custom features. With these personalized details, your porch swing will not only be a place of relaxation but also a reflection of your personality and creativity.
