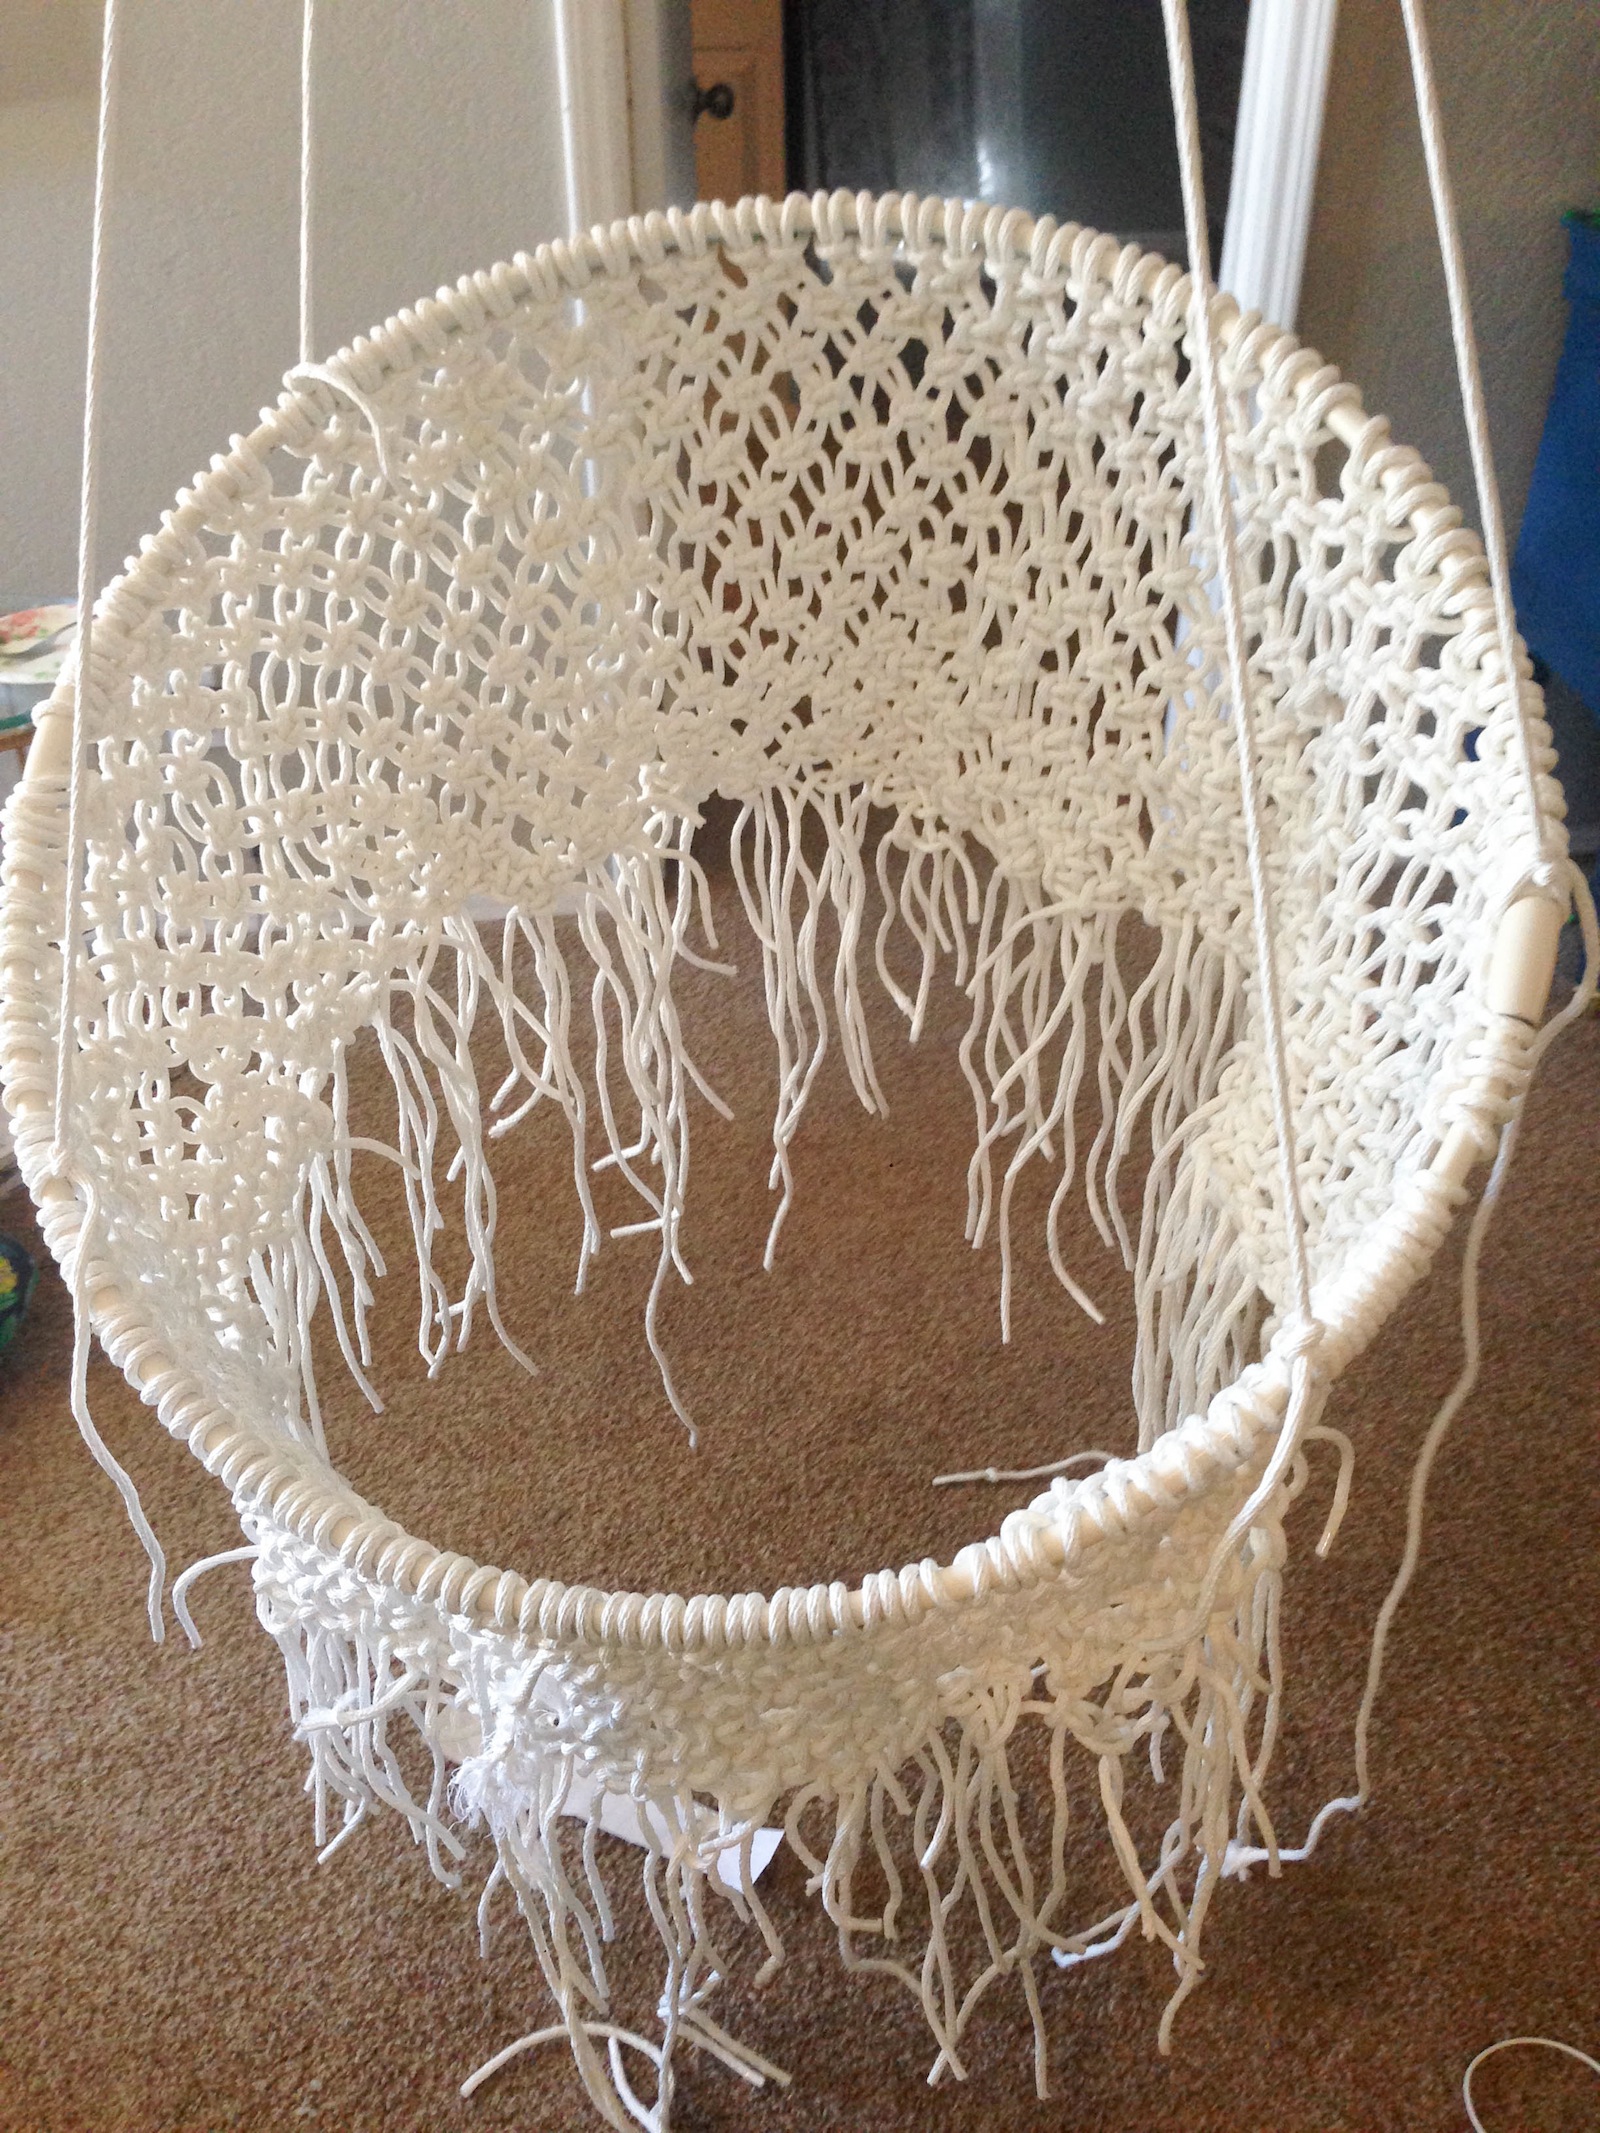
Introduction: Embracing Relaxation with a Homemade Hammock Chair
Imagine lounging in a cozy hammock chair, gently swaying in the breeze, with a book in hand or simply enjoying the tranquility of nature. Building your own hammock chair is not only a rewarding DIY project but also a practical way to enhance your outdoor space and embrace relaxation. In this guide, we’ll walk you through the step-by-step process of creating your own hammock chair, allowing you to enjoy the ultimate in comfort and relaxation right in your own backyard.
Gathering Materials: Setting the Foundation for Your Project
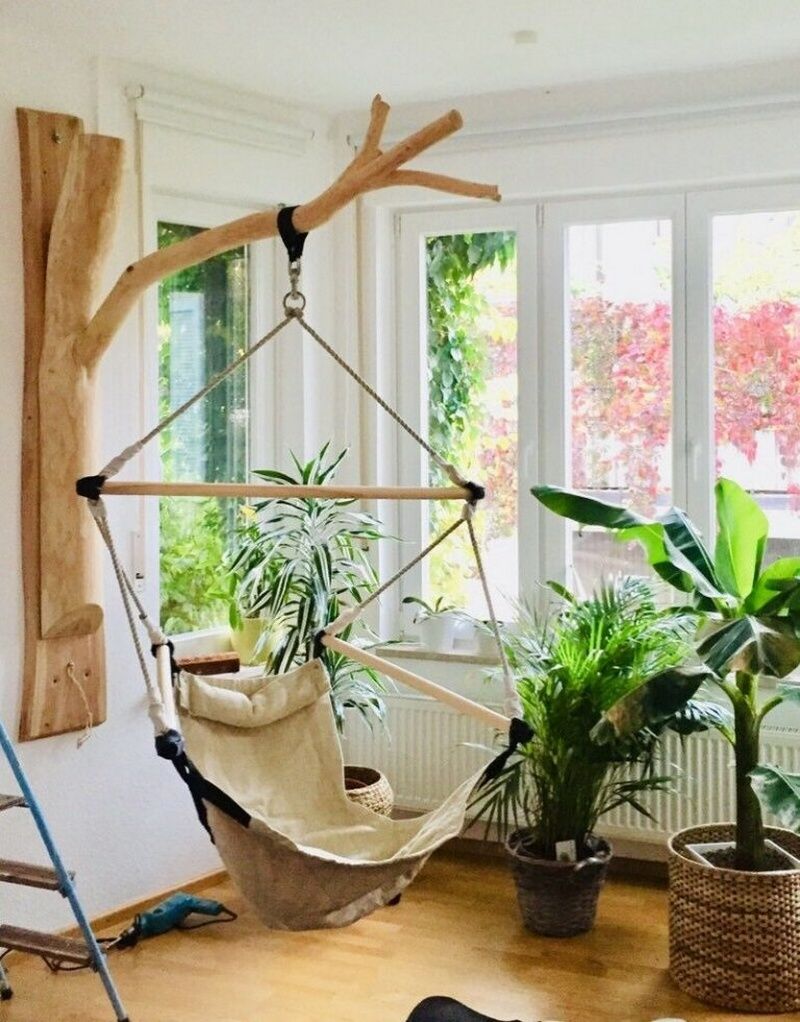
Before diving into the construction process, gather all the necessary materials for your DIY hammock chair project. You’ll need sturdy fabric or canvas for the seat, strong rope or cord for hanging, a wooden dowel or branch for the chair frame, and basic tools such as a drill, saw, and measuring tape. Additionally, consider purchasing cushions or pillows to enhance the comfort of your hammock chair and make it the perfect spot for lounging.
Choosing the Right Location: Finding the Perfect Spot
Selecting the ideal location for your hammock chair is essential for maximizing comfort and enjoyment. Look for a sturdy tree branch, pergola, or ceiling beam that can support the weight of the chair and provide ample space for swinging. Consider factors such as shade, privacy, and proximity to other outdoor amenities when choosing the location for your hammock chair, ensuring that it becomes a relaxing retreat that you’ll love spending time in.
Constructing the Frame: Building a Solid Foundation
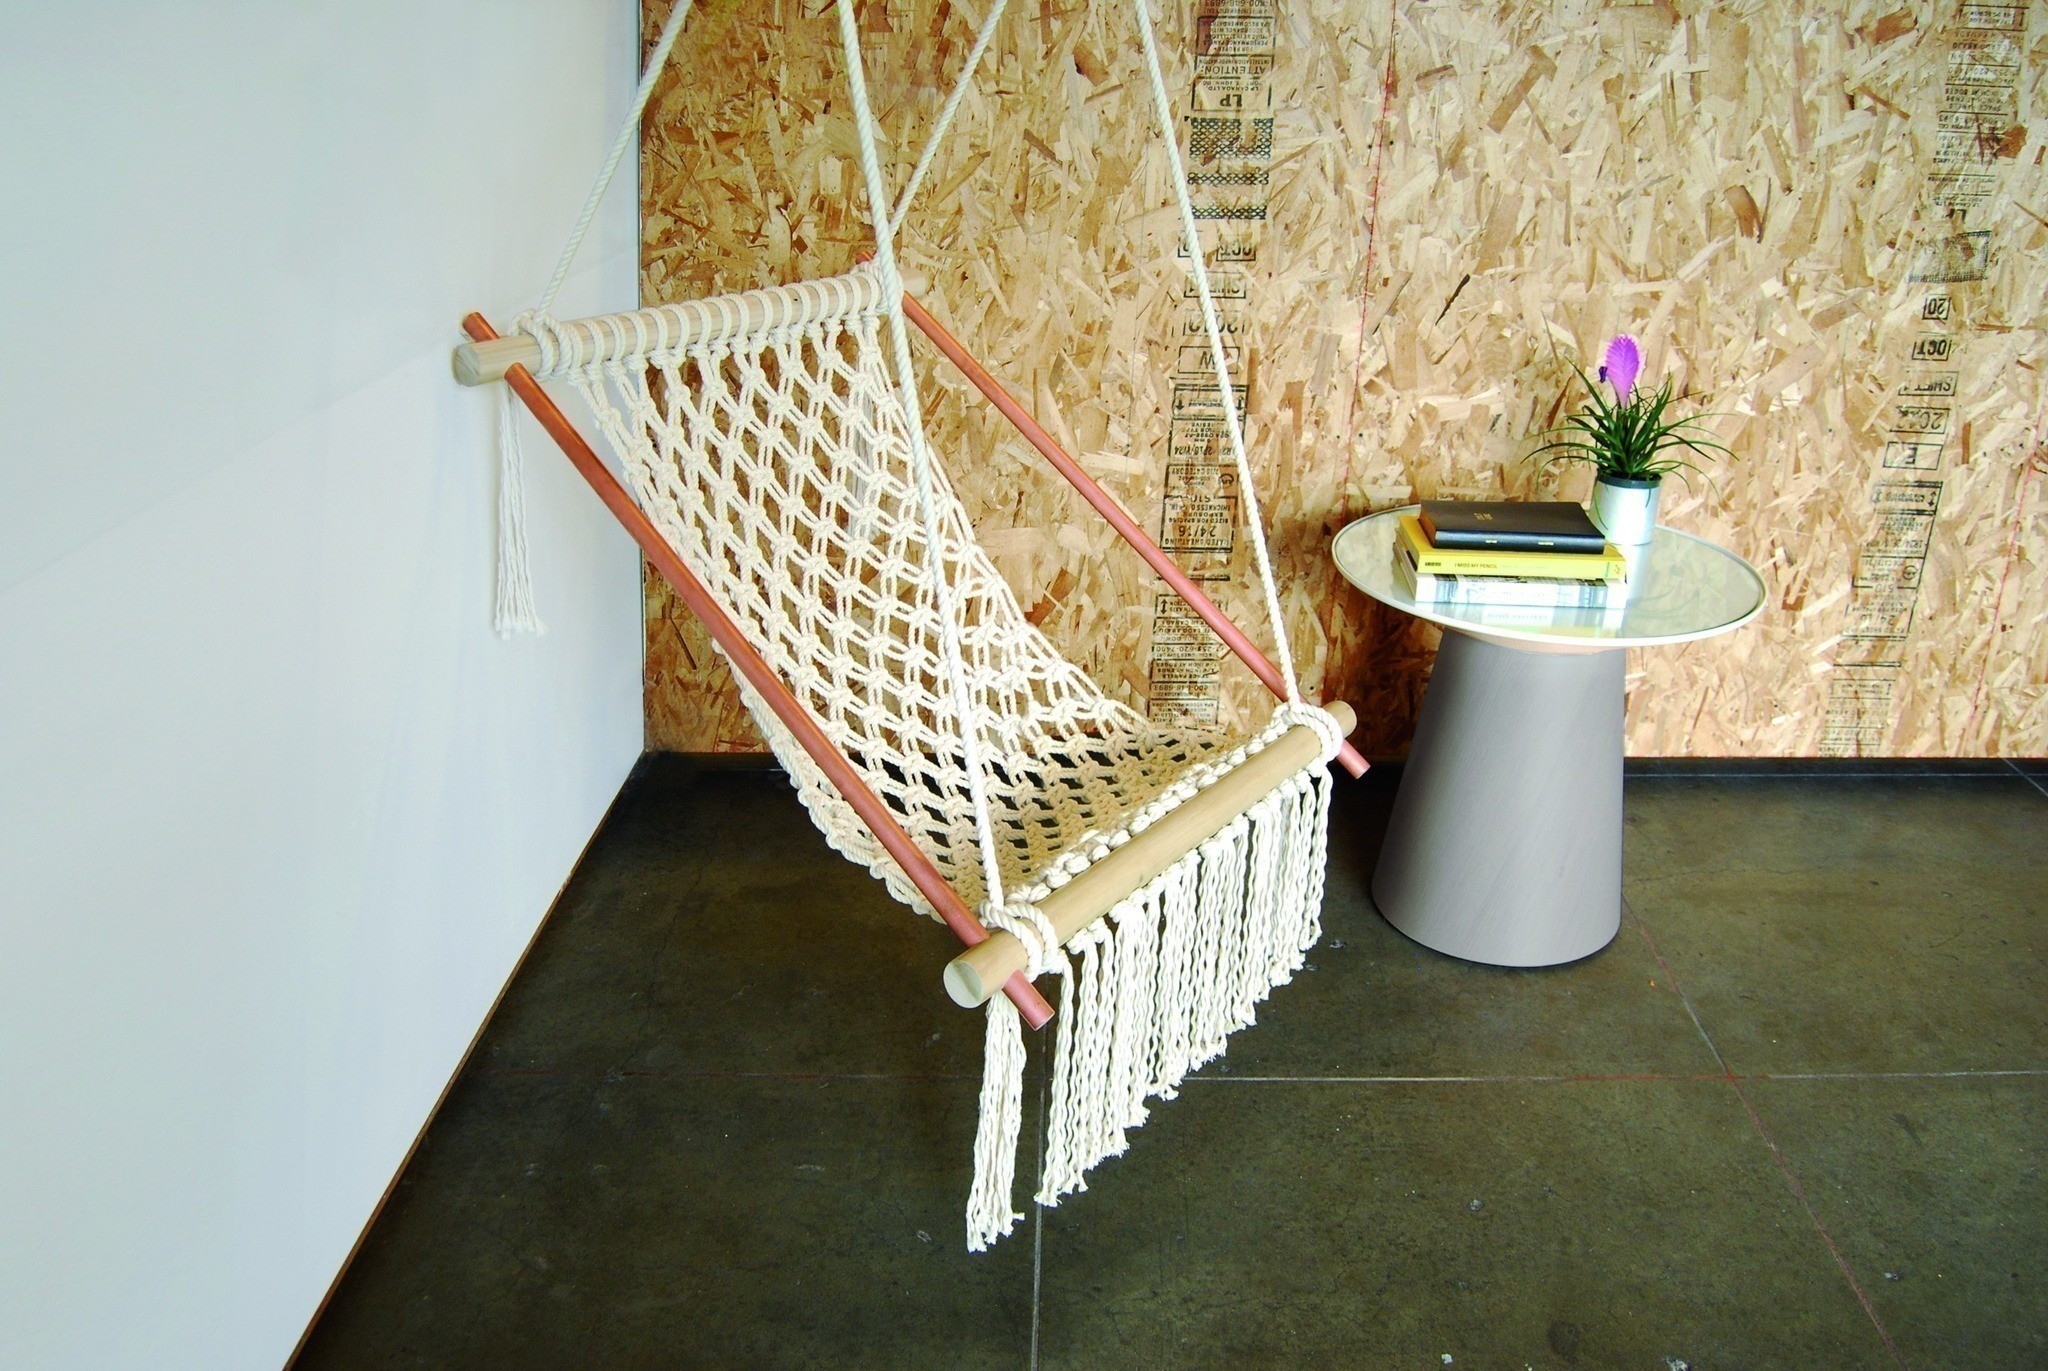
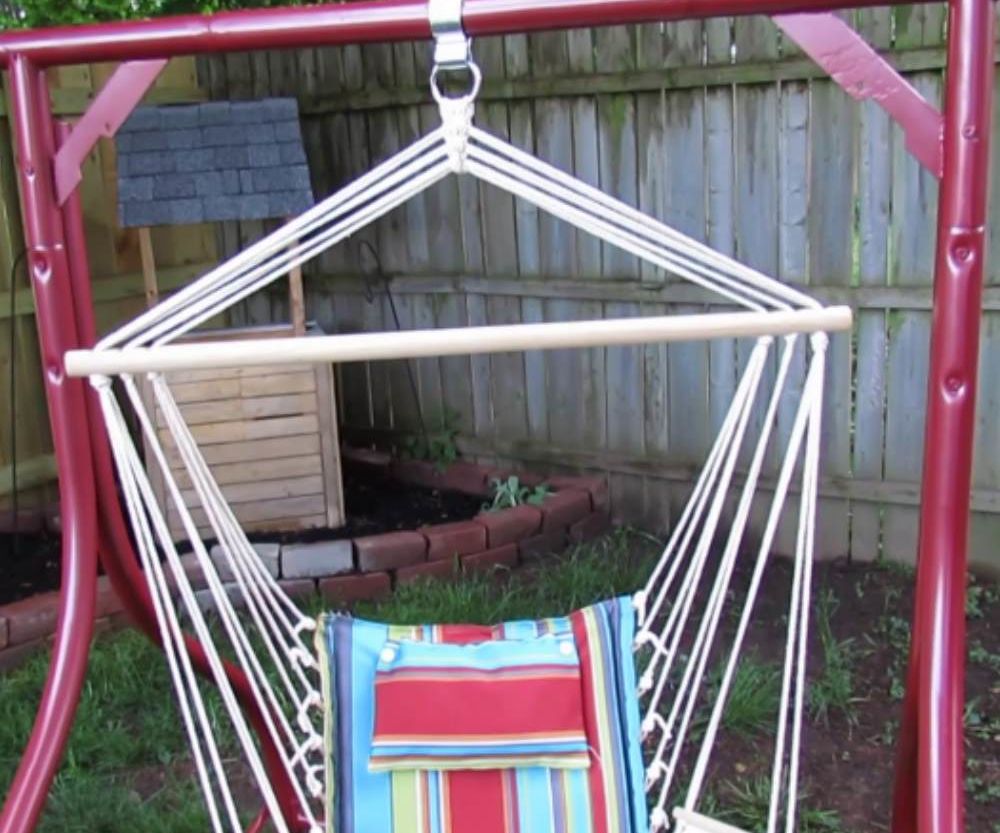
The frame of your hammock chair provides stability and support, so it’s important to build it with care. Start by cutting the wooden dowel or branch to the desired length, ensuring that it’s long enough to accommodate the width of the seat fabric and provide ample space for sitting. Use a drill to create holes at each end of the dowel, then thread the rope or cord through the holes and tie secure knots to form the hanging mechanism for the chair.
Creating the Seat: Crafting Comfort and Style
Once the frame is constructed, it’s time to create the seat for your hammock chair. Lay out the fabric or canvas on a flat surface and measure and cut it to the desired dimensions, leaving extra material on each side for hemming and reinforcement. Fold and sew the edges of the fabric to create a sturdy seam, then attach the seat to the wooden frame using additional lengths of rope or cord. Ensure that the seat is securely attached to the frame and evenly distributed to prevent sagging or tilting.
Hanging the Chair: Ensuring Stability and Safety
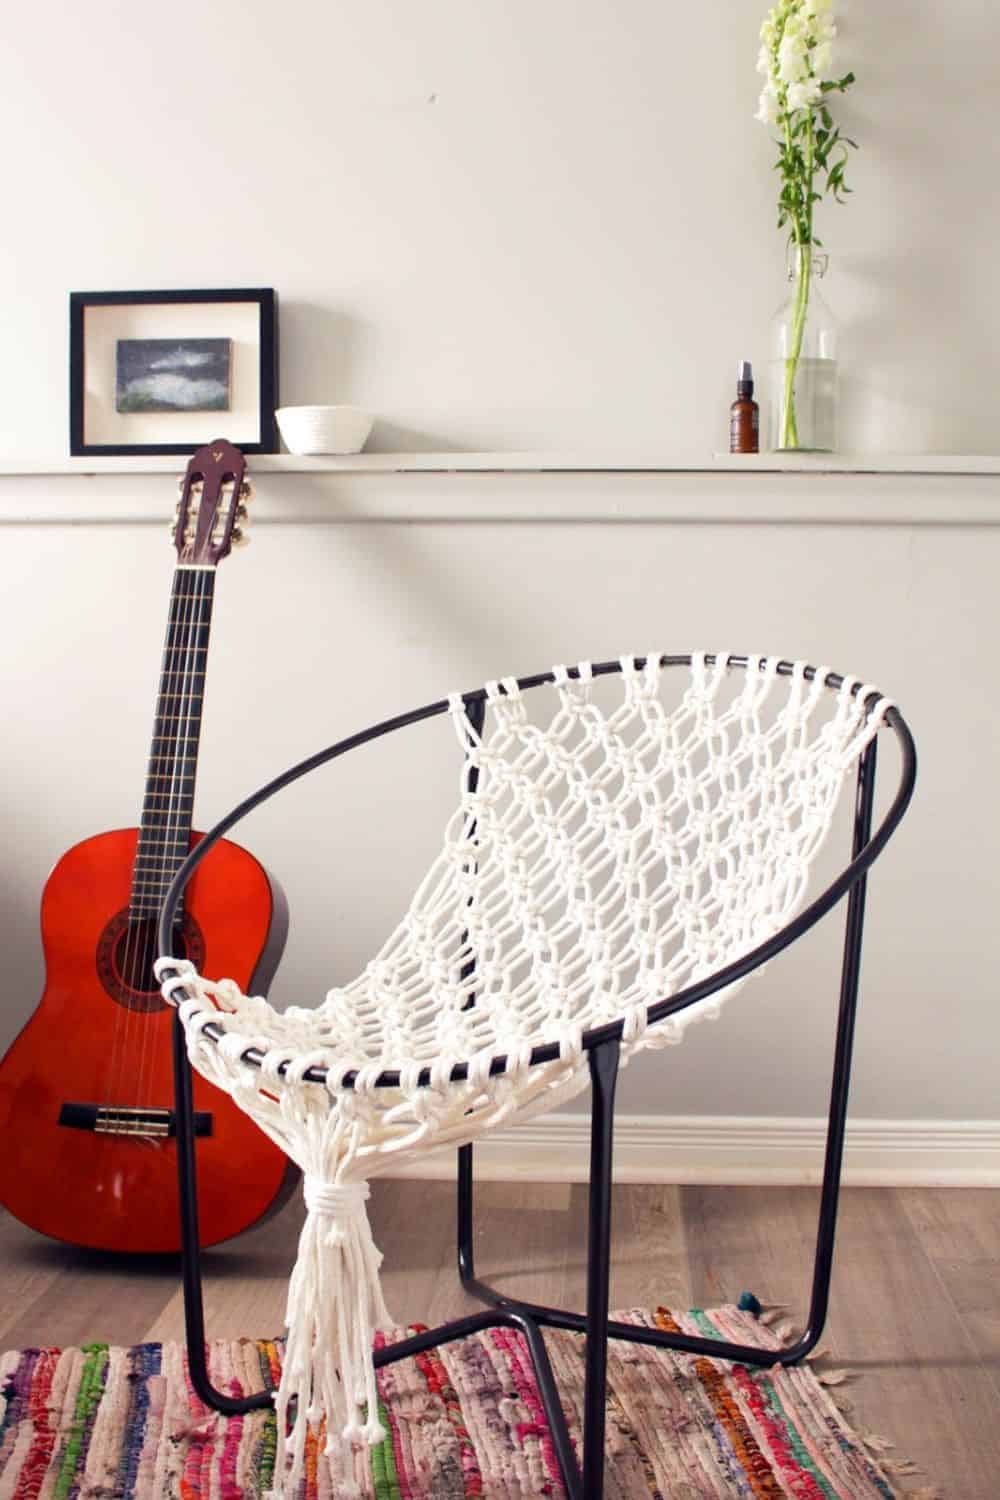
With the seat attached to the frame, it’s time to hang your hammock chair in its designated location. Securely attach one end of the hanging rope or cord to the support structure, whether it’s a tree branch, pergola, or ceiling beam, using a sturdy knot or hardware such as a carabiner. Thread the other end of the rope through the top of the chair frame and tie it off securely, ensuring that the chair hangs level and stable. Test the chair for stability and adjust the hanging mechanism as needed to ensure a safe and comfortable experience.
Adding Finishing Touches: Personalizing Your Creation
With the basic structure of your hammock chair complete, it’s time to add the finishing touches to make it truly your own. Consider adding decorative elements such as fringe, tassels, or beads to the seat fabric for added style and flair. Incorporate cushions, pillows, or blankets to enhance the comfort and coziness of the chair, creating a welcoming space for relaxation and leisure. Personalize your hammock chair with your favorite colors, patterns, and textures to make it a unique and inviting addition to your outdoor oasis.
Enjoying Your Creation: Embracing Relaxation and Leisure
Once your hammock chair is complete and installed in its designated location, it’s time to sit back, relax, and enjoy the fruits of your labor. Spend lazy afternoons reading a book, sipping a refreshing beverage, or simply soaking in the sights and sounds of nature from the comfort of your own homemade hammock chair. Embrace the tranquility and relaxation that comes with having your own private retreat, and take pride in knowing that you created a cozy and inviting space for ultimate leisure and enjoyment.
Maintenance Tips: Keeping Your Hammock Chair in Top Condition
Maintaining your hammock chair is essential for ensuring its longevity and continued enjoyment. By following these simple maintenance tips, you can keep your DIY creation in top condition for years to come.
Regular Inspections: Checking for Wear and Tear
Periodically inspect your hammock chair for signs of wear and tear, such as frayed ropes, loose knots, or damaged fabric. Pay special attention to areas where the ropes attach to the frame and where the fabric comes into contact with the ground or other surfaces. Replace any worn or damaged components promptly to prevent further deterioration and ensure the safety and stability of the chair.
Cleaning and Care: Preserving Fabric and Wood
Keep your hammock chair clean and well-maintained to prolong its lifespan and preserve its appearance. Regularly dust or vacuum the fabric to remove dirt, debris, and allergens that can accumulate over time. If the fabric becomes soiled or stained, spot clean it with mild soap and water, taking care not to saturate the material. For wooden frames, wipe them down with a damp cloth to remove dust and dirt, and apply a coat of outdoor wood sealant or varnish to protect against moisture and UV damage.
Weather Protection: Shielding Your Hammock Chair
Protect your hammock chair from the elements to prevent damage caused by exposure to sun, rain, wind, and humidity. When not in use, store the chair indoors or cover it with a durable, weather-resistant tarp or canopy to shield it from harsh weather conditions. Avoid prolonged exposure to direct sunlight, as UV rays can fade and degrade the fabric and wood over time. If your hammock chair does get wet, allow it to dry completely before storing it to prevent mold and mildew growth.
