
Introduction: Embracing Relaxation with a Homemade Hammock
Imagine swaying gently in the breeze, cocooned in a hammock you made yourself. Crafting your own hammock not only adds a personal touch to your relaxation space but also allows you to customize it for ultimate comfort. In this guide, we’ll explore step-by-step instructions for creating your DIY hammock, providing a cozy sanctuary for lounging and unwinding.
Choosing the Right Materials: Selecting Durable and Comfortable Fabrics
Before diving into the construction process, it’s crucial to choose the right materials for your DIY hammock. Opt for durable, weather-resistant fabrics such as canvas, nylon, or polyester that can withstand outdoor conditions. Consider the level of comfort you desire and select a fabric that feels soft against the skin while providing sufficient support for lounging.
Measuring and Cutting: Determining Hammock Dimensions
The size of your hammock will depend on the available space and your personal preferences. Measure the distance between the anchor points where you plan to hang the hammock, ensuring there is enough room for the hammock to hang comfortably without touching the ground. Use these measurements to determine the length and width of the fabric needed for your hammock, adding a few extra inches for hemming and reinforcement.
Sewing the Hammock Body: Stitching Panels Together
Once you have cut the fabric to size, it’s time to sew the panels together to create the hammock body. Place the fabric panels with the right sides facing each other and sew along the edges using a strong, durable thread. Reinforce the seams with double stitching to ensure the hammock can support the weight of the user. Leave one end of the hammock open to insert the support ropes or cords later.
Adding Reinforcement: Enhancing Durability and Strength
To reinforce the ends of the hammock where the support ropes will be attached, fold over the edges of the fabric and sew them securely. You may also want to add additional reinforcement patches or strips of fabric to distribute weight and prevent tearing. Pay special attention to these areas, as they will bear the most stress when the hammock is in use.
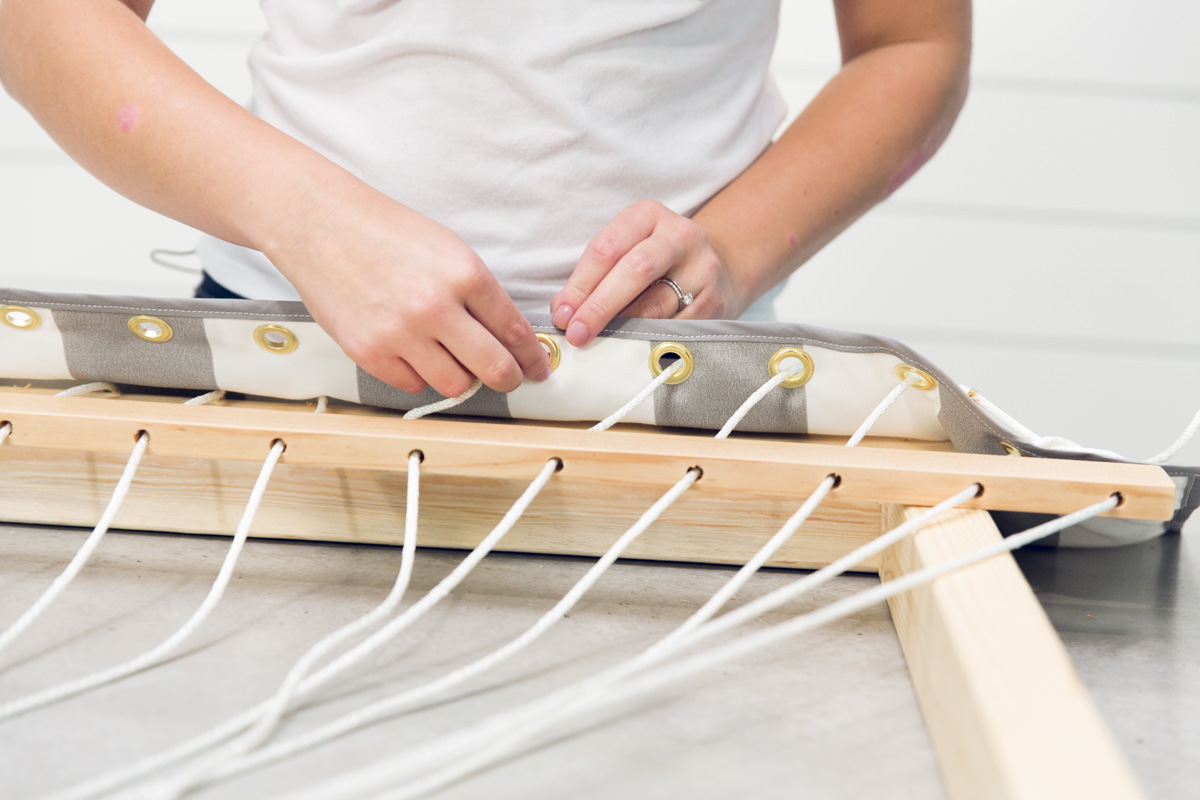
Attaching Support Ropes: Securing the Hammock to Anchor Points
With the hammock body complete, it’s time to attach the support ropes or cords that will hang the hammock between anchor points. Choose strong, weather-resistant ropes or straps designed for hammock use. Thread the ropes through the open end of the hammock and secure them with sturdy knots, such as a bowline or double half-hitch. Ensure the hammock is evenly balanced and level when suspended between anchor points.
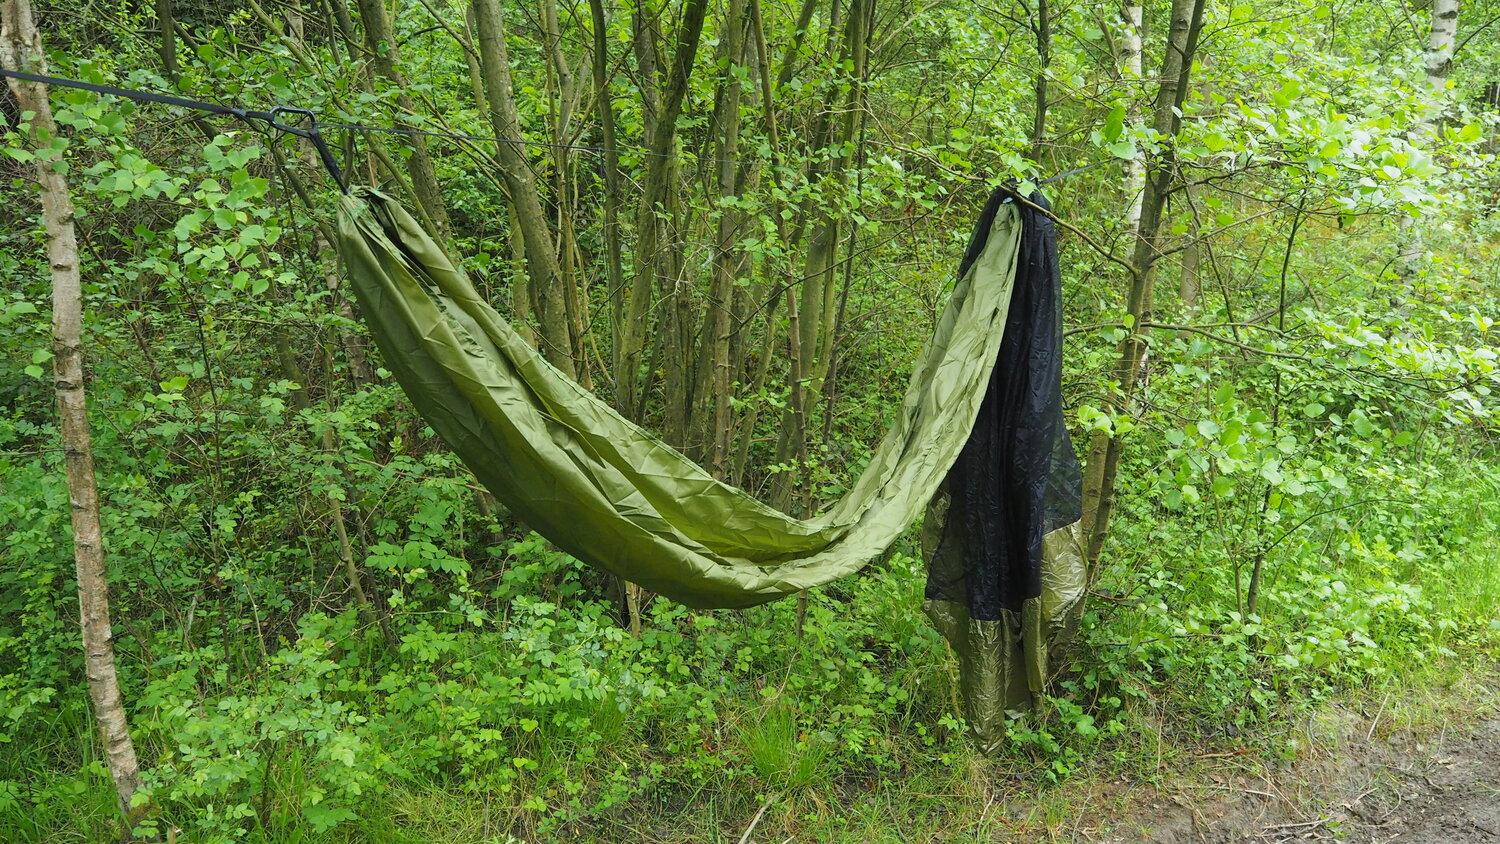
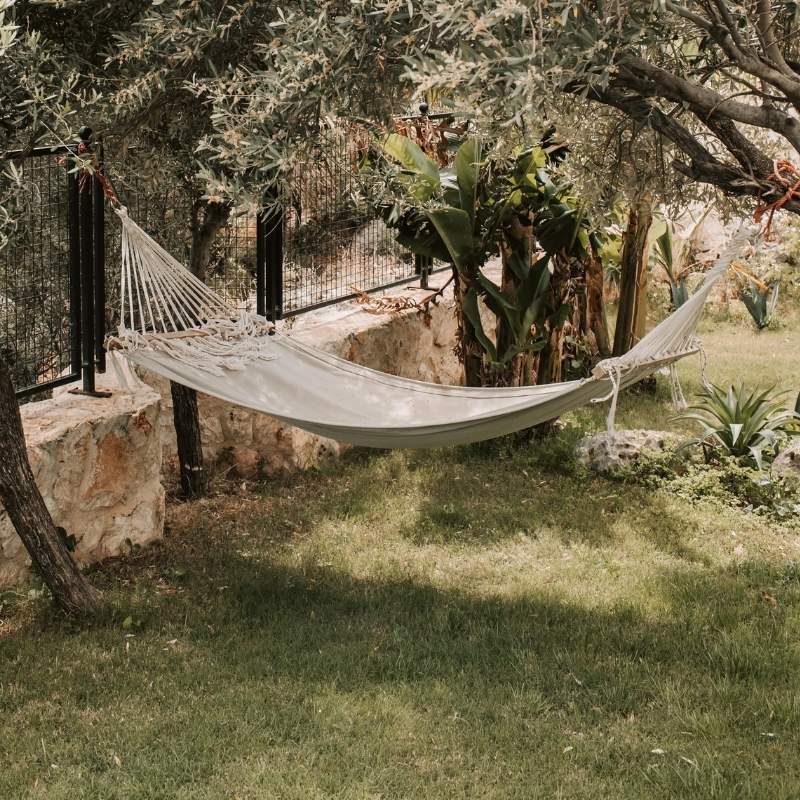
Hanging Your Hammock: Finding the Perfect Spot
Selecting the right location to hang your hammock is essential for maximizing comfort and enjoyment. Choose sturdy anchor points such as trees, posts, or hammock stands that can support the weight of the hammock and the person using it. Ensure the anchor points are spaced apart at an appropriate distance to prevent the hammock from sagging or touching the ground when occupied.
Personalizing Your Hammock: Adding Accessories and Embellishments
Once your hammock is securely hung, consider adding accessories and embellishments to enhance comfort and style. Attach a pillow or cushion for extra support, drape a blanket or canopy for shade and privacy, or hang string lights or decorative bunting for ambiance. Personalize your hammock with colors, patterns, and textures that reflect your unique taste and personality.
Safety Considerations: Ensuring a Secure and Stable Setup
Before fully enjoying your DIY hammock, it’s essential to prioritize safety to prevent accidents or injuries. Ensure that the anchor points are strong and securely fastened, whether you’re using trees, posts, or a hammock stand. Regularly inspect the ropes, straps, and fabric for signs of wear or damage, and replace any worn-out components promptly. When using your hammock, avoid excessive swinging or overloading beyond its weight capacity to prevent accidents.
Maintenance and Care: Preserving the Longevity of Your Hammock
To ensure your DIY hammock remains in top condition for years to come, practice regular maintenance and care. Store the hammock indoors when not in use to protect it from prolonged exposure to sunlight, moisture, and harsh weather conditions. Clean the fabric periodically with mild soap and water to remove dirt, stains, and debris, and allow it to air dry thoroughly before storage. Inspect the hammock regularly for any signs of damage or wear and make repairs as needed to prevent further deterioration.
Sharing the Joy: Spreading the Love of DIY Hammocks
Once you’ve mastered the art of making your own hammock, consider sharing your newfound skills with friends, family, and community members. Host a DIY hammock-making workshop or demonstration to teach others how to create their own cozy retreats. Share tips, tricks, and creative ideas for personalizing hammocks to suit individual preferences and styles. By spreading the joy of DIY hammocks, you can inspire others to embrace relaxation, creativity, and self-sufficiency.
Environmental Awareness: Embracing Sustainable Practices
As you enjoy the comfort and tranquility of your DIY hammock, remember to maintain a mindful awareness of environmental sustainability. Choose eco-friendly materials and practices when crafting your hammock, such as using recycled fabrics or upcycling old materials. Minimize waste by repurposing leftover fabric scraps for other projects or donating them to textile recycling programs. By incorporating sustainable practices into your DIY endeavors, you can minimize your environmental footprint and contribute to a healthier planet for future generations.
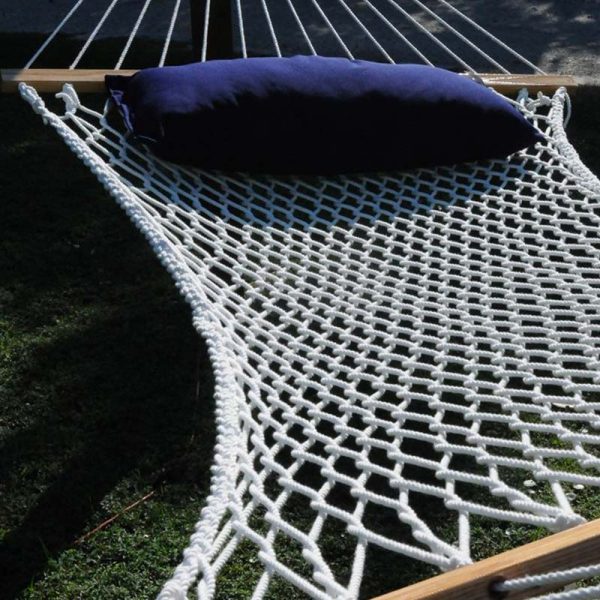
Exploring Endless Possibilities: Experimenting with Designs and Techniques
The beauty of DIY hammocks lies in their versatility and endless possibilities for customization. Experiment with different designs, patterns, and techniques to create hammocks that reflect your unique style and preferences. Explore traditional weaving methods, macramé knots, or crochet techniques to add intricate details and embellishments to your hammock. Let your imagination soar as you embark on a creative journey of self-expression and craftsmanship.
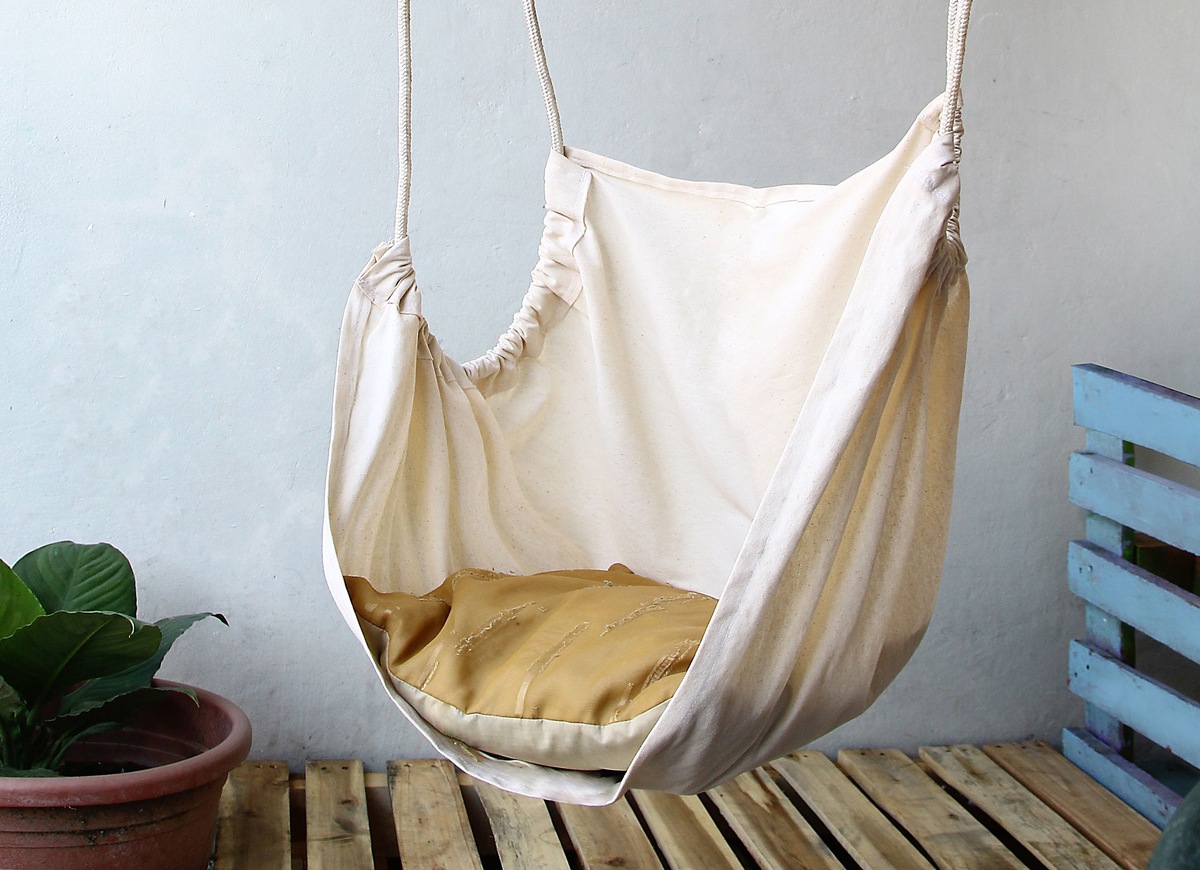
Enjoying Your DIY Creation: Embracing Relaxation and Bliss
With your DIY hammock complete and personalized to your liking, it’s time to kick back, relax, and enjoy the fruits of your labor. Whether lounging in the backyard, camping in the great outdoors, or escaping to a tranquil retreat, your homemade hammock provides a cozy sanctuary for unwinding and rejuvenating both body and soul. So grab a good book, close your eyes, and let the gentle sway of your DIY hammock carry you to a state of blissful relaxation.