
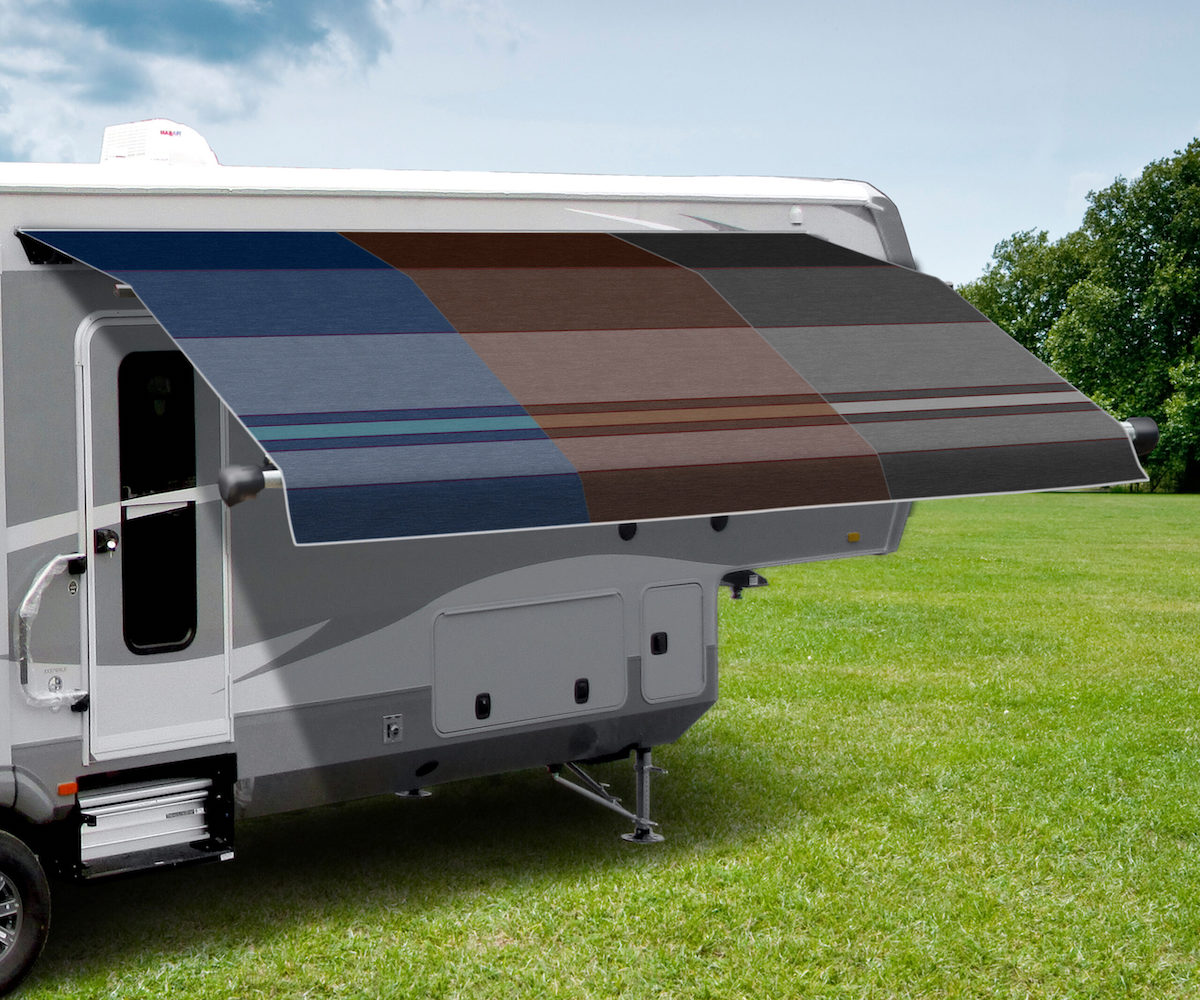
Introduction to Camper Awning Maintenance
Keeping your camper awning clean is an essential part of RV maintenance that often gets overlooked. A clean awning not only enhances the aesthetic appeal of your camper but also extends the life of the fabric and mechanism, ensuring you get the most out of your investment. Over time, awnings can accumulate dirt, mold, mildew, bird droppings, and other debris, making them look unattractive and potentially causing damage. Regular cleaning prevents these issues and keeps your awning in excellent condition, ready for use whenever you need some shade or extra outdoor space. This guide will walk you through the easy steps to clean your camper awning effectively.
Gathering the Necessary Supplies
Before you start cleaning your camper awning, it’s important to gather all the necessary supplies. Having everything on hand will make the process smoother and more efficient. You’ll need a bucket, mild soap or detergent, a soft bristle brush, a hose with a spray nozzle, a ladder, and some clean towels or microfiber cloths. If you prefer using a commercial cleaner, ensure it’s suitable for the type of material your awning is made from, whether it’s vinyl or fabric. Additionally, wearing gloves can protect your hands from harsh chemicals and help you maintain a firm grip on the tools. Once you have all your supplies ready, you’re set to begin the cleaning process.
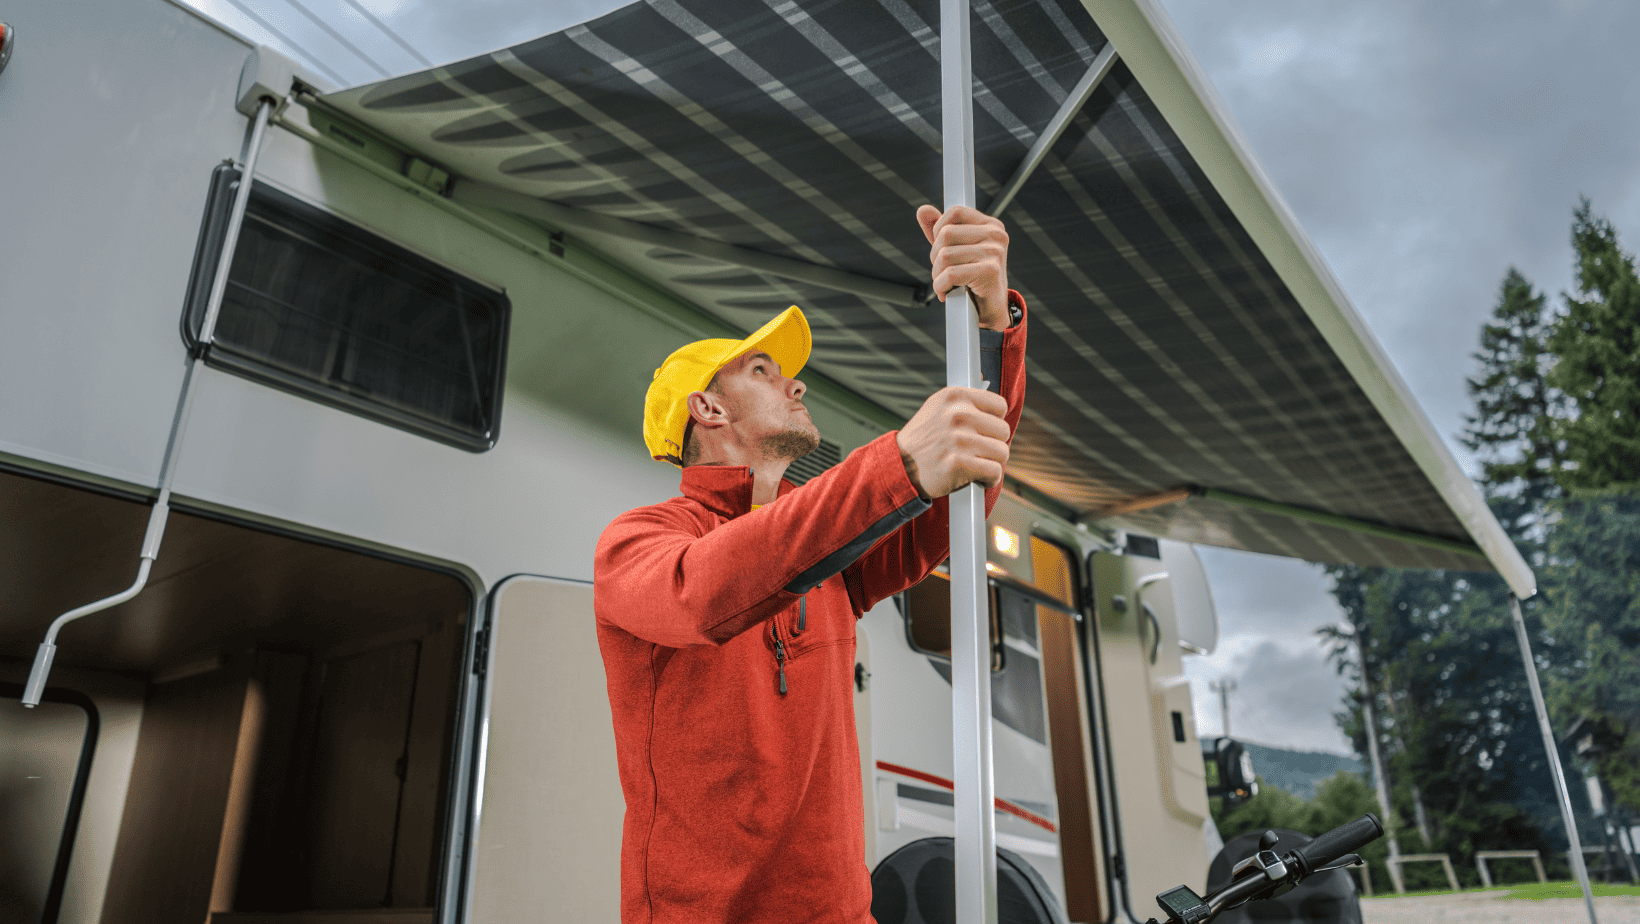
Extending and Inspecting the Awning
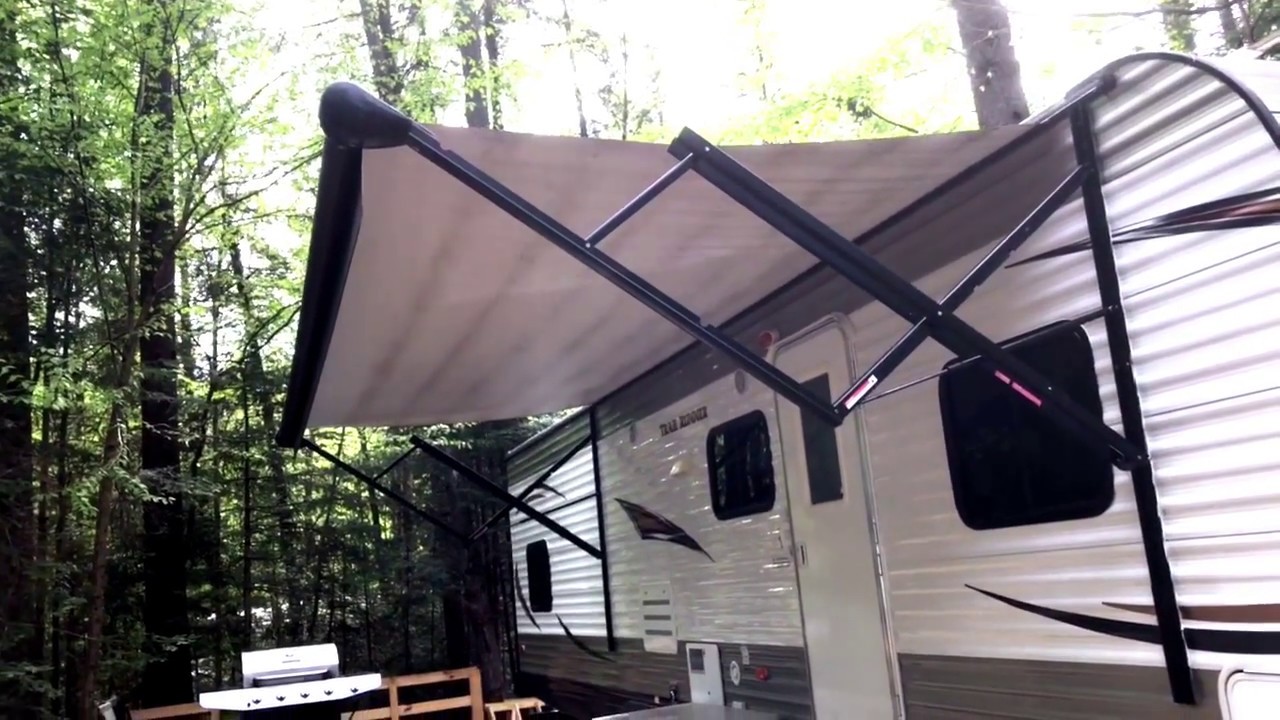
The first step in cleaning your camper awning is to fully extend it. This gives you access to the entire surface area and makes it easier to spot any areas that need special attention. Ensure the awning is securely locked in place and stable before you start working on it. While extending, take a moment to inspect the awning for any signs of wear and tear such as small tears, loose stitching, or mildew spots. Identifying these issues early allows you to address them before they become bigger problems. Pay special attention to the edges and corners where dirt tends to accumulate more. An inspection helps you prioritize which areas need more focused cleaning.
Rinsing Off Loose Dirt and Debris
With the awning fully extended and inspected, the next step is to rinse off any loose dirt and debris. Use a hose with a spray nozzle to gently wash away dust, leaves, and other particles from the surface. Start from the top and work your way down, ensuring that you cover the whole area evenly. This preliminary rinse is crucial as it helps remove the bulk of the dirt, making the subsequent scrubbing process more effective. Avoid using high-pressure settings on your hose as this can damage the awning fabric or vinyl. A gentle, steady stream of water is sufficient to dislodge loose grime without causing harm to the material.
Preparing the Cleaning Solution
After rinsing off the loose dirt, it’s time to prepare your cleaning solution. Fill a bucket with warm water and add a few drops of mild soap or detergent. Stir the mixture until it forms suds. If you’re dealing with stubborn stains or mildew, you might want to use a specialized awning cleaner or add a bit of white vinegar to the solution for its natural disinfectant properties. It’s important to avoid harsh chemicals or bleach as these can damage the awning material and cause discoloration. The goal is to create a gentle but effective cleaning solution that can lift dirt and grime without harming the fabric or vinyl.
Scrubbing the Awning Surface
With your cleaning solution ready, it’s time to scrub the awning. Dip a soft bristle brush into the soapy water and start scrubbing the awning surface gently. Work in small sections, starting from the top and moving downward. This ensures that dirty water runs off and doesn’t re-soil the areas you’ve already cleaned. Apply moderate pressure as you scrub to avoid damaging the material. Focus on areas with visible stains or mildew, giving them extra attention to ensure they are thoroughly cleaned. Remember to clean both sides of the awning, as dirt can accumulate on the underside as well. Patience and thoroughness are key to achieving a spotless awning.
Rinsing Away the Soap Residue
Once you’ve scrubbed the entire awning surface, it’s crucial to rinse away all the soap residue. Leaving soap behind can attract dirt and potentially cause discoloration over time. Use your hose with a spray nozzle to thoroughly rinse the awning, ensuring that you remove all traces of the cleaning solution. Again, start from the top and work your way down, allowing the water to carry away any remaining soap and grime. Take your time during this step to make sure that no soap is left behind. A well-rinsed awning will dry more evenly and be less prone to future buildup.
Drying the Awning Properly
After rinsing, it’s important to allow the awning to dry completely before retracting it. Moisture left on the awning can lead to mold and mildew growth, which not only looks unsightly but can also deteriorate the material. Use clean towels or microfiber cloths to gently blot excess water from the surface. If possible, leave the awning extended on a sunny day with good airflow to facilitate faster drying. Ensure that both sides of the awning are dry before rolling it back up. Proper drying is a crucial step that maintains the integrity of the awning and prevents potential damage caused by moisture.
Treating Stubborn Stains and Mildew
In some cases, you may encounter stubborn stains or mildew that don’t come off with regular scrubbing. For these tough spots, you can use a stronger cleaning solution specifically designed for awnings. Follow the manufacturer’s instructions for application and always test a small, inconspicuous area first to ensure it doesn’t damage the fabric. Apply the cleaner to the affected area and let it sit for a few minutes to break down the stain. Then, scrub gently with a soft bristle brush and rinse thoroughly. Persistent mildew might require multiple treatments. Addressing these stubborn spots ensures your awning stays clean and free from damaging mold and mildew.
Applying a Protective Coating
To keep your awning looking new longer and protect it from the elements, consider applying a protective coating after cleaning. There are various products available that provide a barrier against UV rays, dirt, and mildew. These coatings can help repel water and prevent stains from setting in, making future cleanings easier. Follow the instructions on the product for the best results. Typically, you’ll need to apply the coating evenly across the entire surface of the awning and allow it to dry completely before retracting the awning. Regular application of a protective coating can significantly extend the life of your camper awning.
Conclusion: Enjoying a Well-Maintained Camper Awning
In conclusion, cleaning your camper awning is a straightforward task that can be easily managed with the right approach and tools. Regular cleaning and maintenance not only keep your awning looking great but also extend its lifespan and functionality. By following the steps outlined in this guide, you can ensure your awning remains in top condition, enhancing your camping experience and protecting your investment. Whether you choose to handle the cleaning yourself or seek professional assistance, the key is consistency and care. With a well-maintained camper awning, you can enjoy countless outdoor adventures in comfort and style.