
Introduction to Retractable Awnings
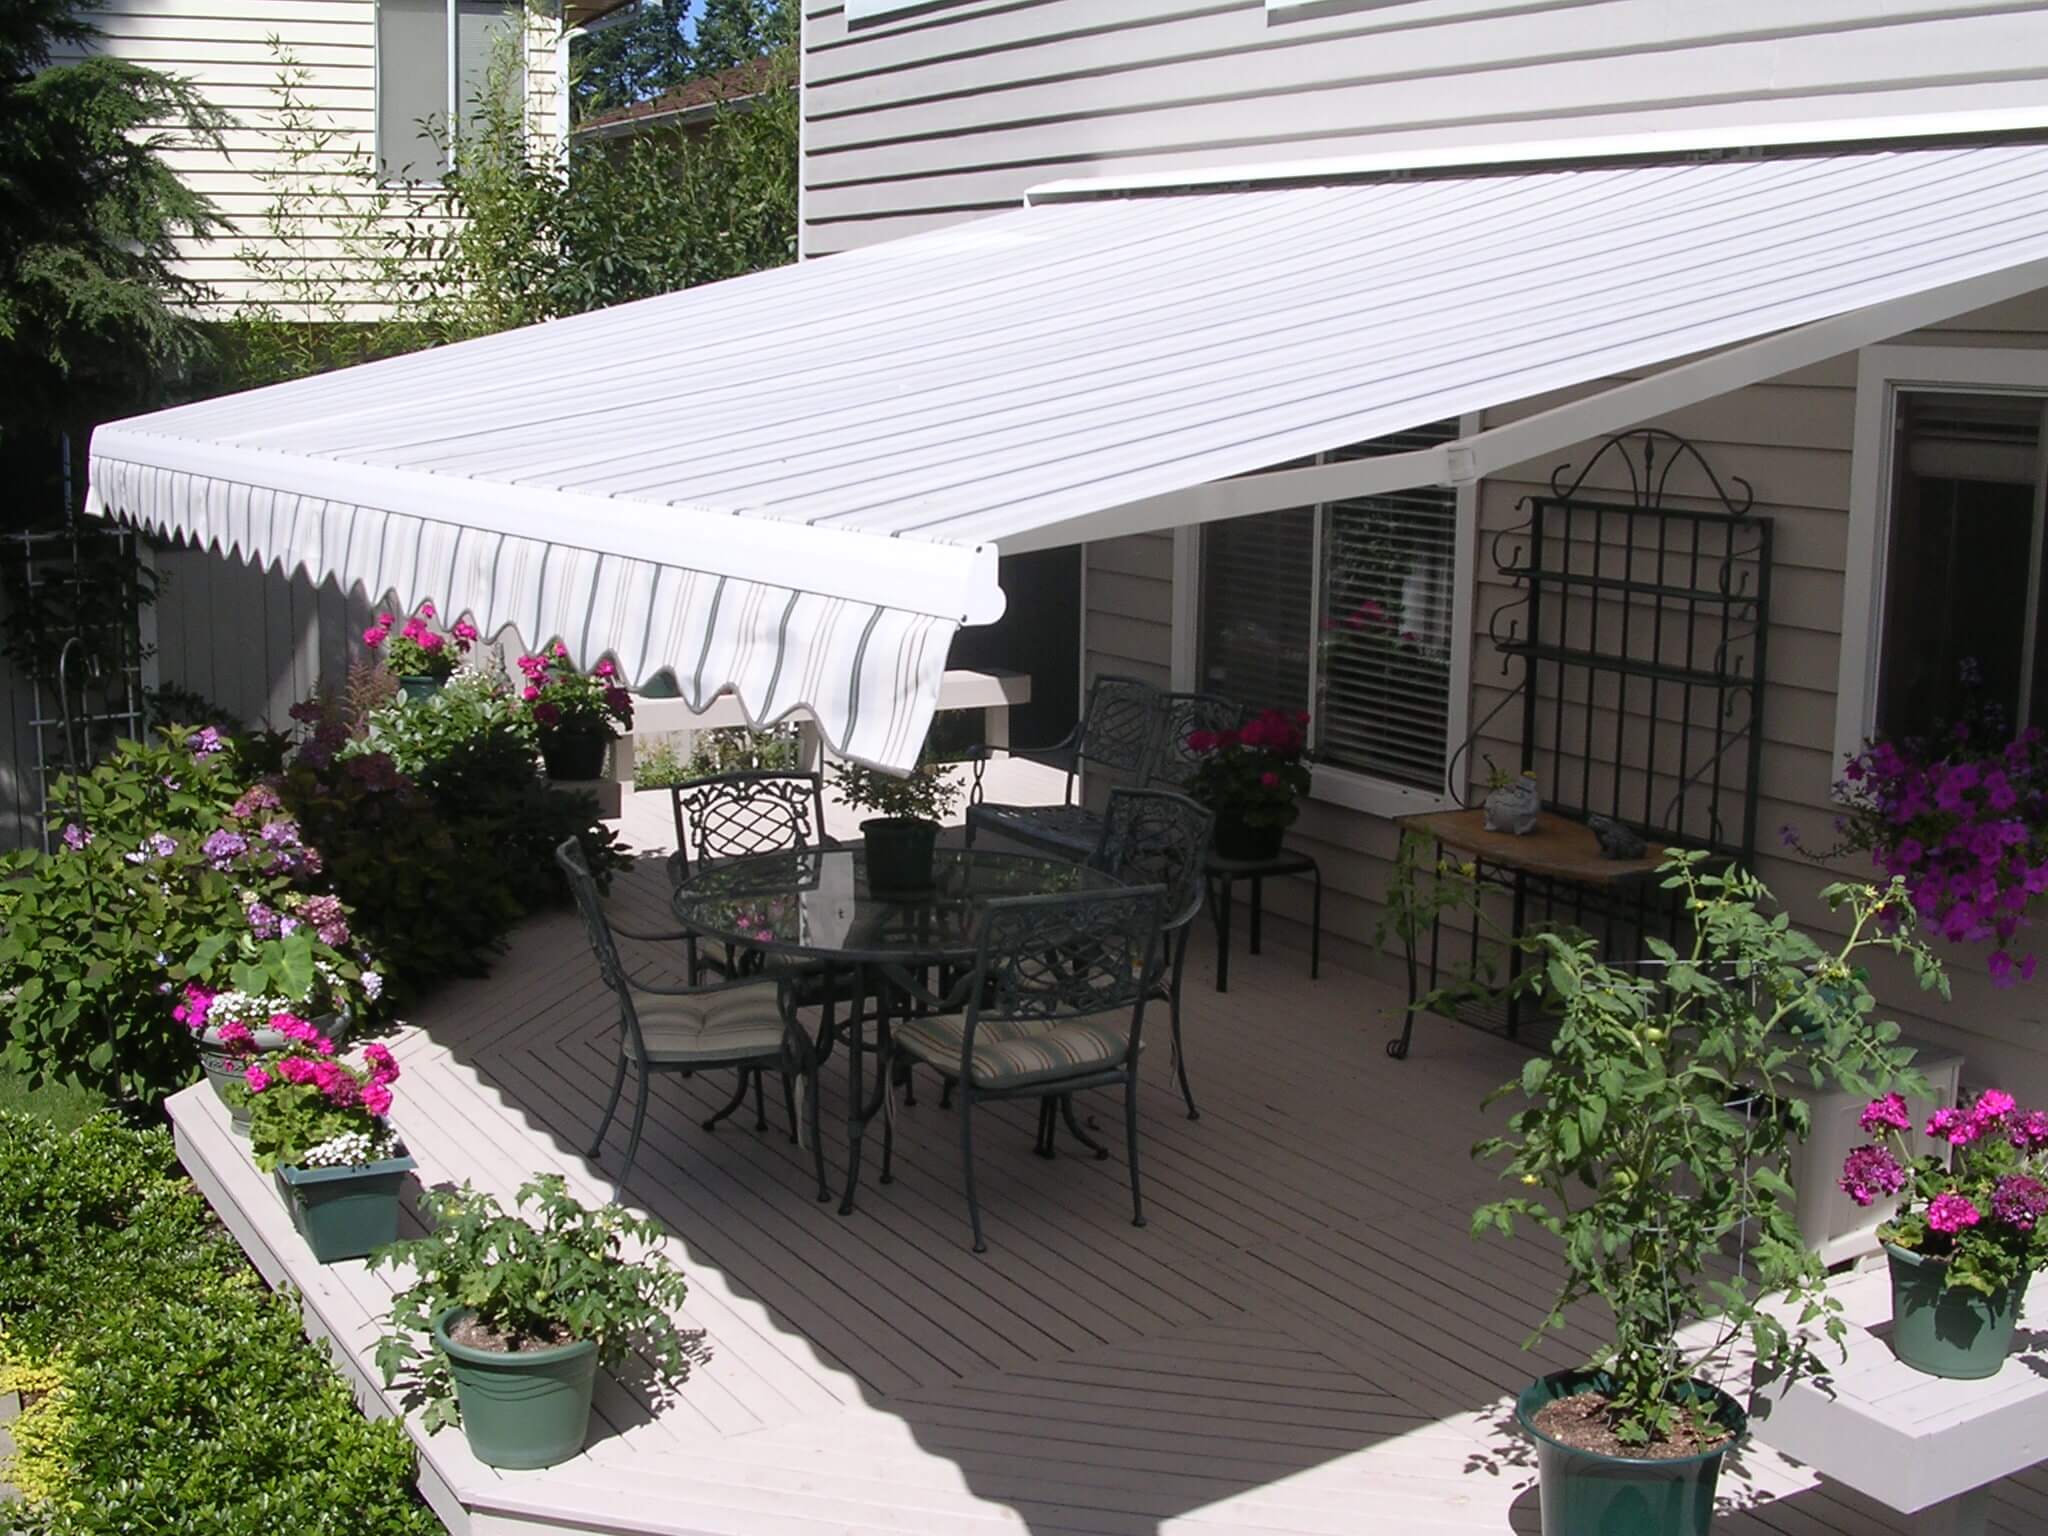
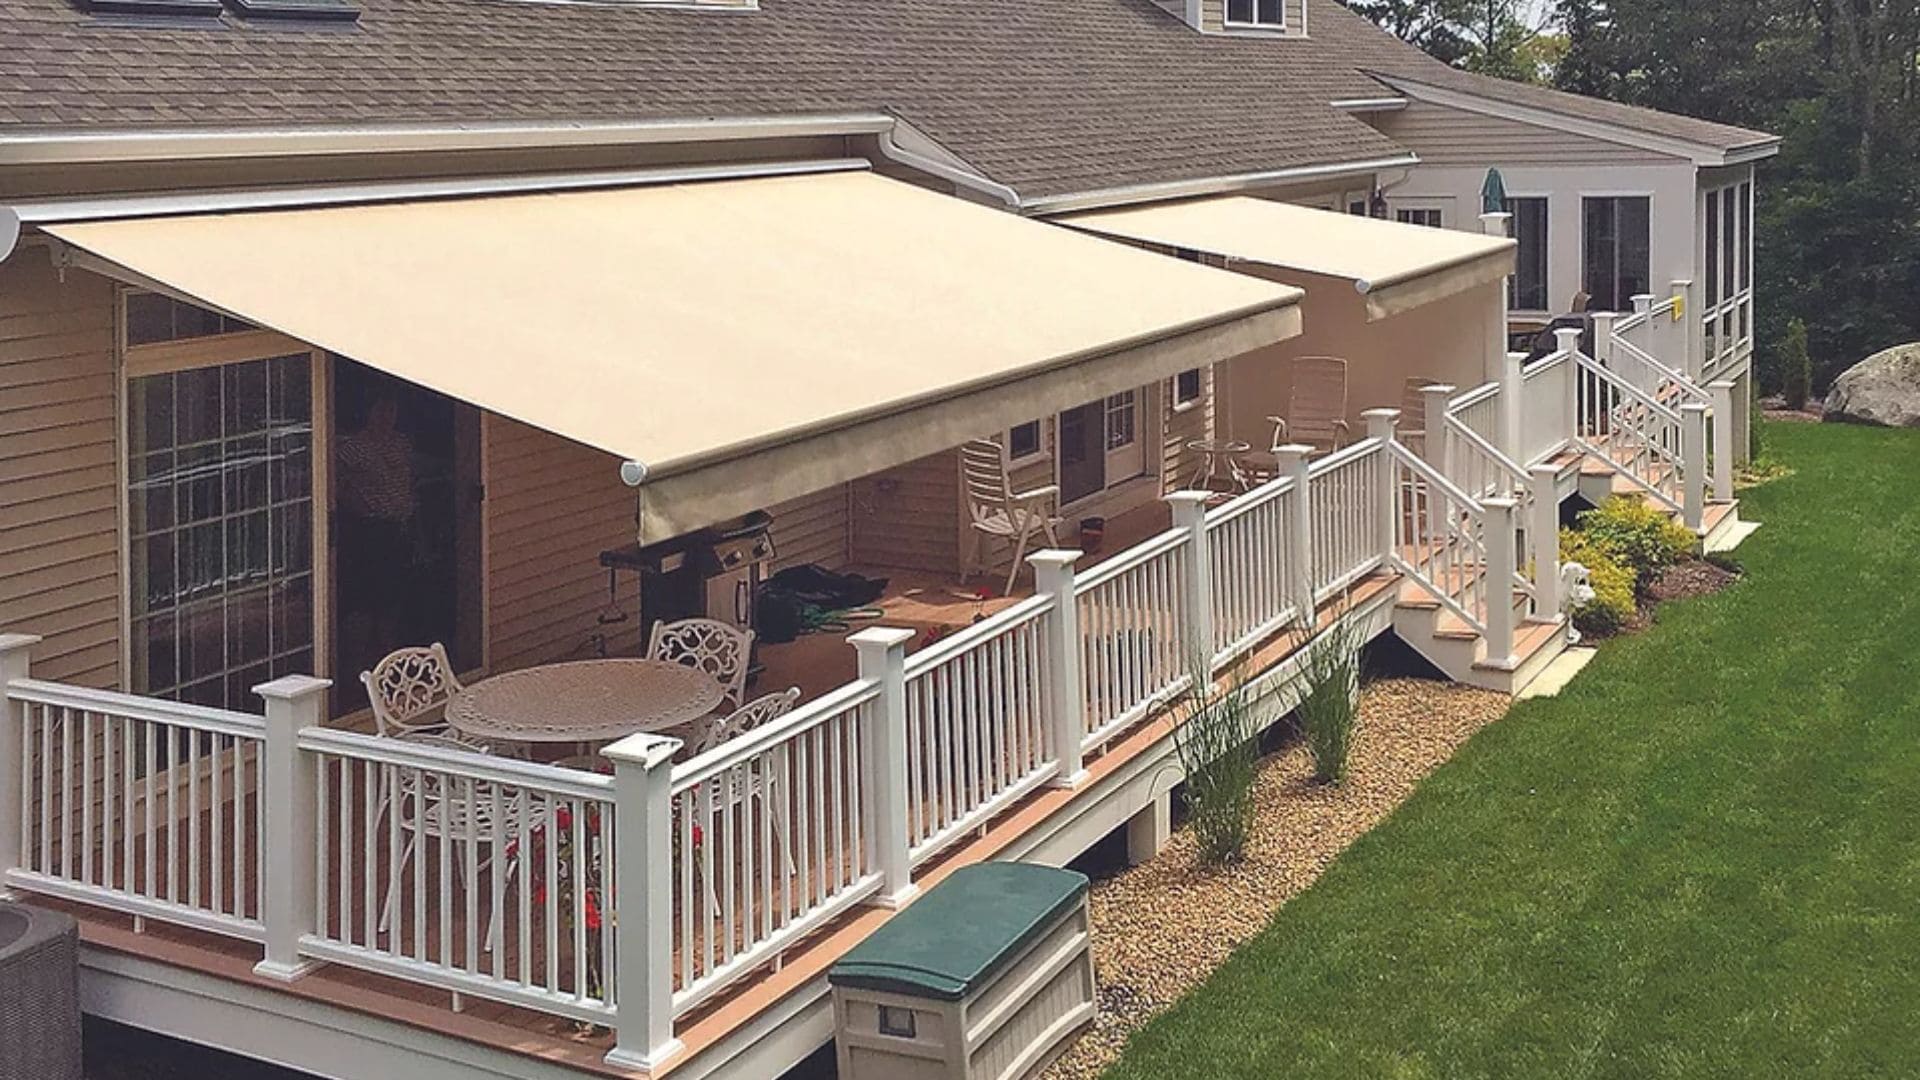
Retractable awnings are versatile additions to any home, providing shade and shelter from the elements while offering flexibility with their retractable design. They can extend over patios, decks, windows, or doors, allowing you to control sunlight and enhance outdoor living spaces. Installing a retractable awning can be a rewarding DIY project, offering both functional benefits and aesthetic appeal to your home. This guide will walk you through the steps of installing a retractable awning, from preparation and measurements to mounting and final adjustments.
Choosing the Right Awning
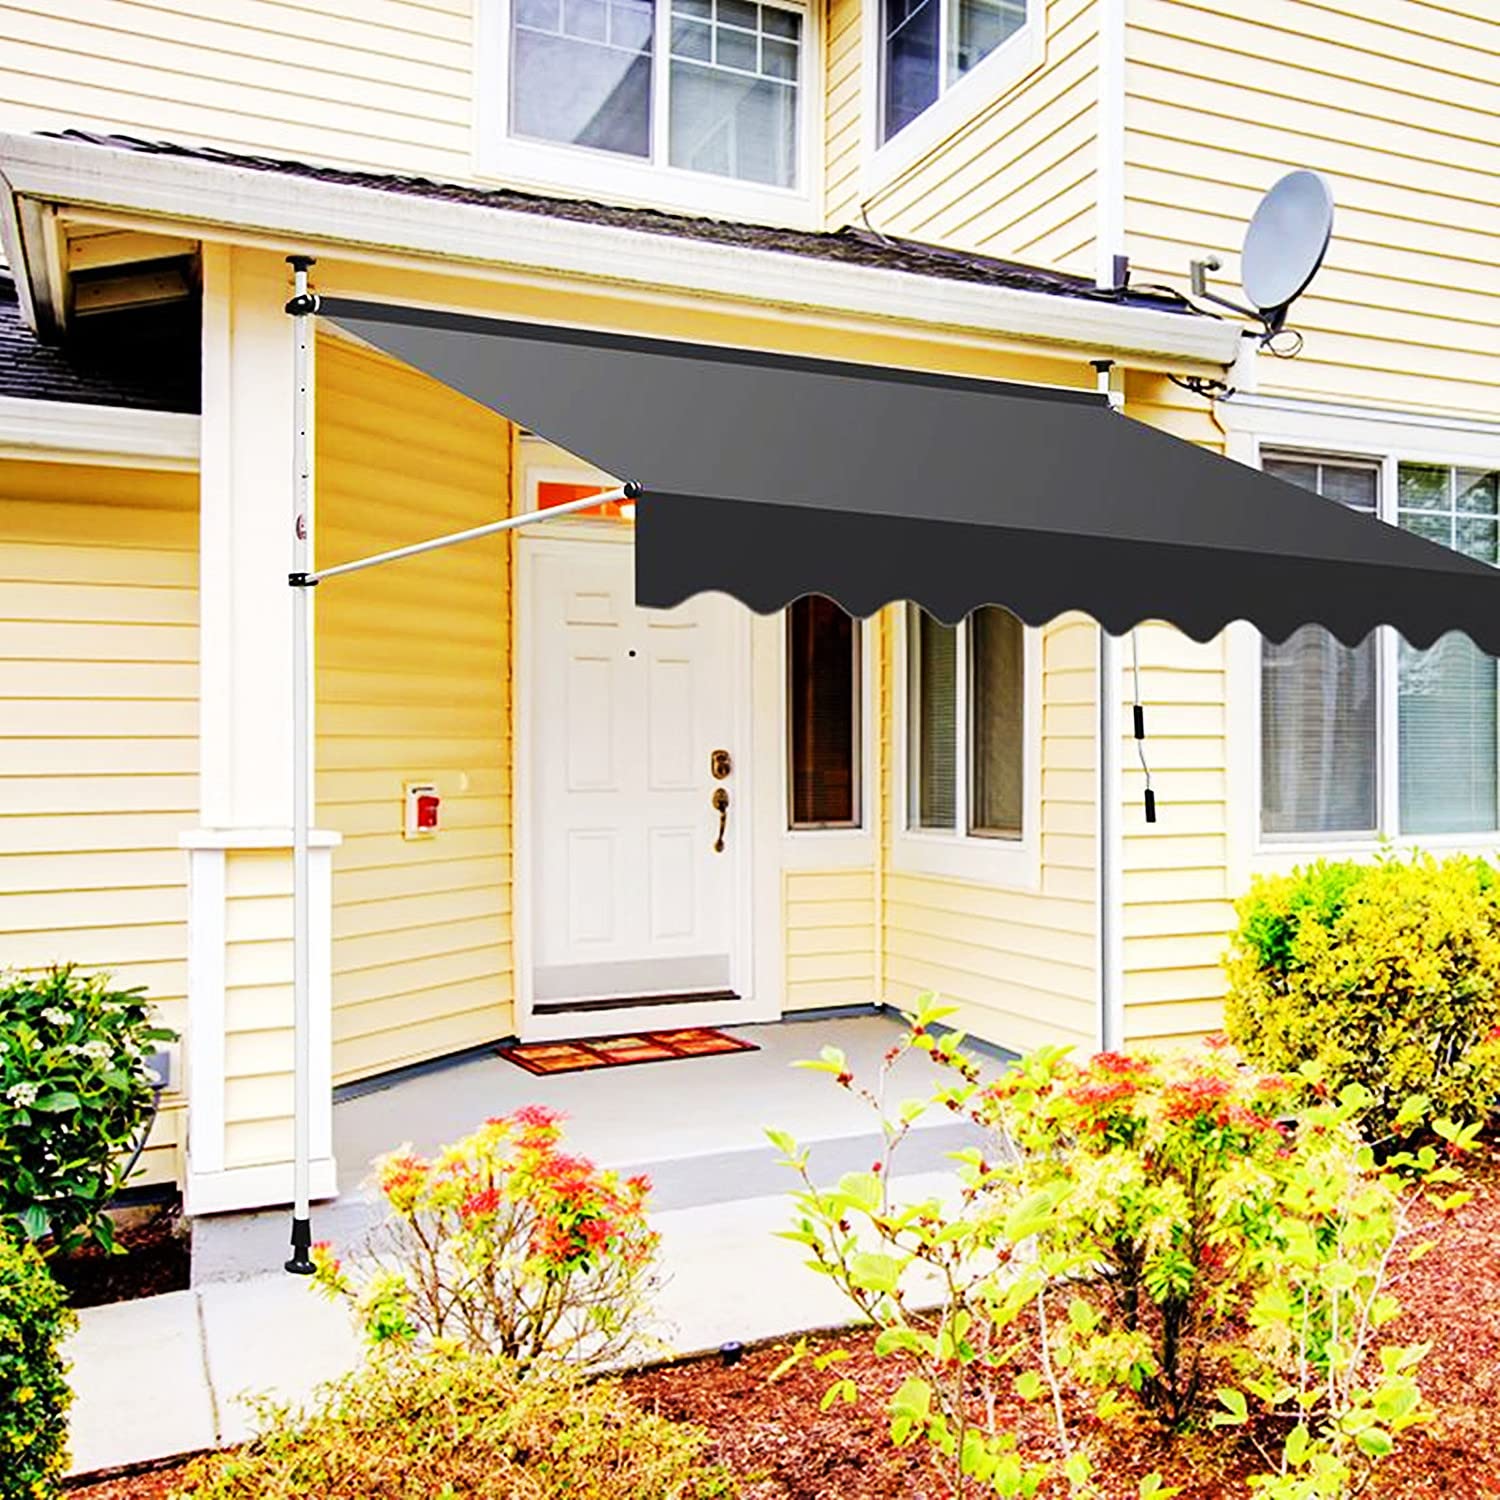
Before you begin the installation process, it’s essential to select the right retractable awning for your space. Consider factors such as size, fabric type, manual or motorized operation, and the awning’s intended location (e.g., patio, deck, window). Measure the area where the awning will be installed to ensure it fits properly and provides adequate coverage. Research different brands and models to find one that matches your preferences and budget, as well as one that offers durability and weather resistance suitable for your climate.
Gathering Tools and Materials
To successfully install a retractable awning, gather the necessary tools and materials beforehand. Typical tools include a drill with assorted drill bits, screwdrivers (both flathead and Phillips), a wrench set, a level, measuring tape, a ladder or step stool, and safety gear such as gloves and safety glasses. Depending on your installation surface (e.g., wood, concrete), you may need specific hardware such as lag screws, anchors, bolts, and washers. Ensure you have all components provided by the awning manufacturer, including brackets, mounting plates, and installation instructions.
Preparing the Installation Area
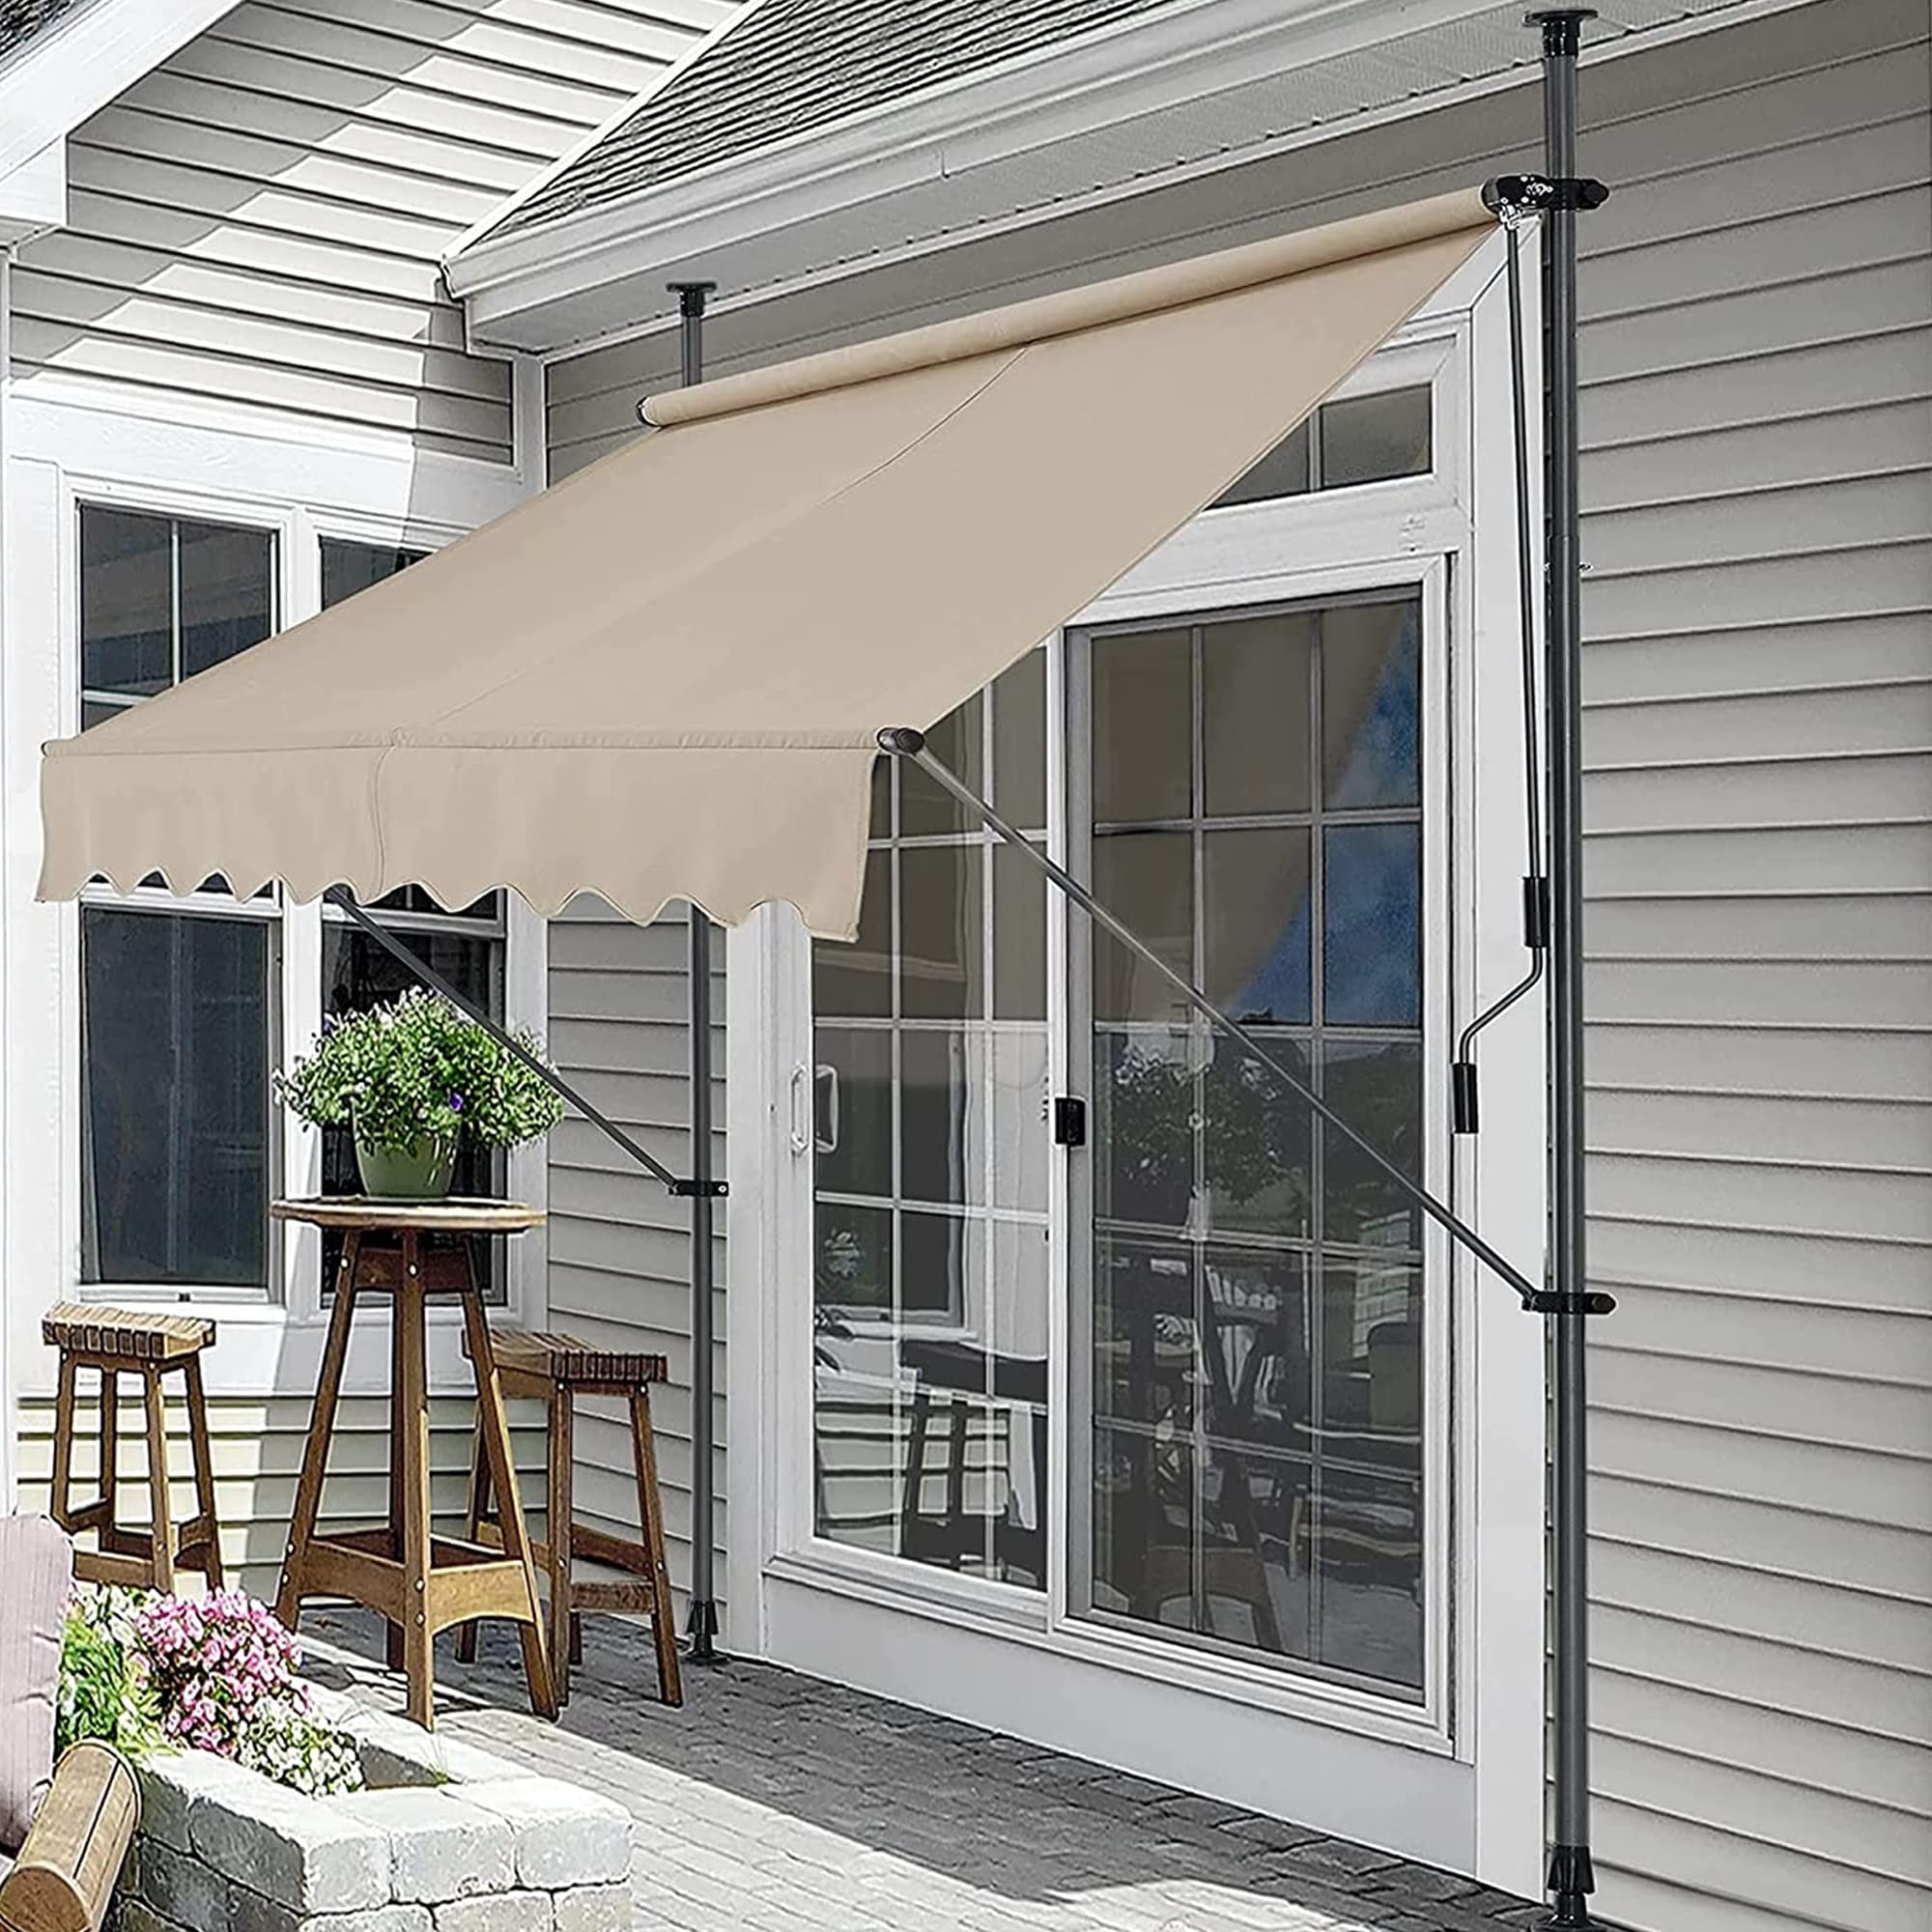
Prepare the installation area by clearing any obstructions and ensuring the surface is clean and level. If installing over a window or door, verify the structural integrity of the wall and locate studs or suitable anchor points for mounting brackets. For patio or deck installations, check the awning’s clearance requirements when extended to prevent any obstructions. Mark the positions for mounting brackets according to your awning’s width and projection specifications, ensuring they are evenly spaced and aligned with your measurements.
Installing Mounting Brackets
Begin the installation by attaching the mounting brackets securely to the wall or ceiling. Use a level to ensure the brackets are straight and aligned correctly. If mounting on wood, use wood screws and pre-drill pilot holes to prevent splitting. For concrete or masonry surfaces, use appropriate anchors and ensure they are inserted securely. Tighten all bolts and screws firmly but avoid over-tightening, which could damage the brackets or wall surface. Double-check the level and alignment of each bracket before proceeding to the next step.
Attaching the Awning Frame
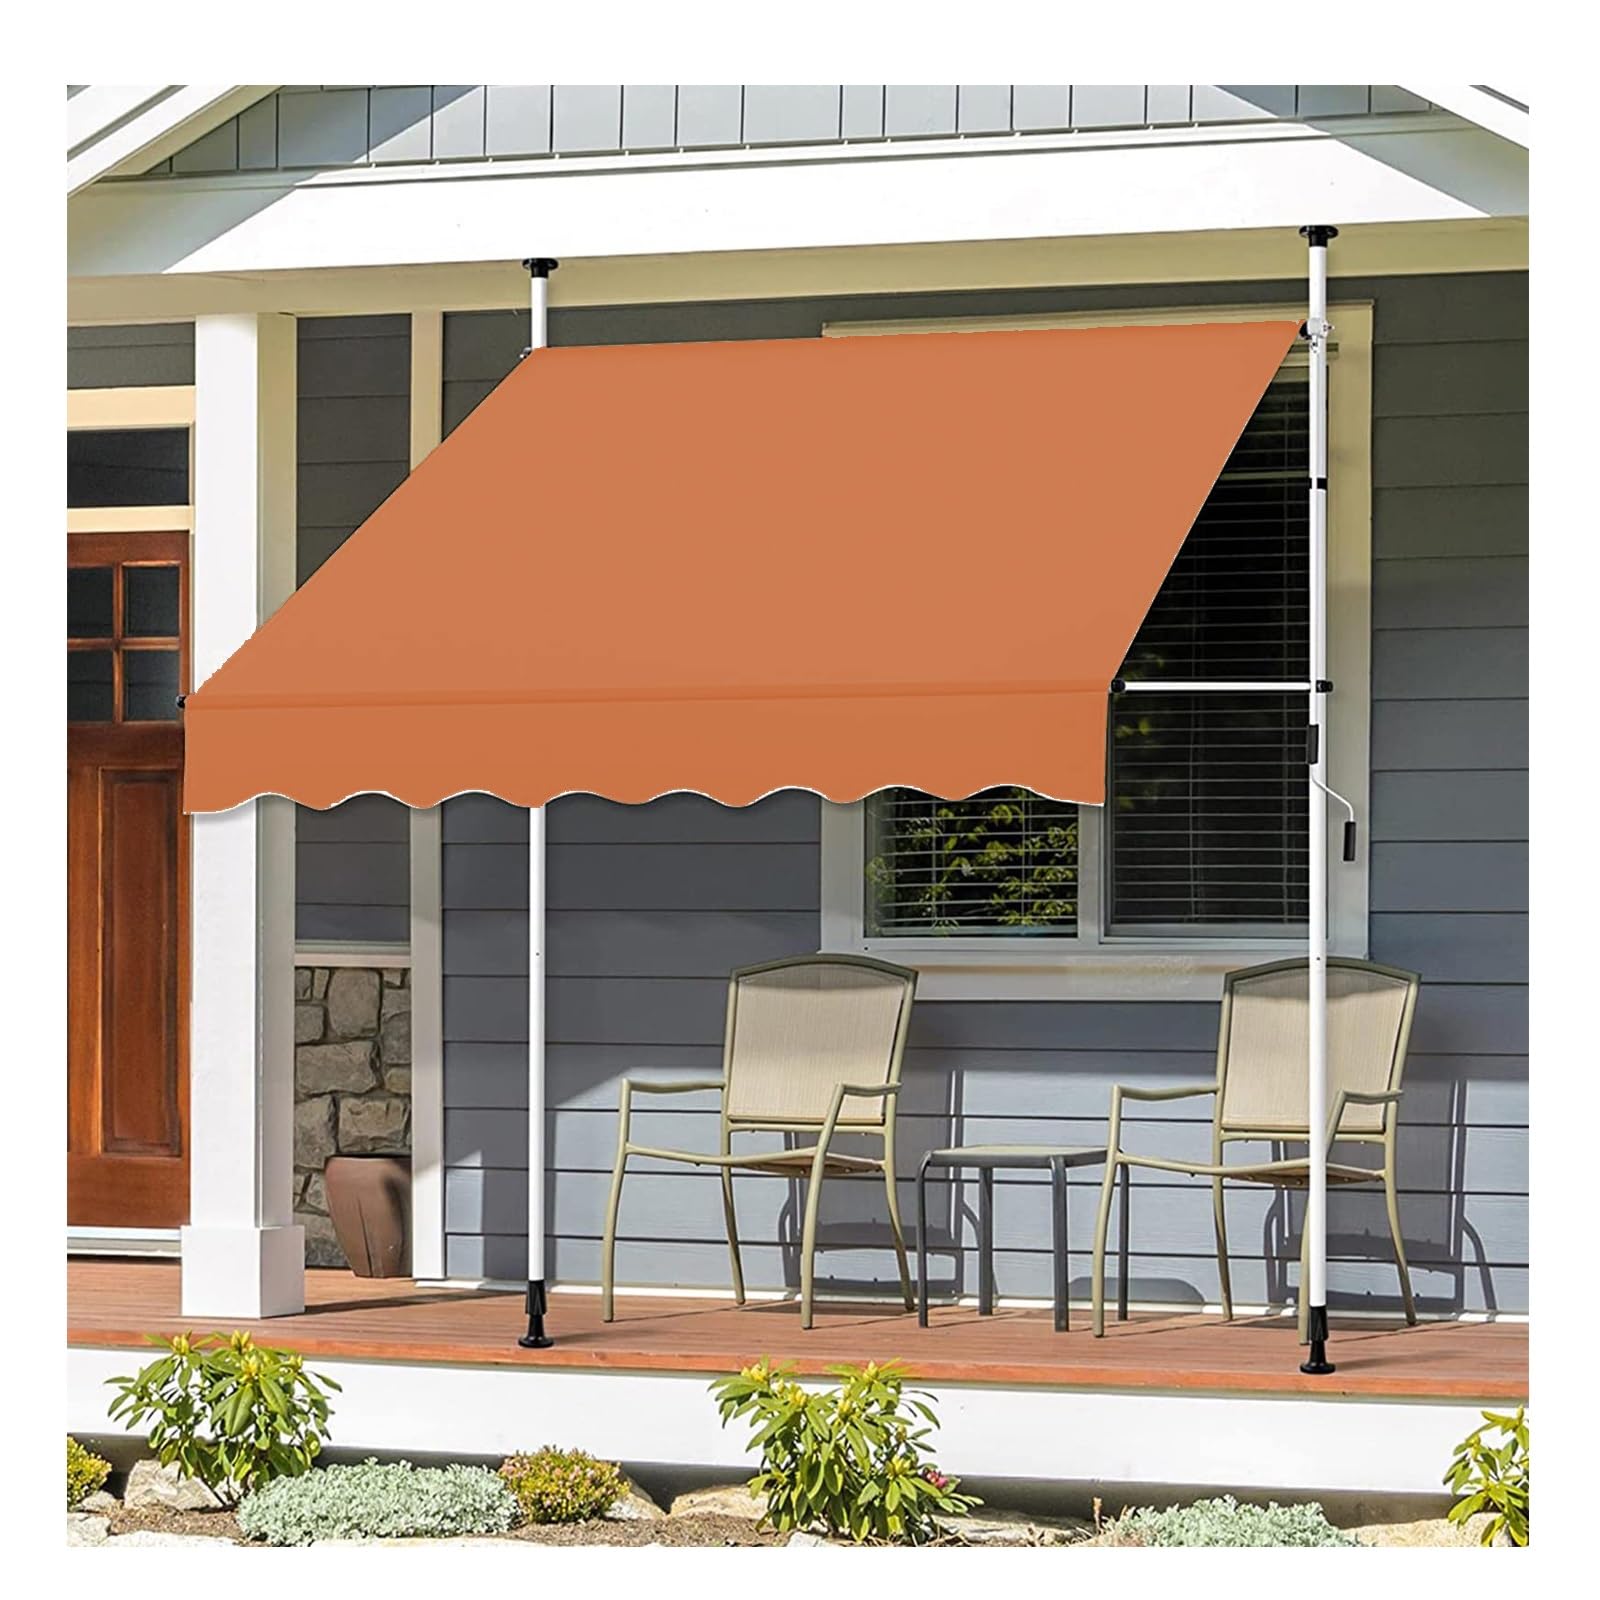
With the brackets securely installed, carefully lift the awning frame into position. Depending on the awning’s weight and size, you may need assistance to ensure it is positioned correctly over the mounting brackets. Align the awning’s roller tube with the brackets and insert it into place according to the manufacturer’s instructions. Secure the frame to the brackets using provided hardware, such as bolts or screws. Check again for level and make any necessary adjustments to ensure the awning operates smoothly and extends evenly.
Connecting the Awning Fabric
Once the frame is securely mounted, attach the awning fabric to the roller tube following the manufacturer’s guidelines. Most retractable awnings come with pre-installed fabric or require you to insert the fabric into the roller tube channel. Extend the awning partially to access the roller tube and fabric attachment points. Secure the fabric to the roller tube using included screws or clips, ensuring it is taut and evenly distributed across the frame. Test the awning’s operation by extending and retracting it to verify the fabric moves smoothly without binding or wrinkling.
Testing and Adjustments
After securing the fabric, perform a thorough test of the awning’s functionality. Operate the awning through its full range of motion several times to ensure smooth extension and retraction. Check for any signs of resistance, uneven movement, or fabric bunching that may indicate adjustment is needed. Adjust the tension settings according to the manufacturer’s instructions to achieve optimal fabric tension when extended. Verify that the awning locks securely in both fully extended and fully retracted positions, and that any motorized components operate smoothly without noise or hesitation.
Final Checks and Maintenance
Once installation is complete and adjustments have been made, conduct a final inspection of the awning and installation area. Ensure all hardware is tightened securely and that no components are loose or misaligned. Clean the awning fabric and frame as recommended by the manufacturer to maintain its appearance and longevity. Periodically inspect the awning for signs of wear, particularly at stress points like fabric seams and roller mechanisms. Address any issues promptly to prevent further damage and ensure the awning continues to provide effective shade and protection.
Maintenance Tips
To ensure your retractable awning lasts long and functions well, regular maintenance is crucial. Here are some tips:
- Cleaning: Clean the awning fabric regularly to prevent dirt buildup and extend its lifespan. Use a soft brush and mild soap with lukewarm water. Avoid harsh chemicals or abrasive cleaners that could damage the fabric’s waterproof coating.
- Inspecting Hardware: Periodically check all bolts, screws, and brackets for tightness and stability. Tighten any loose hardware to prevent the awning from becoming unstable or causing damage.
- Operating Care: Operate the awning smoothly and avoid abrupt movements or overextension, which can strain the fabric and mechanism. Follow the manufacturer’s guidelines for proper usage and care.
- Winter Preparation: If you live in a climate with harsh winters, consider retracting and storing the awning during the offseason to protect it from snow, ice, and strong winds. Some awnings come with optional winter covers for added protection.
- Professional Inspection: If you notice any significant wear, tear, or operational issues, consider having the awning inspected by a professional. They can diagnose problems early and perform necessary repairs to extend the awning’s lifespan.
Conclusion
Installing a retractable awning can significantly enhance your outdoor living space while providing practical benefits such as sun protection and energy savings. By following this DIY installation guide and carefully adhering to manufacturer instructions, you can successfully install a retractable awning that complements your home’s architecture and meets your shading needs. Remember to prioritize safety during installation, use proper tools and materials, and seek assistance if needed for lifting and positioning the awning frame. Enjoy your newly shaded outdoor area and the added comfort it brings to your home.