Introduction: The Art of Crafting Your Own Outdoor Haven
In the quest for extending your living space into the great outdoors, building a DIY awning offers a practical and stylish solution. An awning not only provides much-needed shade during sunny days but also adds an element of shelter, enhancing the aesthetic appeal of your home’s exterior. This comprehensive guide will walk you through the process, equipping you with the essential tips and tricks for a successful DIY awning project.
Section 1: Planning & Design (Foundation of Your Project)
Before diving into the build, careful planning is paramount. Begin by assessing your needs: determine the desired size, style (whether it’s a fixed, retractable, or freestanding awning), and the location where it will be installed. Consider factors such as sunlight direction, wind exposure, and available space. Sketch out your design, factoring in materials, color choices, and any additional features like lighting or privacy screens.
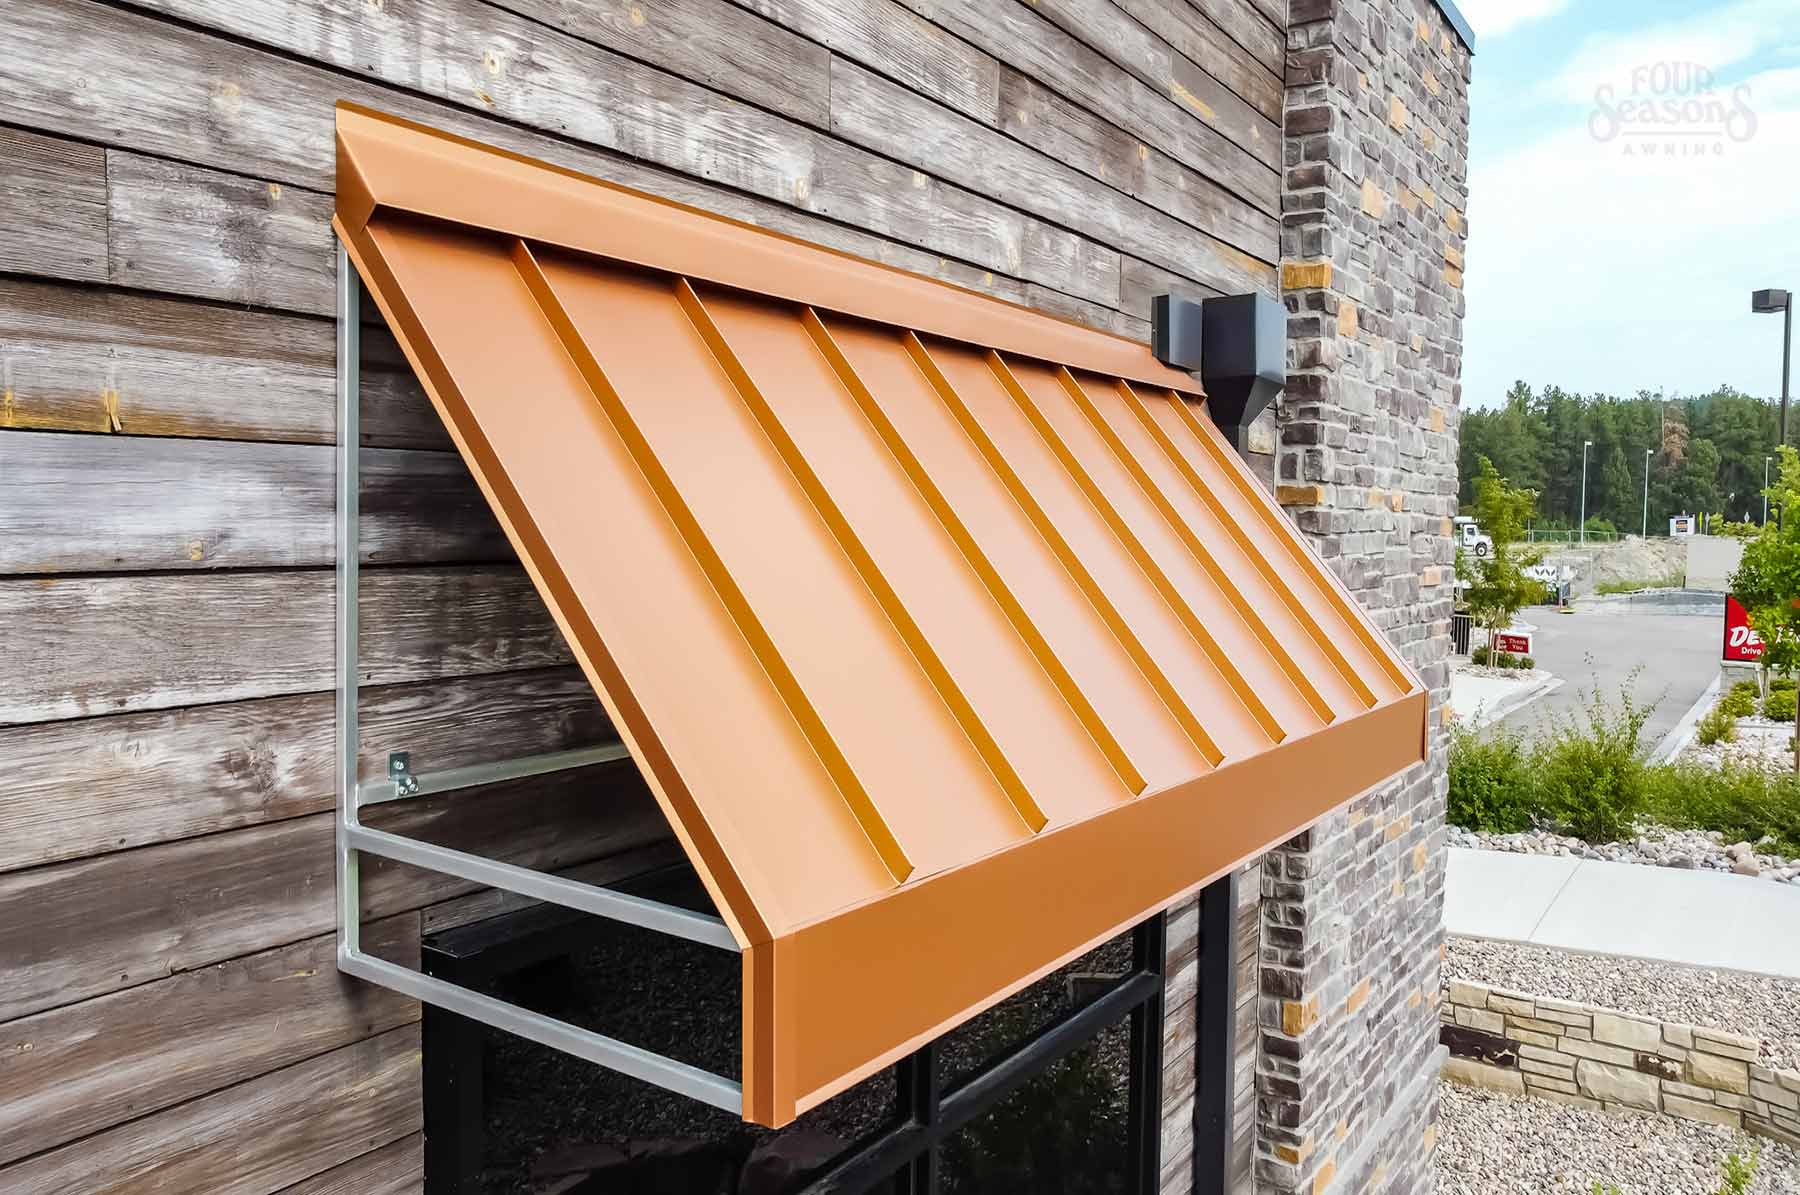
Section 2: Material Selection (Quality Matters)
Selecting the right materials is crucial for durability and aesthetics. For the frame, consider using powder-coated steel or aluminum, known for their strength and resistance to rust. Fabric choices should prioritize UV resistance and water repellency; popular options include acrylic or polyester canvas. Ensure all materials are compatible with your local weather conditions and comply with any building codes.
Section 3: Tools of the Trade (Essential Equipment)
To execute your project efficiently, gather the necessary tools beforehand. Essential items typically include a measuring tape, level, drill, saw (for cutting metal or wood), screwdrivers, wrenches, and a sewing machine if you’re handling fabric modifications yourself. Don’t forget safety gear like gloves, goggles, and a dust mask.
Section 4: Foundation Preparation (Secure Your Structure)
A solid foundation ensures your awning stands firm against the elements. If attaching to a wall, ensure the structure can support the added weight and use appropriate brackets. For freestanding awnings, concrete footings might be necessary. Follow manufacturer guidelines for anchor bolt installation and always check for levelness throughout the process.
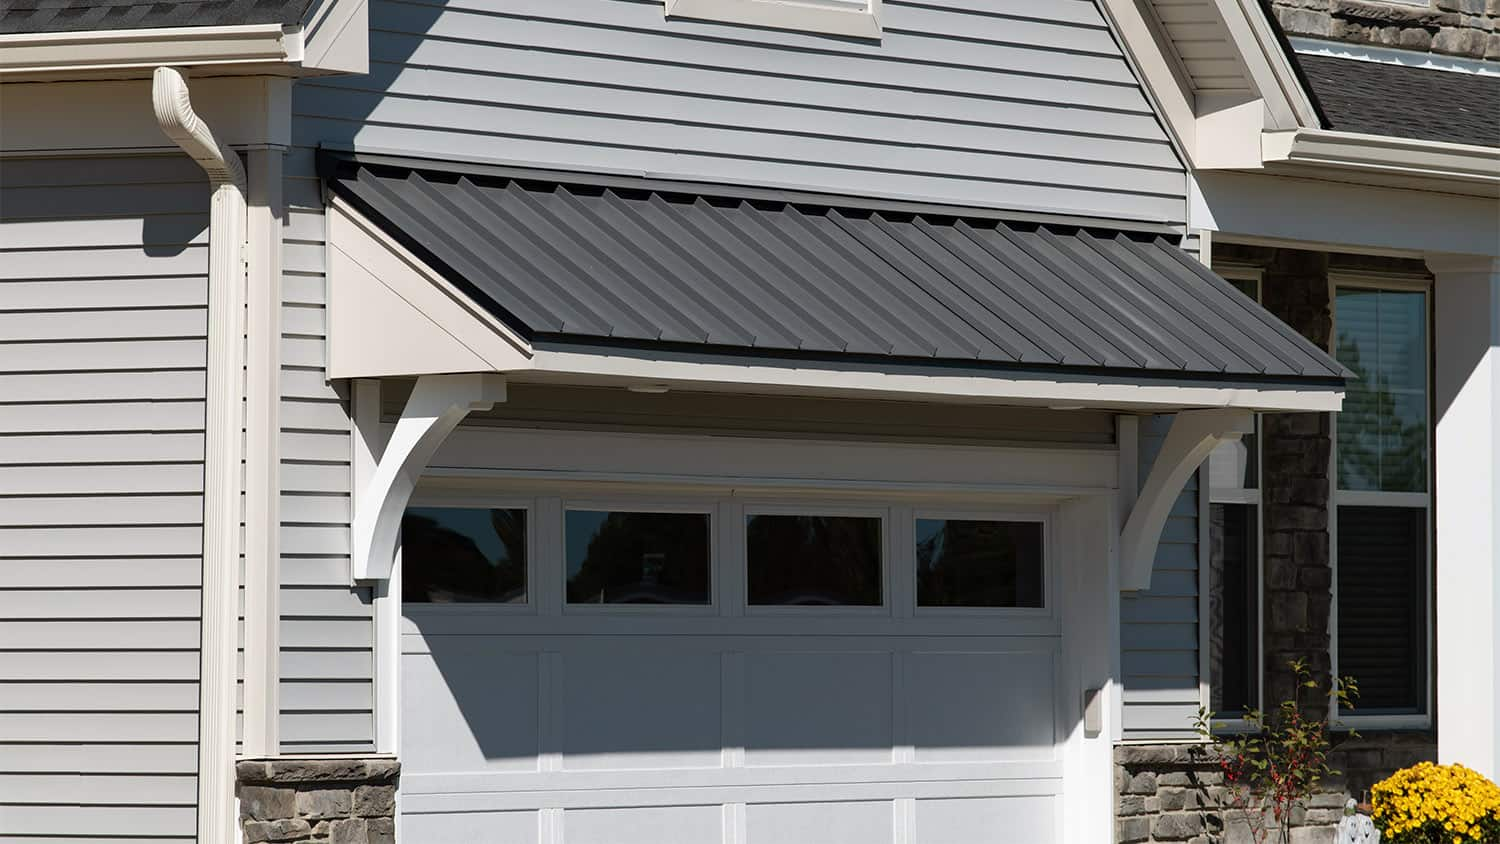
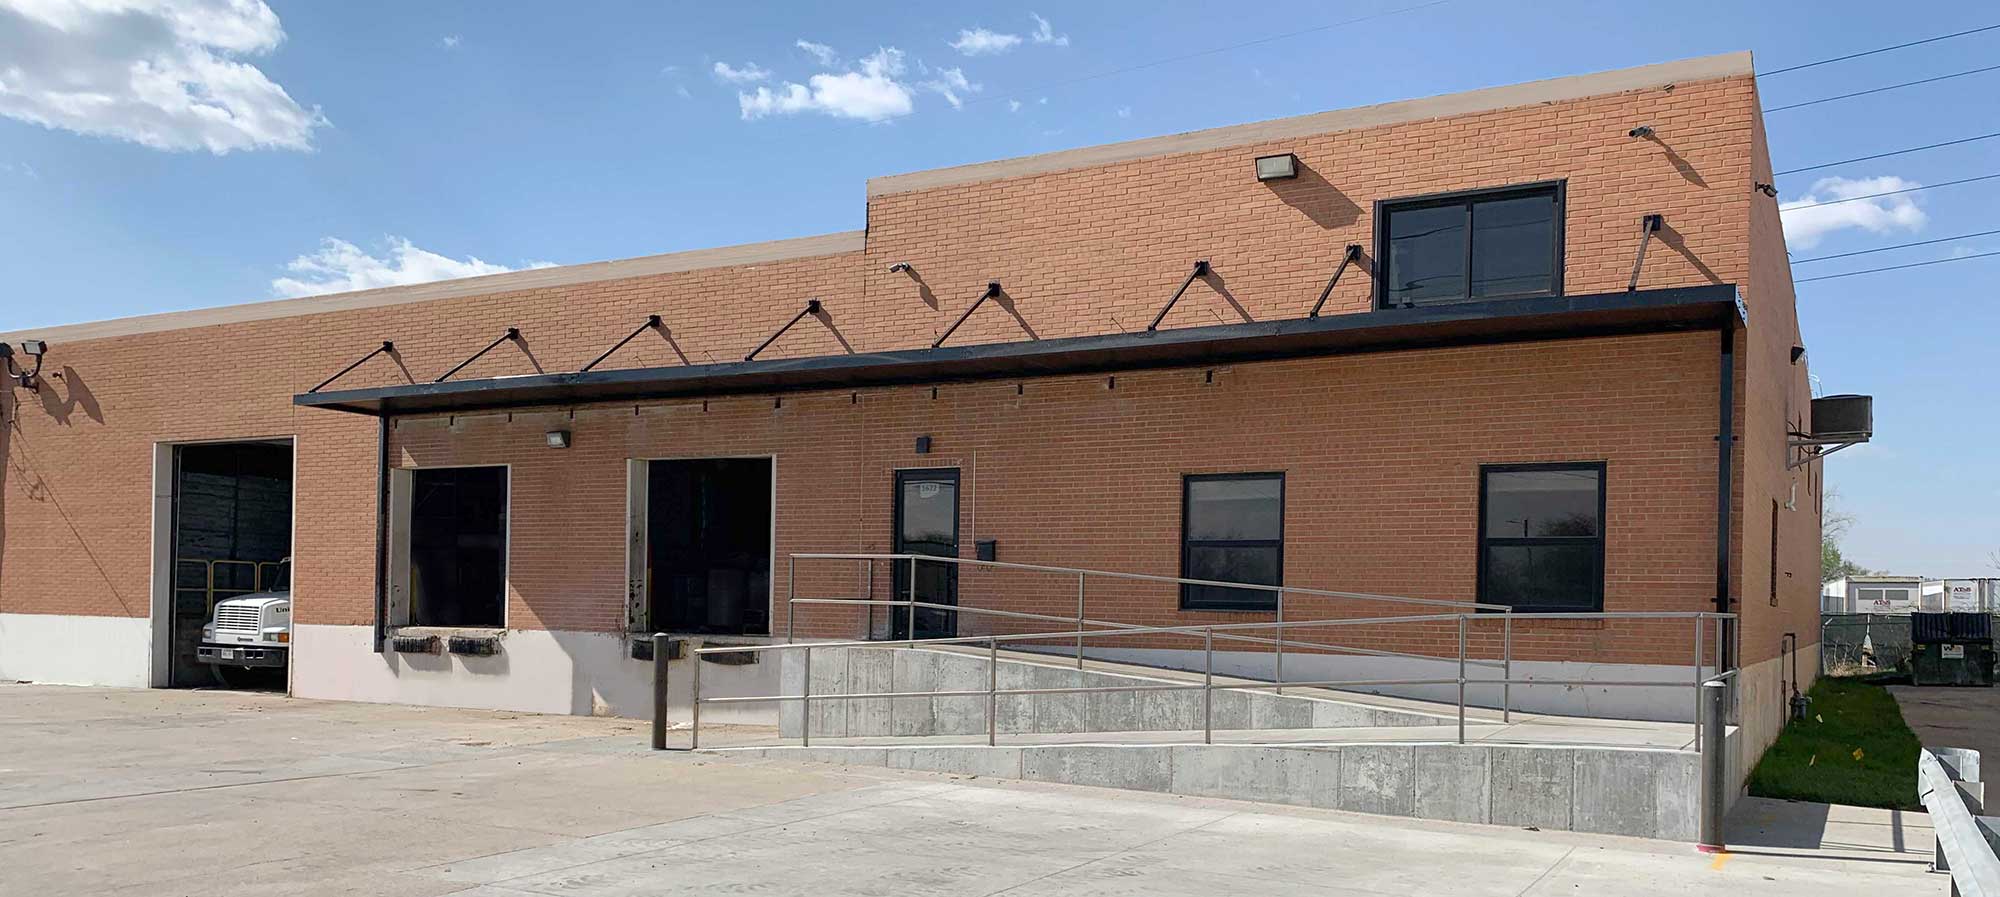
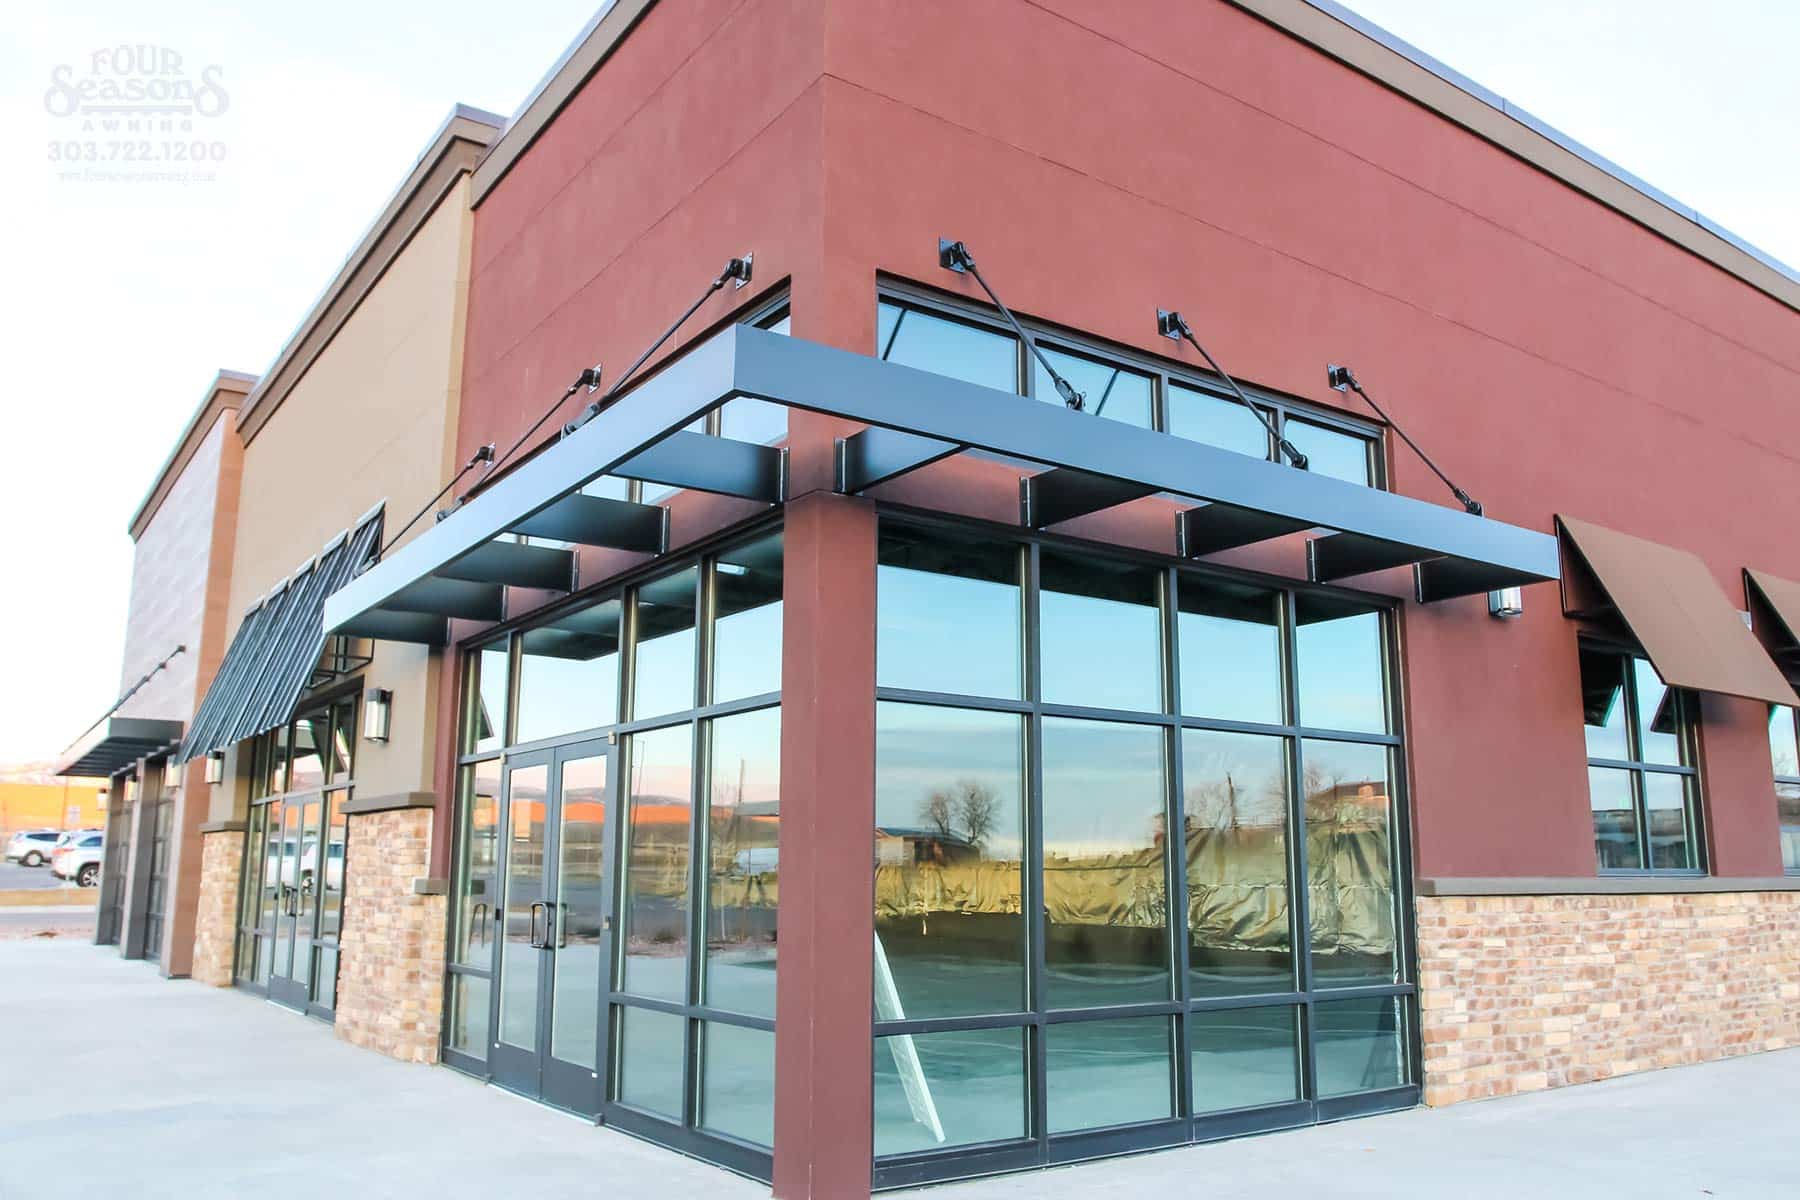
Section 5: Assembling the Frame (Precision Engineering)
With your materials and tools ready, begin constructing the frame. Follow your design blueprint closely, starting with the main support structure and working your way to crossbars or rafters. Precision is key when drilling and bolting components together, ensuring a sturdy and well-aligned framework.
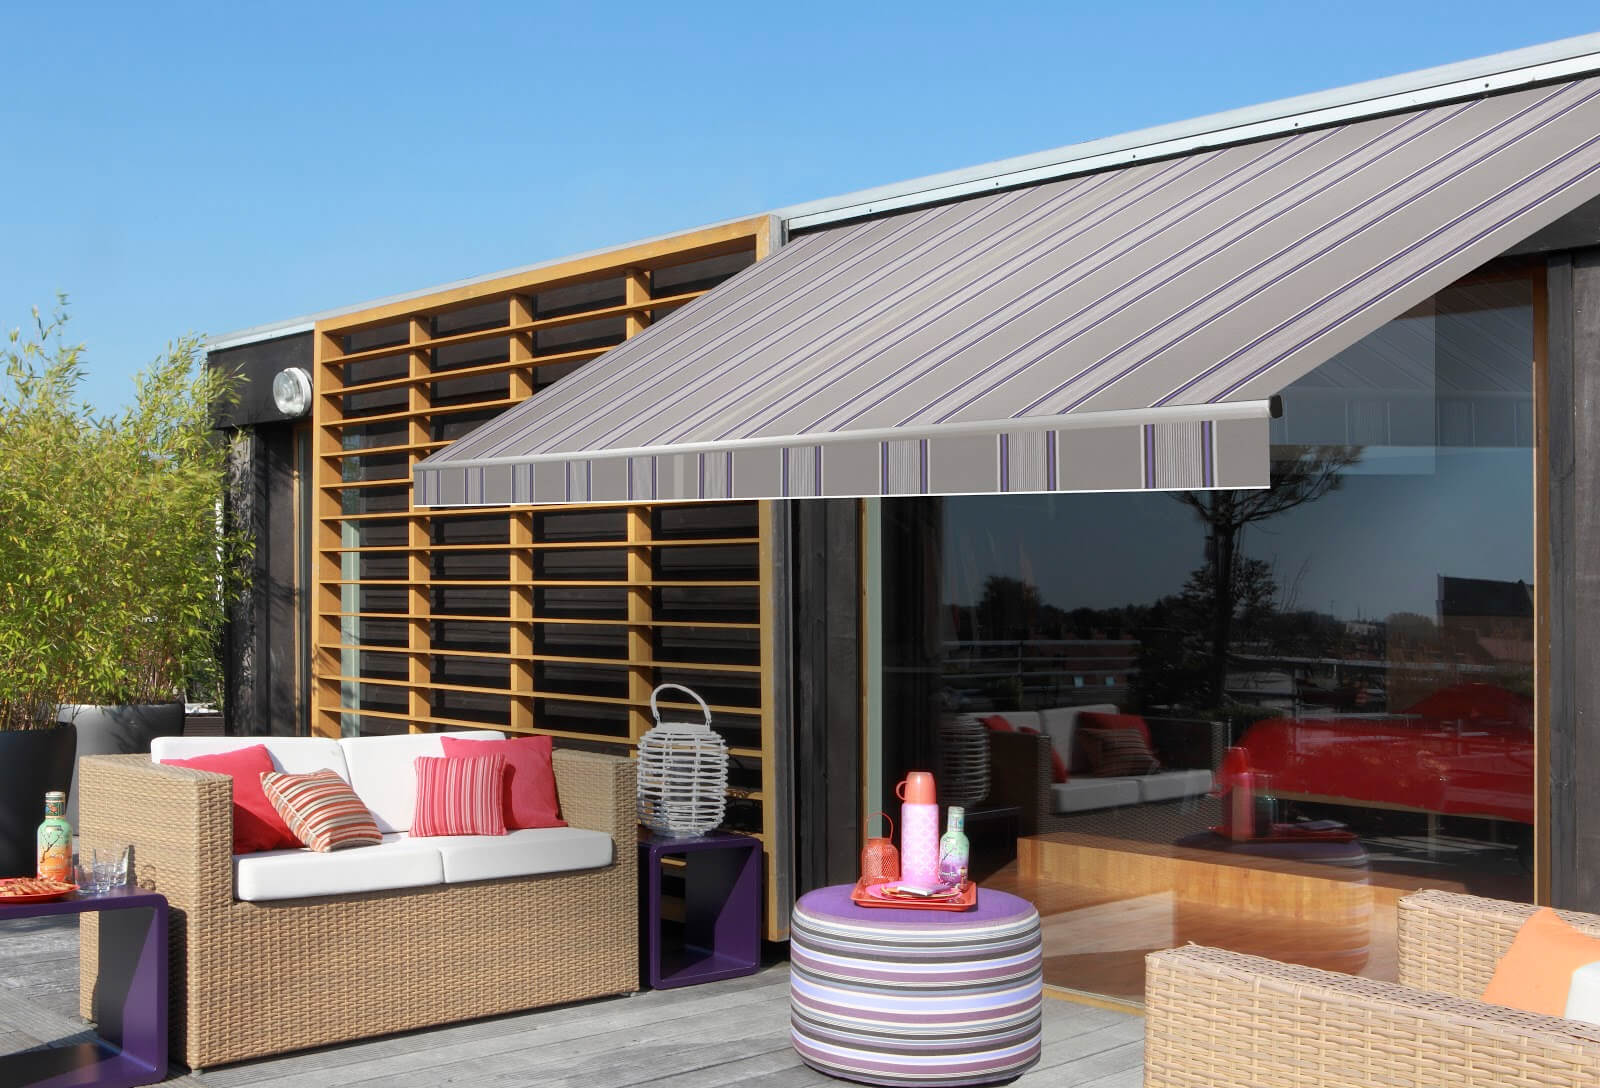
Section 6: Fabric Installation (Adding the Finishing Touch)
Once the frame is up, it’s time to install the fabric. Measure carefully to ensure a precise fit, allowing for tension adjustments. Attach the fabric securely to the frame, using snap fasteners, or a track system, depending on your design. Ensure there’s enough give to allow for fabric expansion in hot weather.
Section 7: Weatherproofing & Finishing Touches (Protection & Appeal)
To enhance longevity, apply a waterproofing treatment to the fabric if not inherently water-resistant. Seal all metal connections to prevent rust and add a protective coating to wooden parts. Consider adding decorative trims, lighting, or even a motor for retractable models to elevate both function and style.
Section 8: Safety & Maintenance (Enjoy Peace of Mind)
Safety doesn’t end with construction. Regularly inspect your awning for signs of wear, damage, or loose fittings. Keep it clean by gently washing the fabric with mild soap and water, avoiding harsh chemicals that could damage the material. In areas prone to severe weather, have a plan for securing or retracting the awning.
Article 1: Advanced Design Techniques for DIY Awnings
Enhancing Aesthetic Appeal & Functionality
Moving beyond the basics, this article delves into advanced design strategies that can elevate your DIY awning from functional to truly remarkable.
Section 1: Integrating Smart Technology Explore how smart home technology can be incorporated into your awning design. From automated retractable systems controlled via smartphone apps to integrated weather sensors that automatically adjust the awning position based on weather conditions, learn how tech can enhance user experience.
Section 2: Sustainable Materials & Energy Efficiency Discuss eco-friendly material options like bamboo for frames or recycled plastic composites. Also, examine how the right fabric color and material can improve energy efficiency by reflecting sunlight, reducing cooling costs indoors.
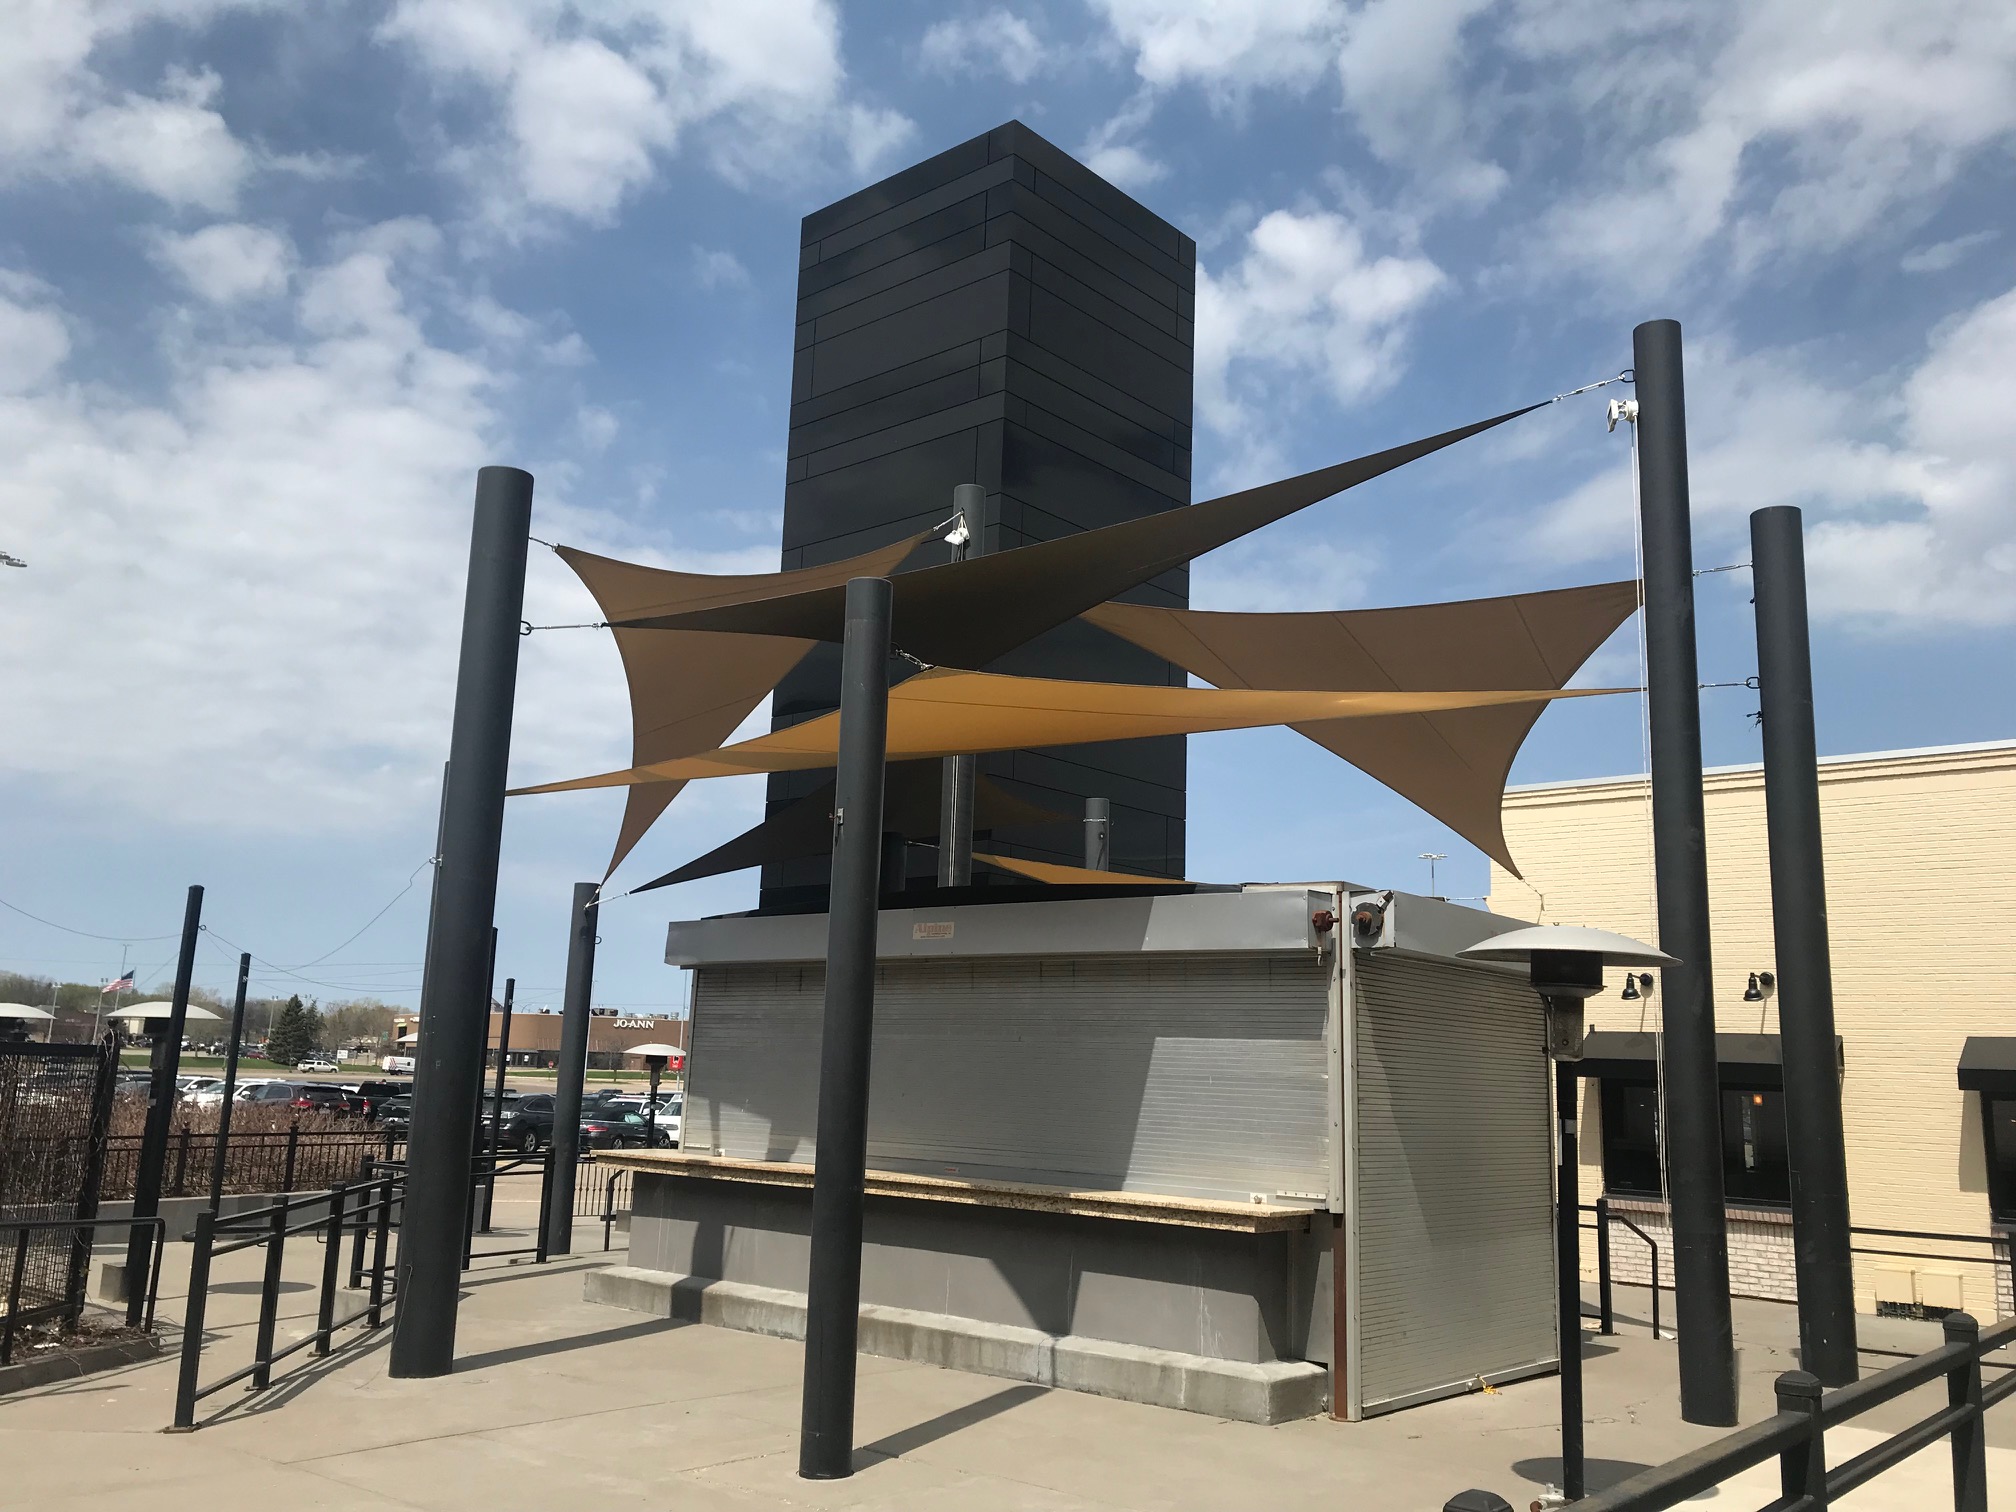
Section 3: Creative Shapes & Architectural Integration Go beyond the standard rectangular designs. Investigate unique shapes like hexagonal, curved, or even modular designs that can be adjusted for different spaces and occasions. Tips on harmoniously integrating the awning with your home’s architectural style are included.
Article 2: DIY Awning Projects for Small Spaces & Apartments
Maximizing Outdoor Living in Limited Areas
For those with compact balconies or small patios, this article offers tailored solutions for creating an inviting outdoor haven.
Section 1: Compact Designs & Folding Awnings Discover space-saving designs like folding arm awnings, drop-down shades, or vertical gardens that double as shading devices. These ideas optimize every inch without overwhelming the area.
Section 2: Wall-Mounted Solutions Explore creative wall-mounted options that don’t require ground space. Learn about DIY brackets and lightweight materials perfect for apartment installations, ensuring compliance with lease agreements and safety regulations.
Section 3: Multifunctional Furniture & Shading Combine shading with seating or storage solutions. From benches with built-in awnings to umbrella-style structures attached to tables, these projects make the most of limited square footage.
Article 3: Budget-Friendly DIY Awnings: Building on a Shoestring
Affordable Solutions Without Compromising Quality
This article focuses on cost-effective methods and materials for creating an awning without breaking the bank.
Section 1: Repurposing & Upcycling Uncover creative ways to reuse materials like old windows, sails, or even PVC pipes for frame construction. Learn how to transform these items into stylish and functional awnings.
Section 2: DIY Alternatives to Expensive Materials Explore affordable fabric alternatives like canvas drop cloths, which offer durability at a fraction of the cost of specialized awning fabrics. Discover how to weatherproof them effectively.
Section 3: DIY vs. Prefabricated Kits: A Cost-Benefit Analysis Compare the long-term costs of building from scratch versus purchasing and assembling prefabricated kits. Highlight instances where DIY provides significant savings and cases where kits may be more economical.
Article 4: Troubleshooting Common DIY Awning Challenges
Overcoming Obstacles for a Seamless Build
Address common pitfalls and provide troubleshooting tips for a smoother DIY awning project.
Section 1: Dealing with Uneven Surfaces & Unstable Foundations Learn techniques for leveling awnings on uneven ground or stabilizing structures on weak surfaces like decks.
Section 2: Fabric Tensioning & Maintenance Issues Understand how to correctly tension awning fabric to avoid sagging and pooling water. Address common maintenance issues like mold growth and fabric fading.
Section 3: Structural Integrity & Wind Resistance Explain how to reinforce awning frames against strong winds and choose appropriate anchoring methods for various climates and conditions.
Each article in this series builds upon the fundamental guide, offering specialized insights and innovative ideas for various needs, budgets, and spaces, ensuring every DIY enthusiast can craft their ideal outdoor haven.
Conclusion: A DIY Triumph for Your Outdoor Space
By following these detailed steps, you’ll not only create a functional and beautiful addition to your home but also gain a sense of accomplishment from your DIY efforts. Your custom-built awning will provide years of comfortable outdoor living, serving as a testament to your creativity and craftsmanship. So, roll up your sleeves, gather your tools, and embark on this rewarding project to transform your outdoor space into a shaded sanctuary.