Introduction: Understanding the Importance of Awning Fabric
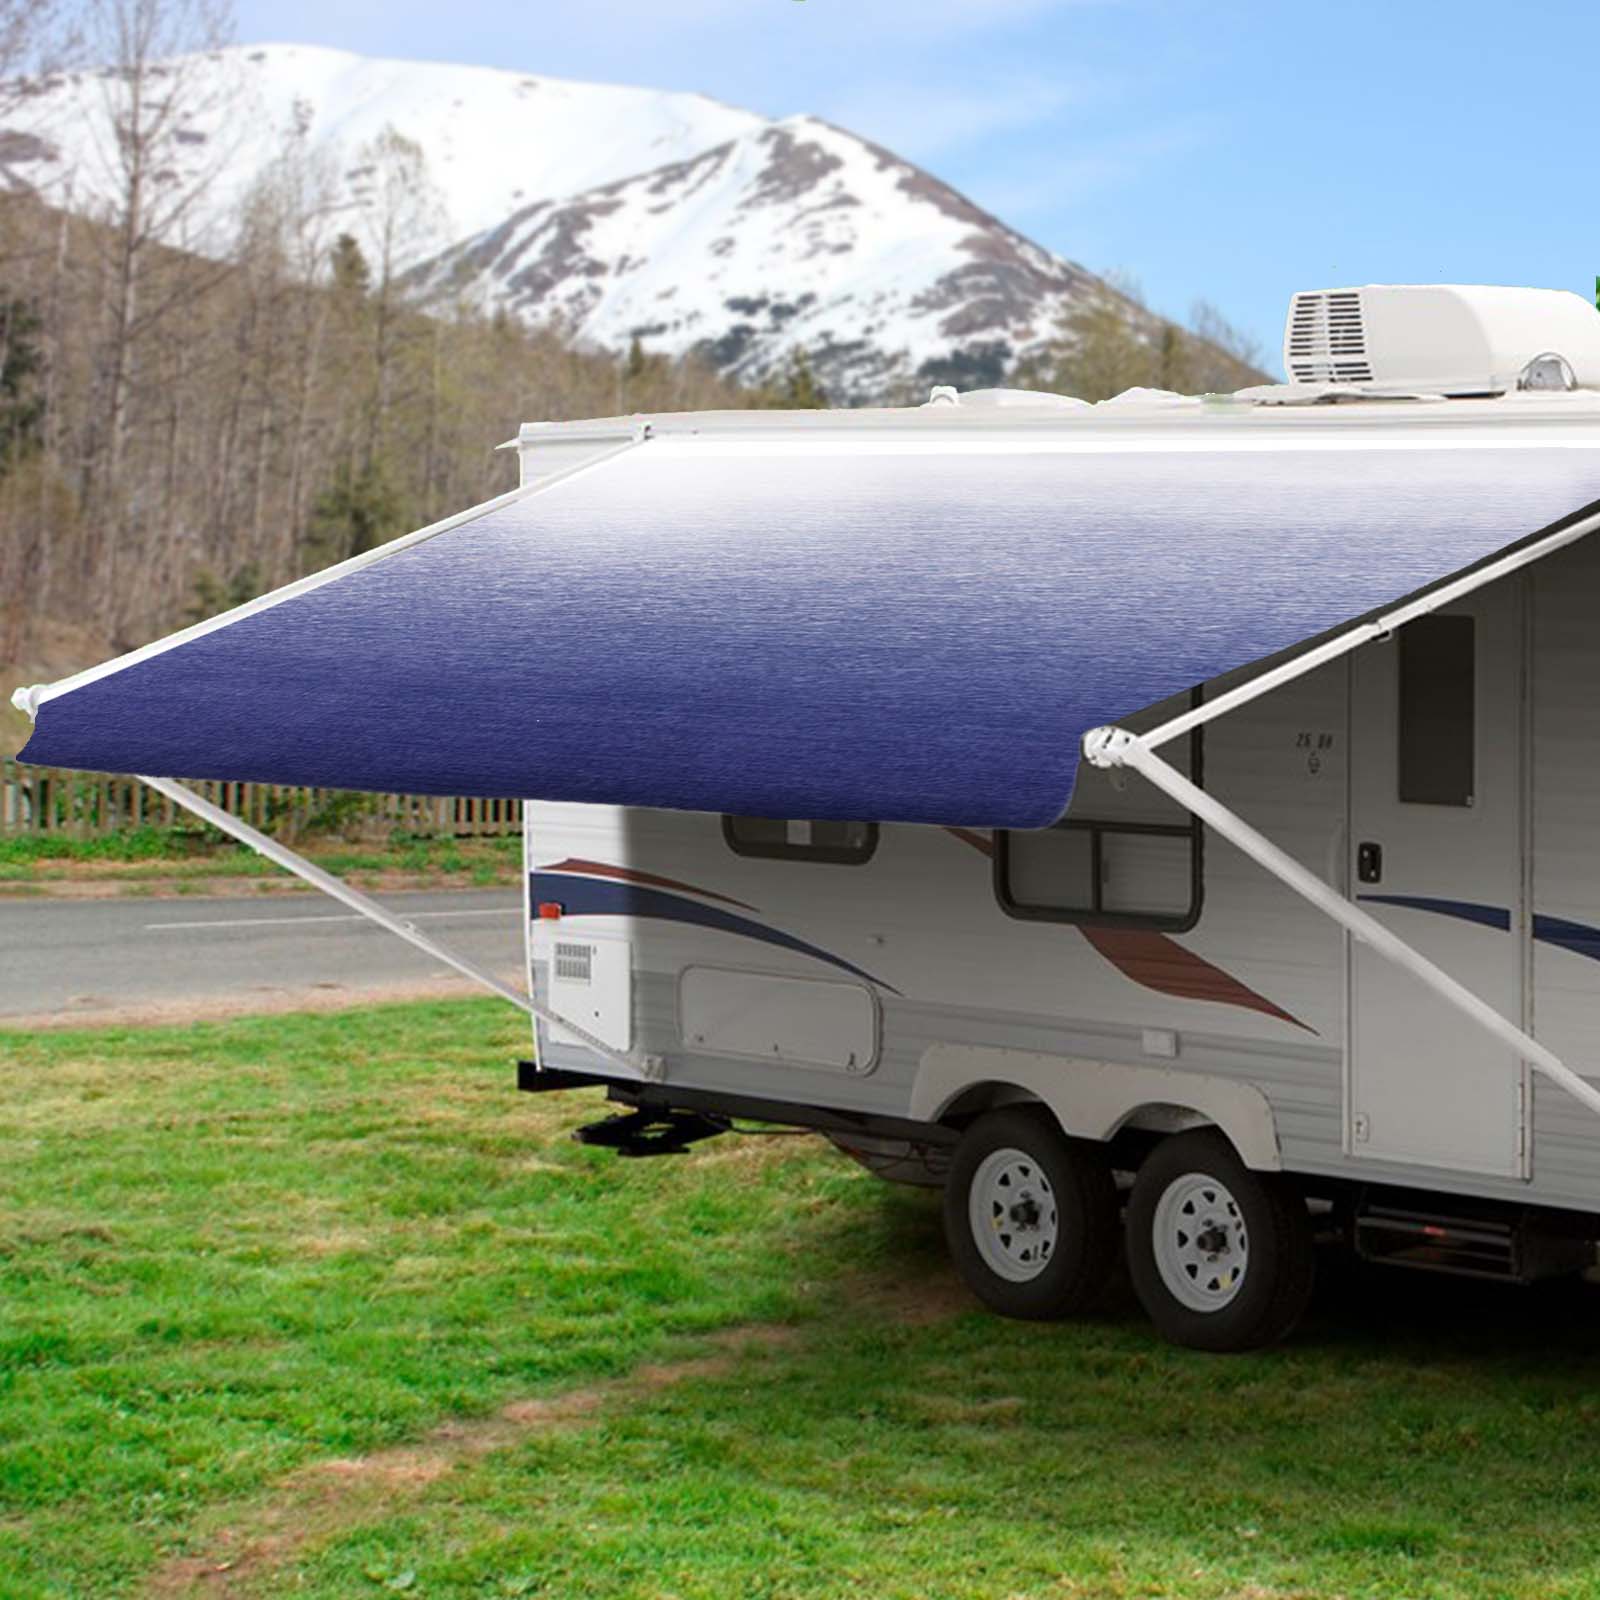
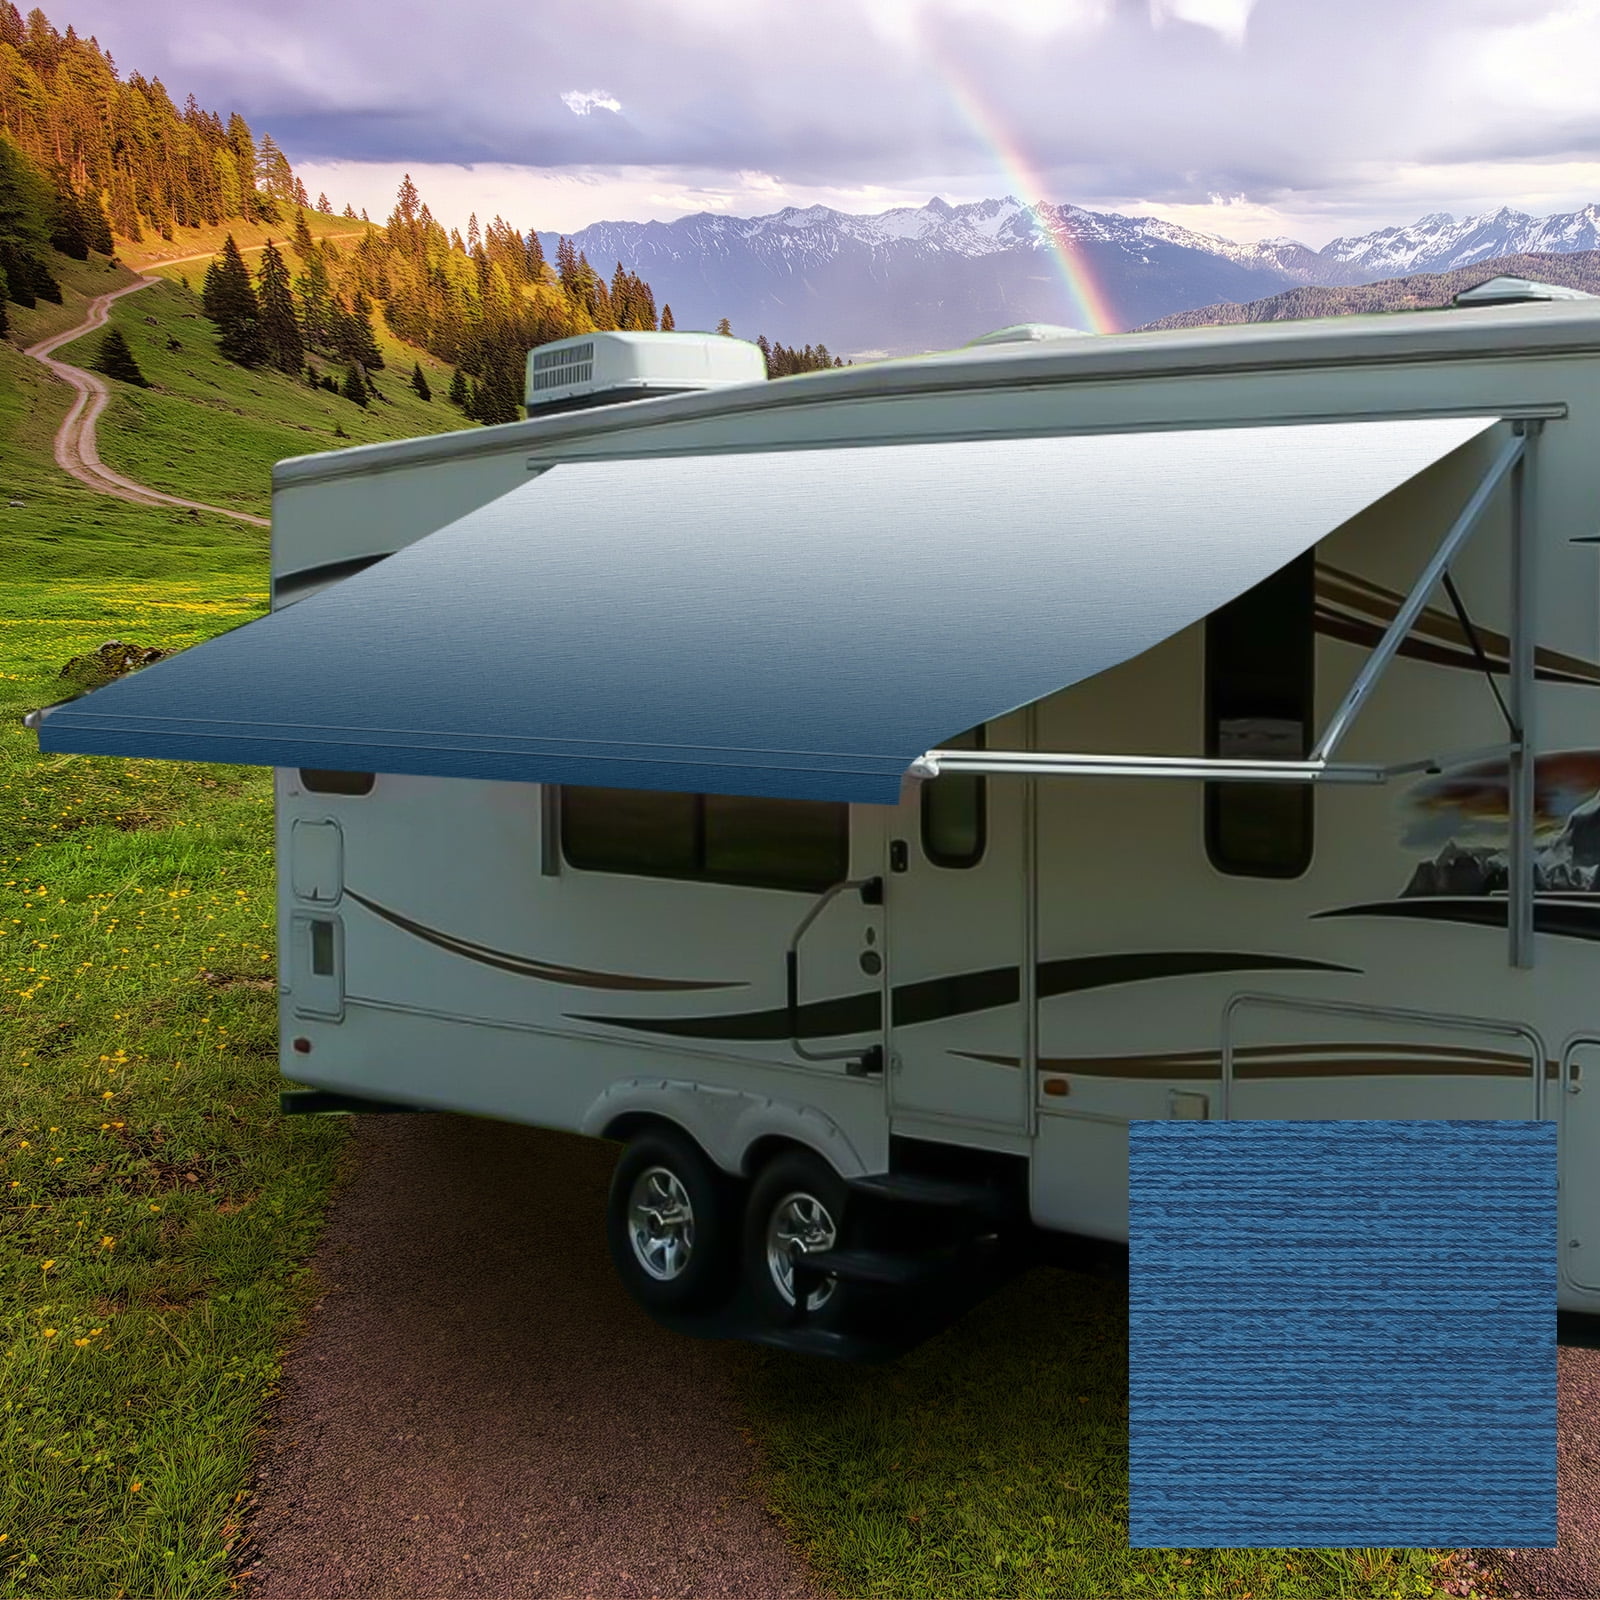
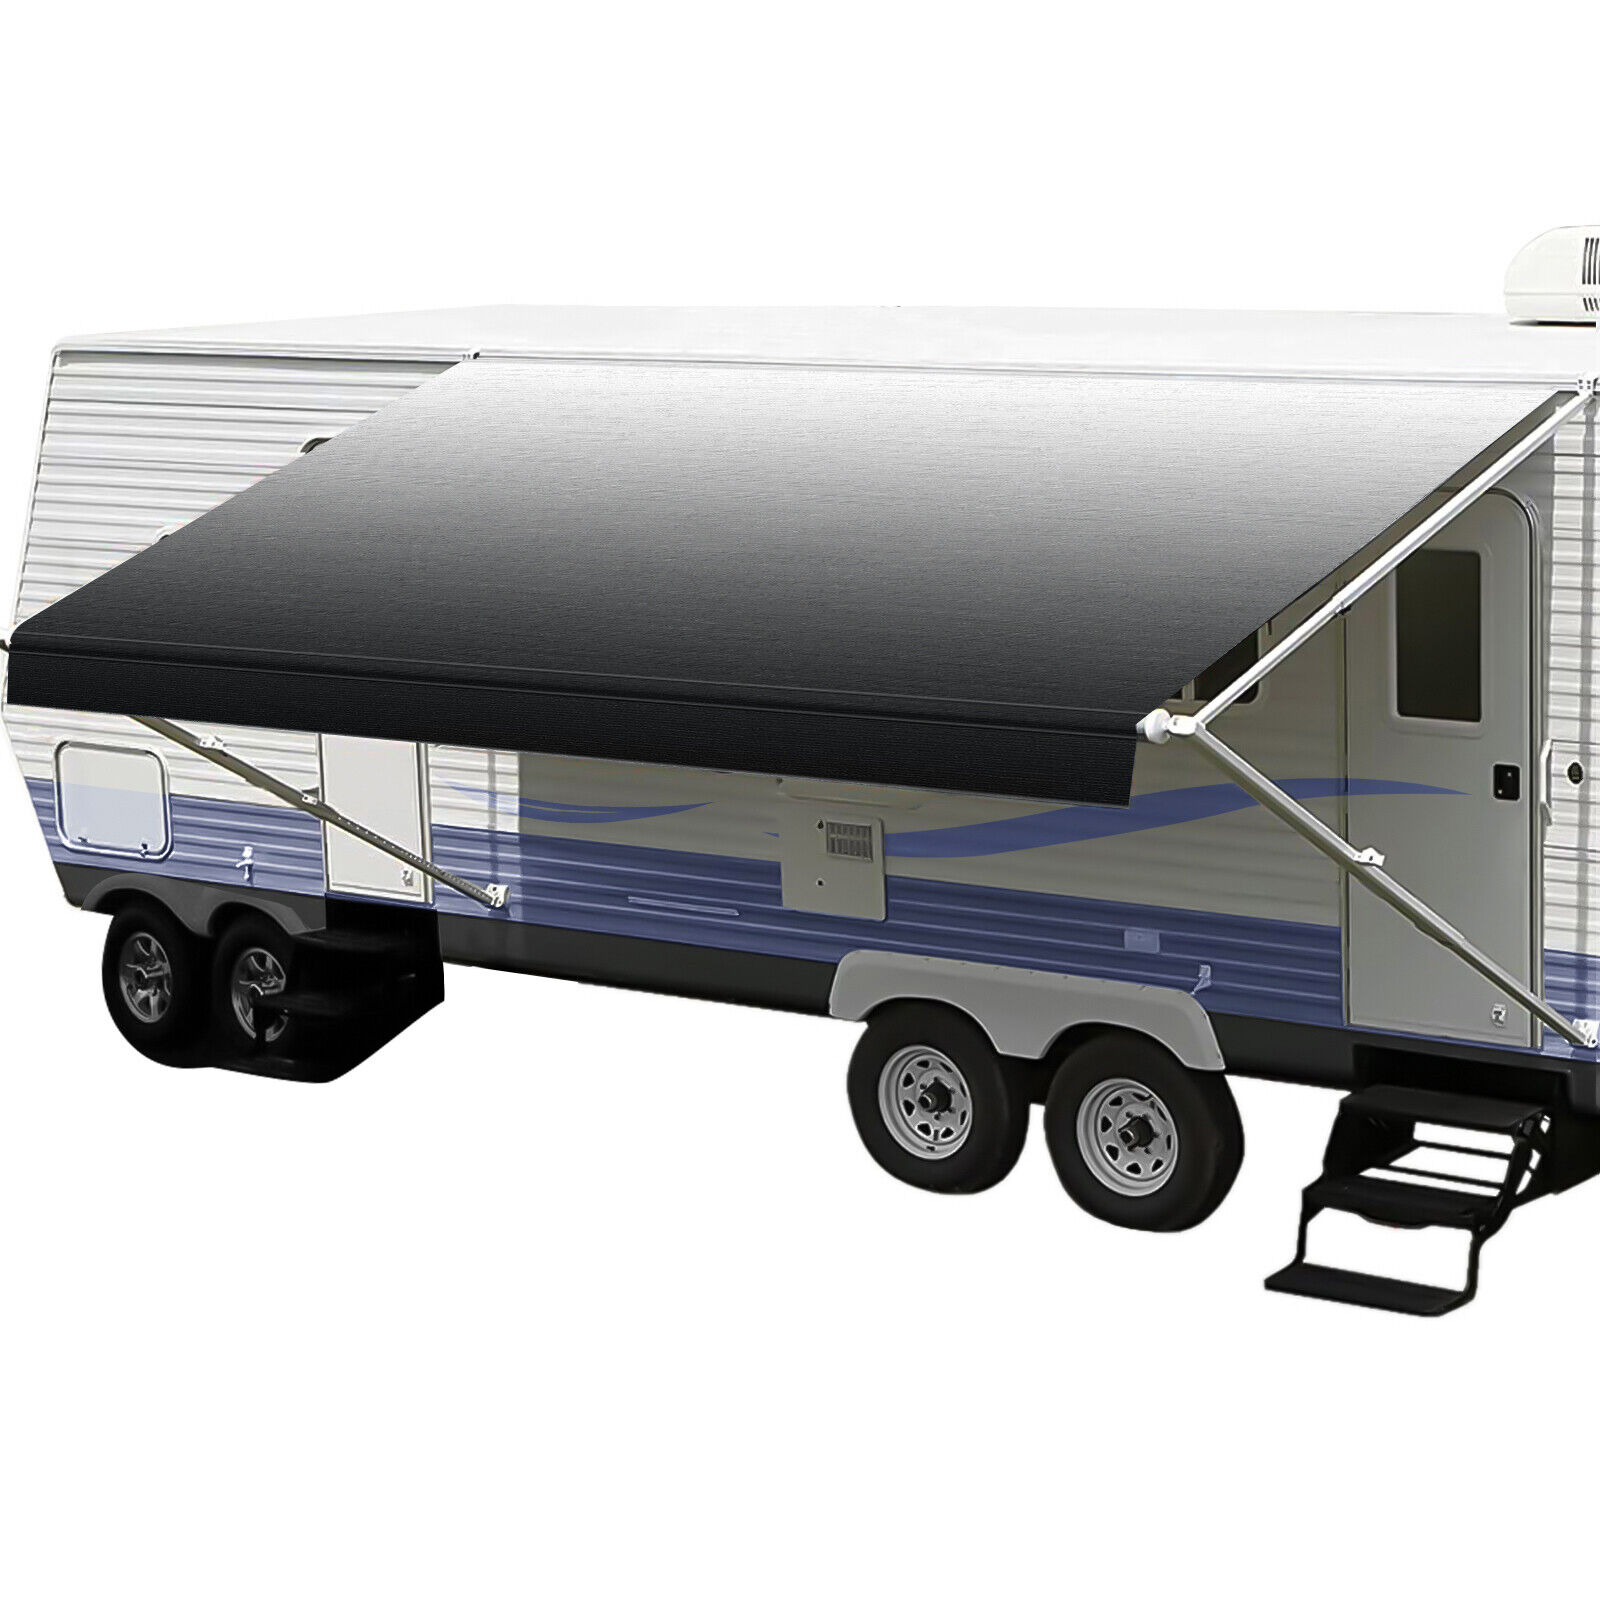
Renovating an RV often involves more than just updating the interior or adding new appliances. The exterior elements, like the awning, play a crucial role in both aesthetics and functionality. The awning fabric, in particular, can deteriorate over time due to exposure to the elements. Replacing it is a key aspect of RV renovation, and doing it like a pro requires attention to detail and the right approach.
Assessing the Situation: Is it Time to Replace?
Before diving into the replacement process, it’s essential to assess the condition of the awning fabric. Look for signs of wear and tear such as fading, tears, mildew, or mold. If the fabric is showing significant damage or if it’s been several years since the last replacement, it’s likely time to install a new one.
Gathering Materials and Tools: What You’ll Need
Replacing awning fabric requires specific materials and tools to ensure a smooth and successful process. Be sure to gather the following items before starting:
- New awning fabric
- Measuring tape
- Utility knife
- Screwdriver or drill
- Lubricant spray
- Step ladder or platform
- Assistant (optional but helpful)
Preparing for Installation: Clearing the Area
Before removing the old fabric, clear the area around the awning to create a safe and spacious workspace. This might involve moving furniture, vehicles, or other obstacles that could interfere with the renovation process. Ensuring ample space will make it easier to maneuver and work efficiently.
Removing the Old Fabric: Step-by-Step Guide
Removing the old awning fabric is a systematic process that requires careful attention to avoid damaging other components. Follow these steps:
- Retract the awning: Use the retract function to roll up the awning fabric completely.
- Secure the arms: Use straps or ties to secure the awning arms in place, preventing them from accidentally extending during removal.
- Unscrew the fasteners: Locate the screws or bolts securing the fabric to the roller tube and awning arms. Use a screwdriver or drill to remove them carefully.
- Detach the fabric: With the fasteners removed, gently pull the old fabric out of the roller tube and awning arms. Take care to avoid tearing or snagging.
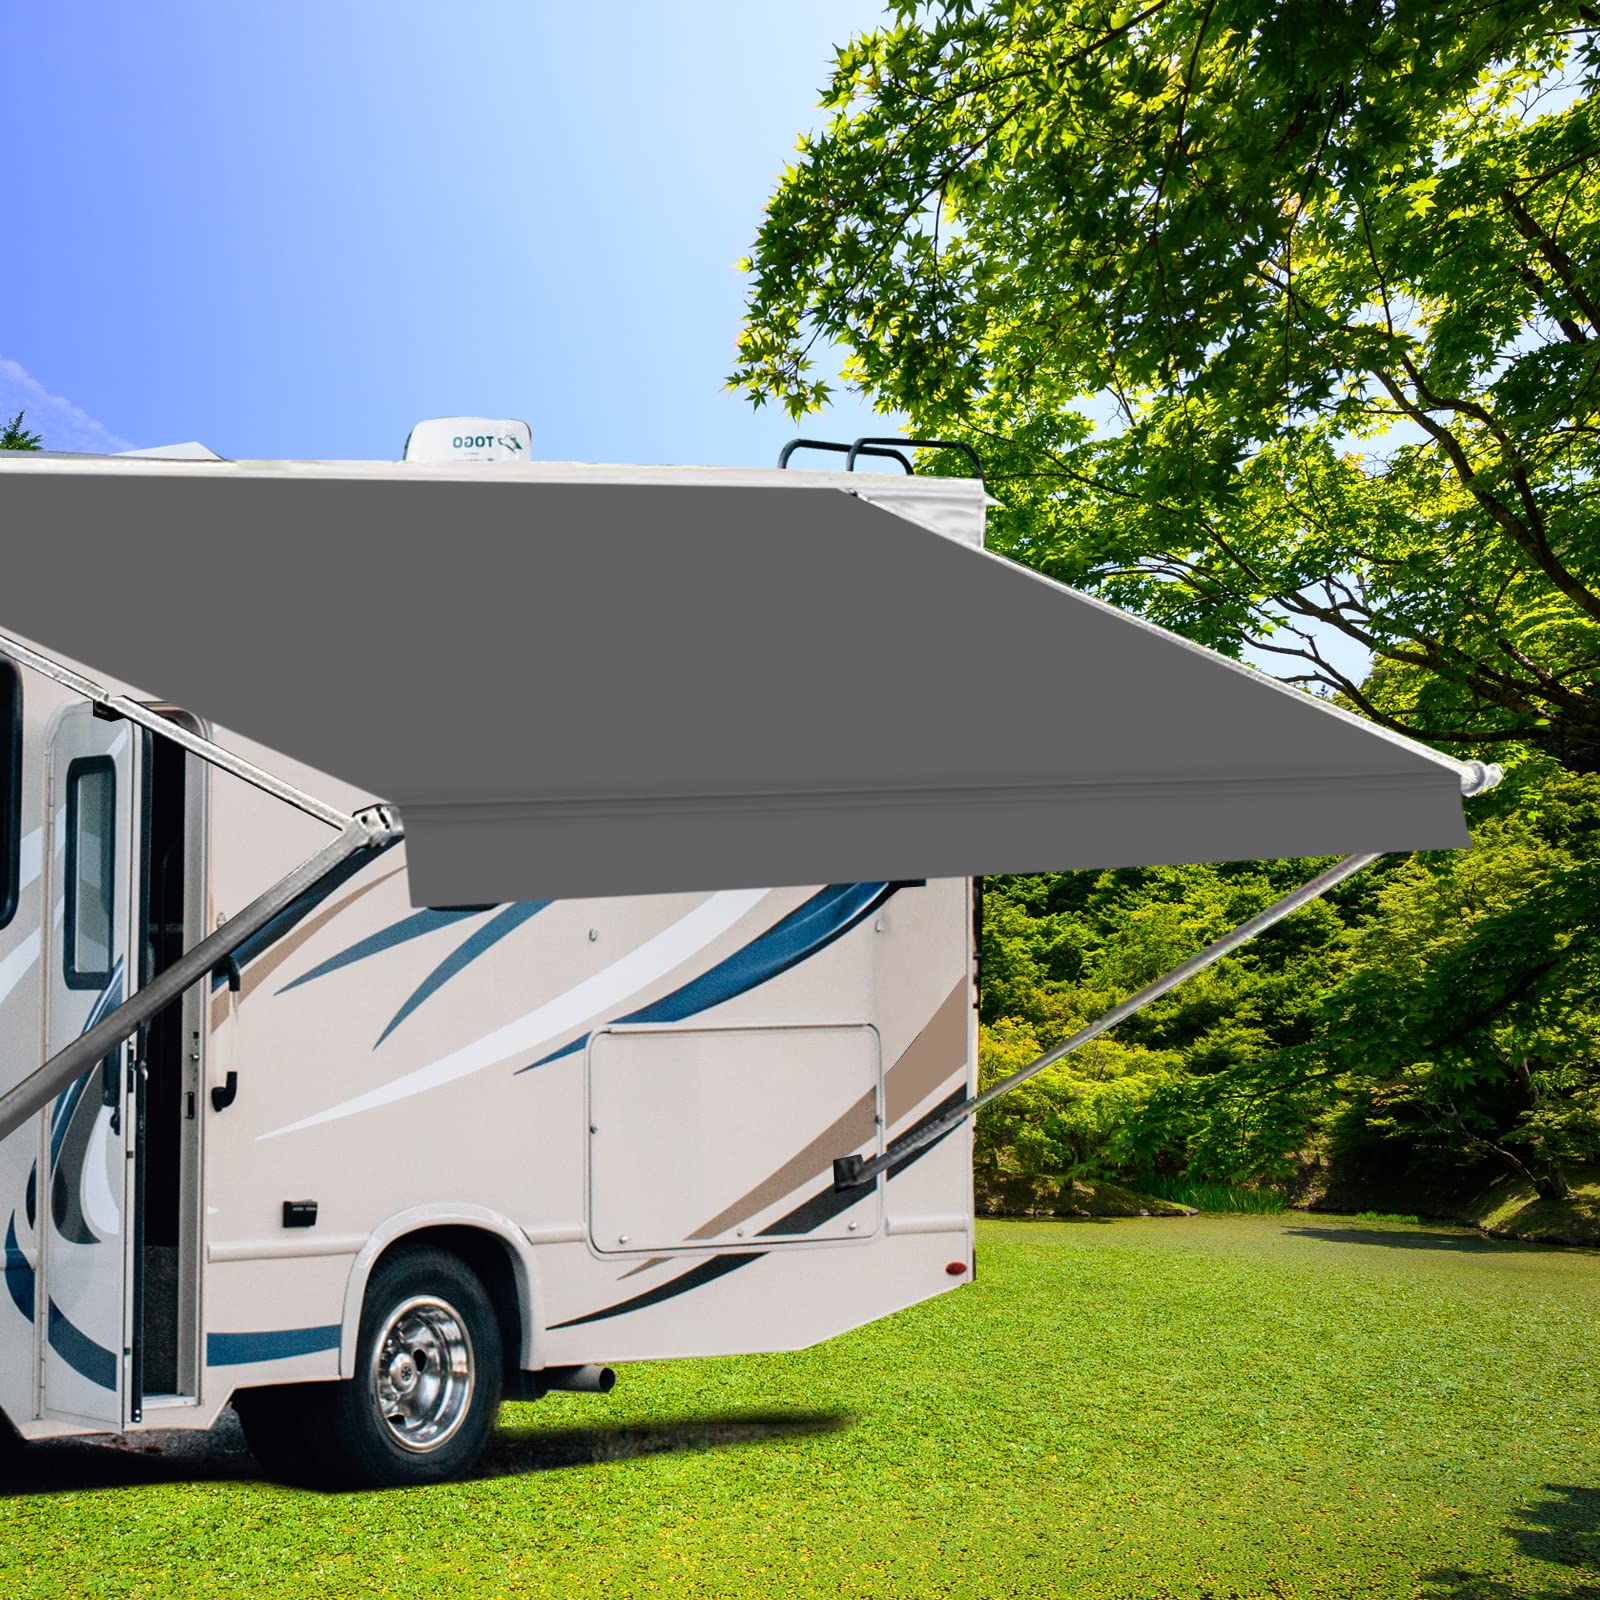
Installing the New Fabric: Tips for Success
Installing the new awning fabric is a critical step in the renovation process. Follow these tips to ensure a successful installation:
- Double-check measurements: Measure the new fabric carefully before installation to ensure it fits correctly.
- Apply lubricant: Use lubricant spray on the roller tube to make it easier to slide the new fabric into place.
- Secure fasteners properly: Tighten screws or bolts securely to prevent the fabric from coming loose during use.
- Test functionality: After installation, extend and retract the awning several times to ensure smooth operation.
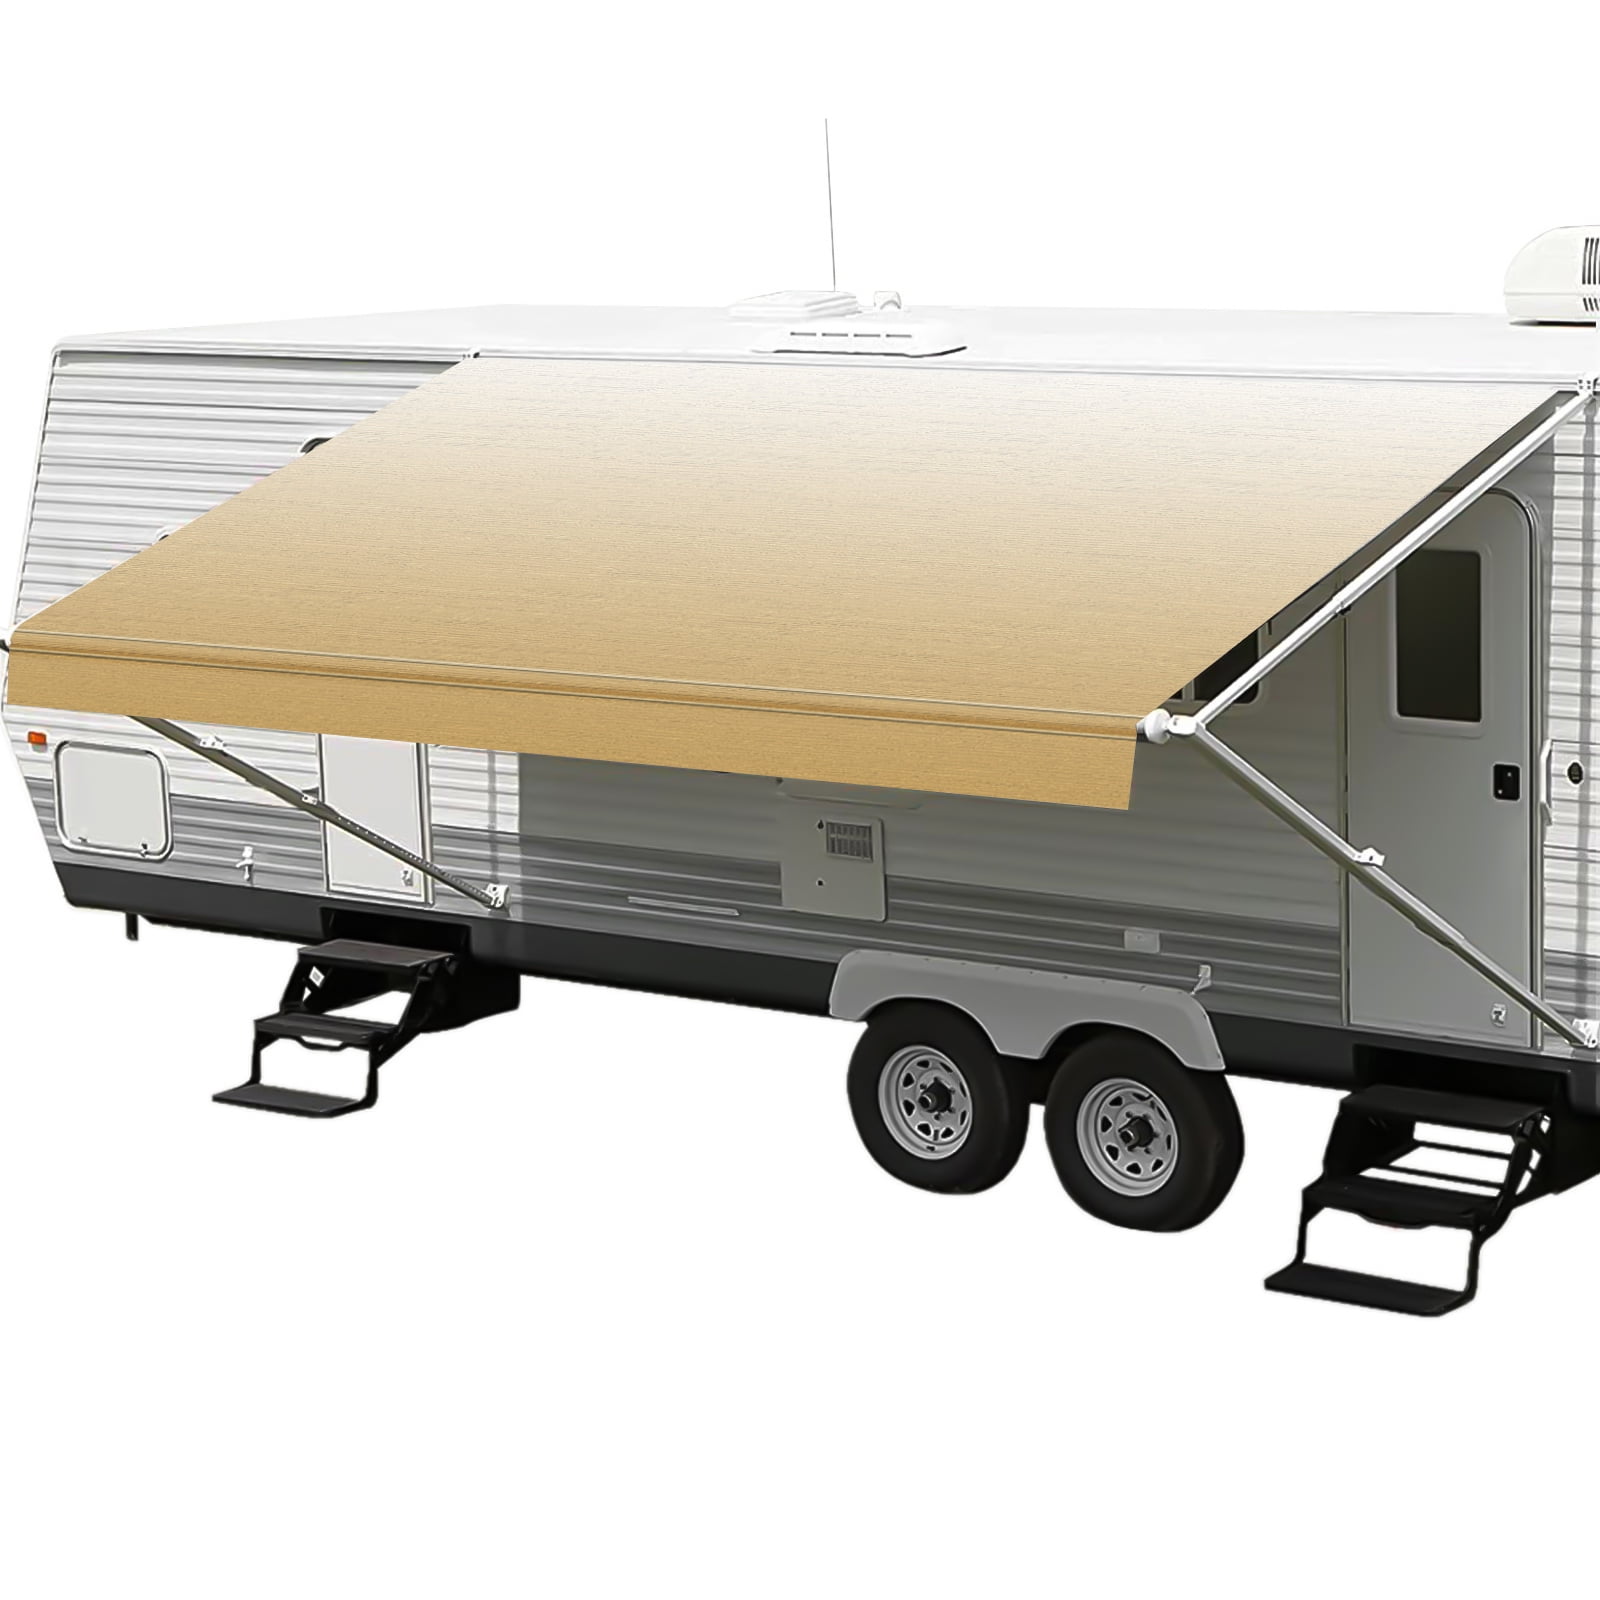
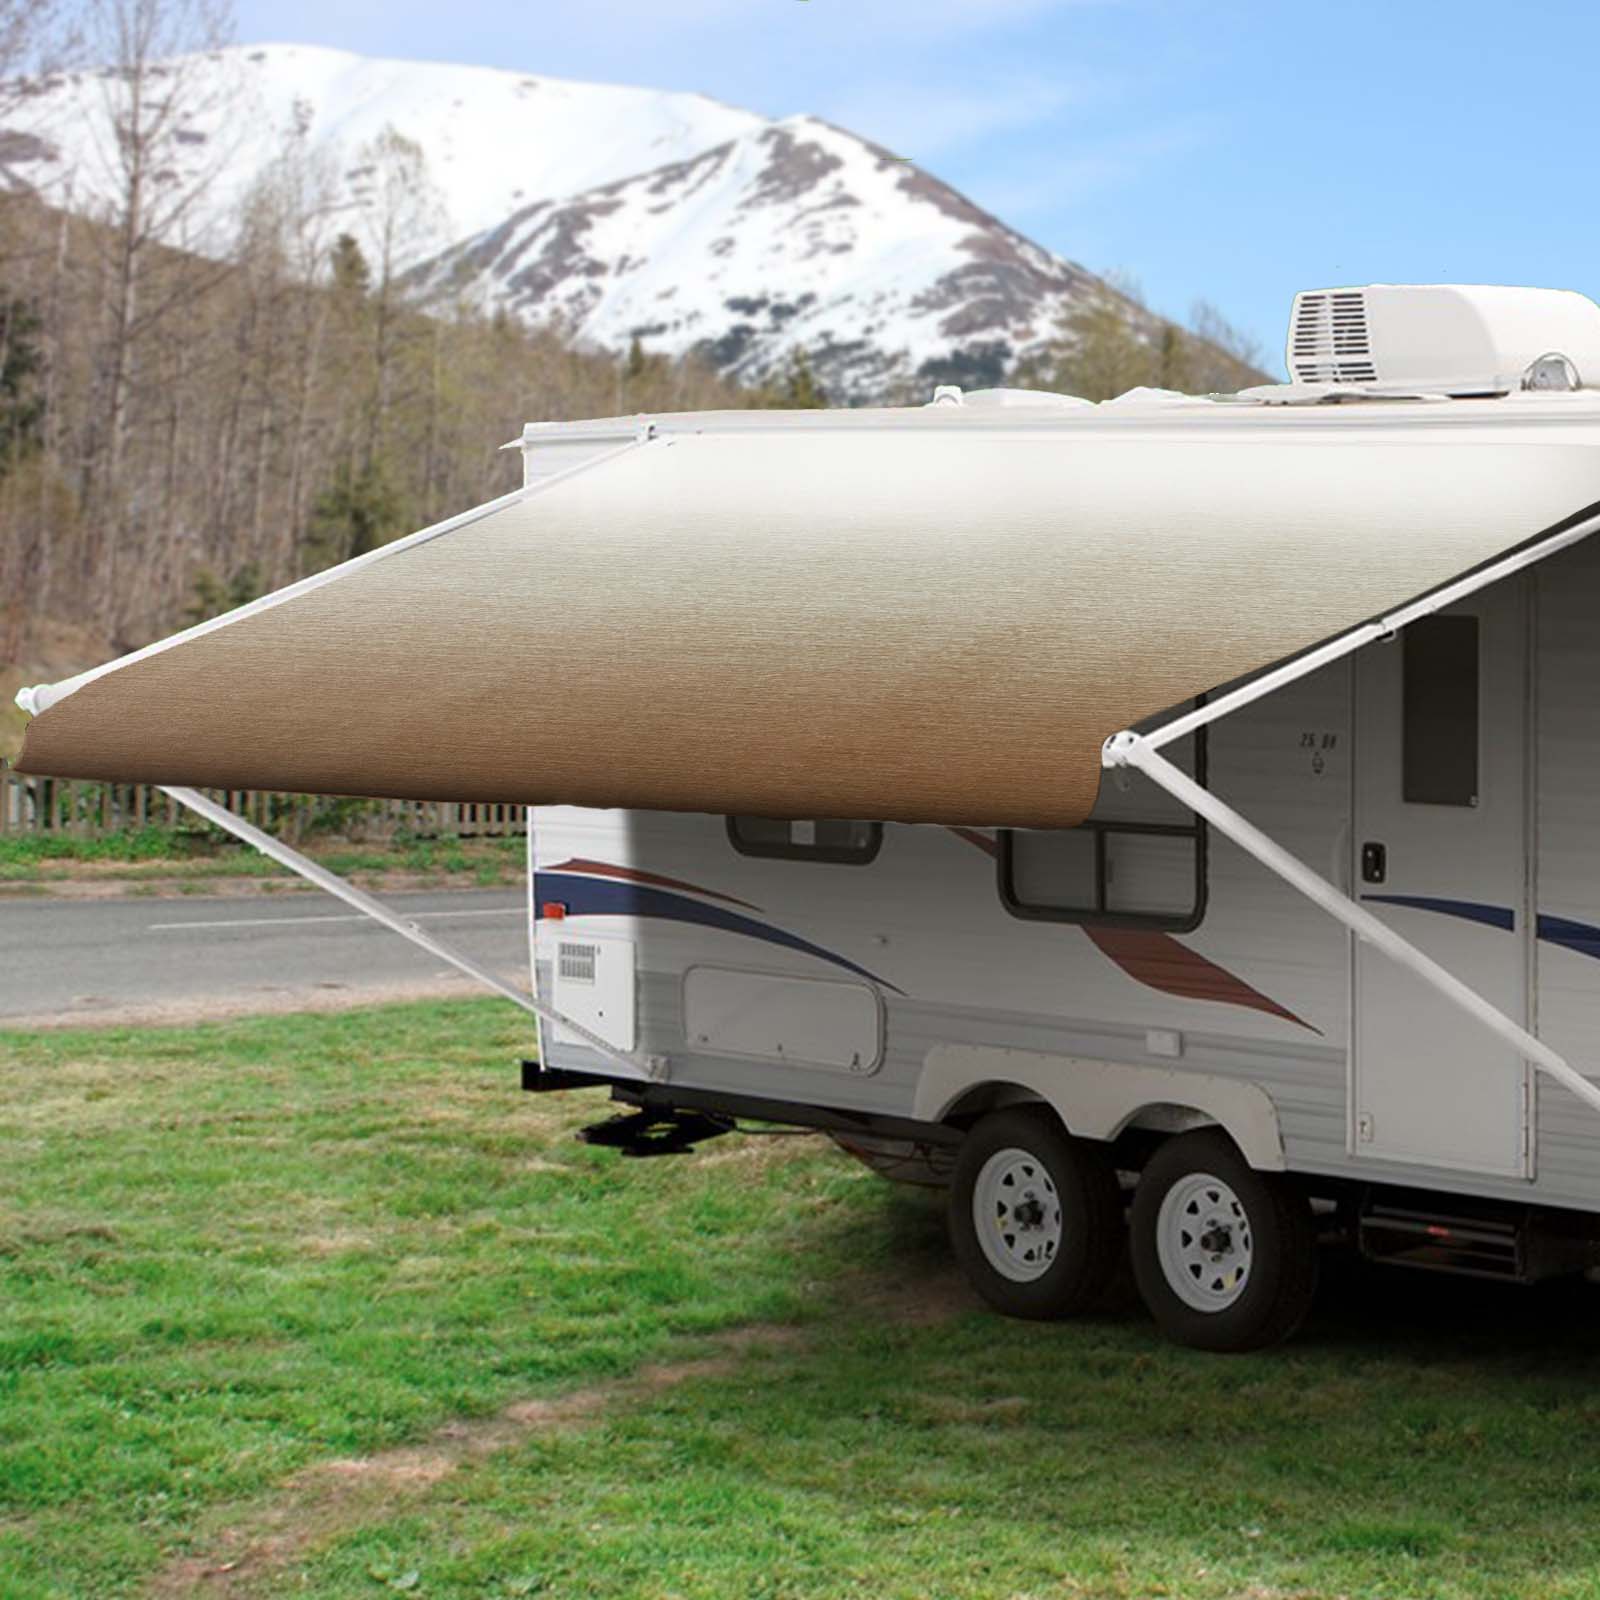
Final Touches and Maintenance: Keeping Your Awning in Top Condition
Once the new fabric is installed, take the time to make any final adjustments and perform routine maintenance to keep your awning in top condition. This might include cleaning the fabric regularly, inspecting for signs of damage, and lubricating moving parts as needed. By taking care of your awning, you can prolong its lifespan and enhance the overall appearance of your RV.
Testing and Adjustments: Fine-Tuning the Lighting Setup
Once the new fixtures are installed, test each one to ensure they are functioning correctly. Make any necessary adjustments to the positioning or brightness levels to achieve the desired lighting effect. Consider adding dimmer switches or smart lighting controls for added convenience and versatility.
Choosing the Right Fixtures: Finding the Perfect Balance
Selecting the right fixtures is crucial for achieving the desired ambiance and functionality in your RV. Consider factors such as brightness, energy efficiency, and style when choosing lighting options. LED lights are a popular choice for RV renovations due to their low energy consumption and long lifespan. Additionally, consider fixtures with adjustable brightness or dimming capabilities to create versatile lighting options.
Installation Process: Tips for DIY Enthusiasts
Installing new lighting fixtures in your RV can be a rewarding DIY project with the right approach. Follow these tips for a successful installation process:
- Turn off power: Before starting any installation work, turn off the power to the RV to ensure safety.
- Plan the layout: Determine the placement of each fixture and plan the wiring accordingly to avoid any complications during installation.
- Use proper tools: Invest in quality tools such as wire strippers, wire nuts, and a voltage tester to make the installation process smoother.
- Secure fixtures: Ensure that all fixtures are securely mounted to prevent them from coming loose while the RV is in motion.
Final Touches and Adjustments: Fine-Tuning Your Lighting Design
After installing the new lighting fixtures, take the time to make any final adjustments to ensure your lighting design meets your needs and preferences. This might include tweaking the placement of fixtures, adjusting the brightness levels, or adding dimmer switches for added flexibility. By fine-tuning your lighting design, you can create a comfortable and inviting atmosphere in your renovated RV.
The Beauty of Impermanence: Embracing Change and Evolution
In a wabi-sabi-inspired home, change and impermanence are celebrated as natural and inevitable parts of life. Embrace the passage of time and allow your home decor to evolve and change with you, incorporating elements of impermanence such as seasonal decorations, aging materials, and personal mementos. Embrace the beauty of fleeting moments and find joy in the process of transformation, knowing that true beauty lies in the journey, not the destination.
Conclusion: Elevating Your RV Interior with Modern Lighting
Upgrading interior lighting is a simple yet effective way to elevate the overall look and feel of your RV during renovation. By carefully selecting fixtures, planning the installation process, and making necessary adjustments, you can create a modern and inviting atmosphere that enhances your RV living experience.
Replacing awning fabric is a fundamental aspect of RV renovation, and doing it like a pro requires careful planning and execution. By following the steps outlined in this guide and paying attention to detail, you can achieve professional-quality results and enjoy a refreshed and functional awning for years to come. Upgrading interior lighting is a simple yet effective way to transform your RV and create a more modern and inviting space. By carefully selecting and installing new lighting fixtures, you can enhance both the functionality and aesthetics of your renovated RV, making it a more enjoyable place to spend time on the road.