Introduction: Unfurling a New Chapter for Your RV
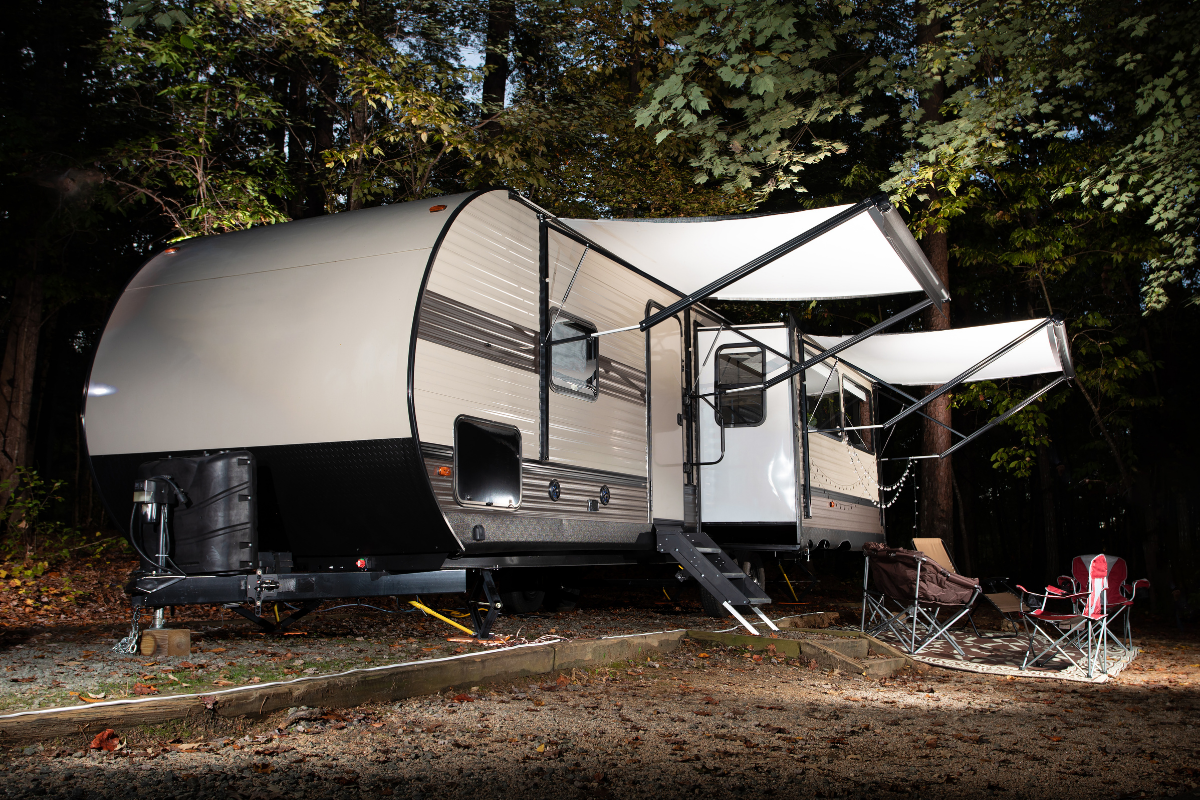
Embarking on the journey of replacing your RV awning can seem daunting at first, but with the right guidance and a bit of elbow grease, it becomes a rewarding DIY project that enhances both the functionality and aesthetics of your recreational vehicle. This comprehensive guide will walk you through the process step by step, ensuring that by the end, you’ll have mastered the art of installing a new awning like a seasoned professional.
Assessing the Situation: Understanding Your RV Awning Needs
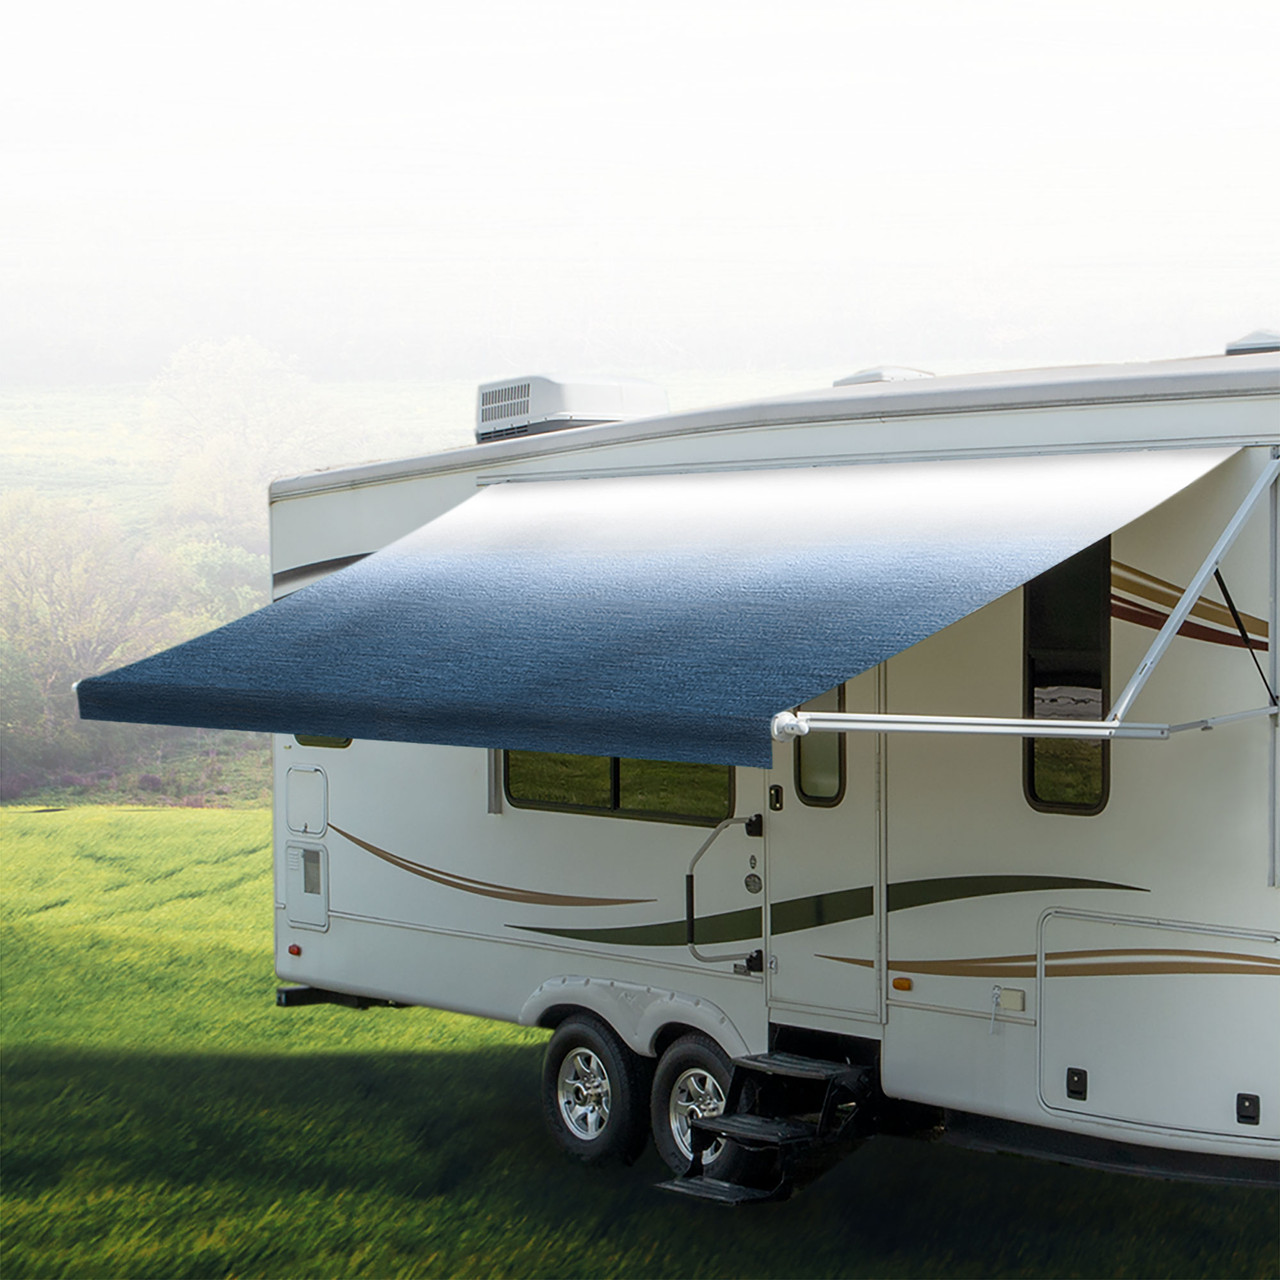
Before diving into the replacement process, it’s crucial to evaluate your current awning’s condition and determine the exact requirements for the new one. Factors such as size, material (vinyl or fabric), color, and additional features (like automatic retractability) should be considered. Measure your old awning carefully to ensure a precise fit, noting any unique attachment points or hardware that may need to be matched.
Gathering Tools and Materials: The Right Gear for the Job
To embark on this DIY mission, gather the following tools and materials: a new awning kit tailored to your measurements, a ladder, screwdrivers, wrenches, a power drill, silicone sealant, a tape measure, a marker, and possibly a helper for heavier parts. Ensure you also have a clean workspace and adequate lighting for safety and precision.
Preparation is Key: Removing the Old Awning
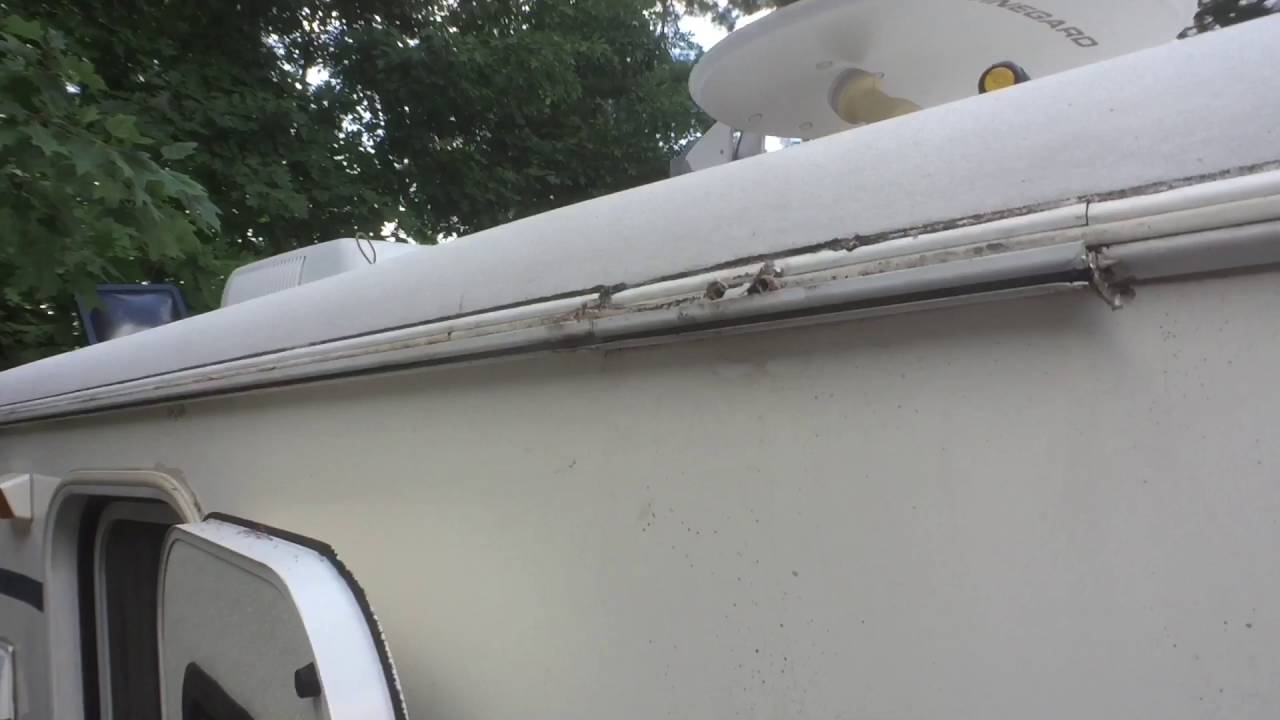
Begin by disconnecting any electrical components attached to the old awning, such as lights or sensors, to avoid damage during removal. Next, using a screwdriver or wrench, carefully remove the mounting brackets and hardware securing the awning to the RV. Take note of how everything was assembled for reinstallation later. With assistance, gently lower the old awning from its brackets and dispose of it responsibly.
Cleaning and Prepping the Mounting Area
With the old awning removed, thoroughly clean the mounting area to rid it of dirt, debris, and any remnants of the old sealant. This is also an excellent time to inspect the mounting surface for any signs of damage or rot that might require repair before proceeding. Allow the area to dry completely before moving forward.
Installation Blueprint: Attaching the New Awning
Lay out the new awning on a clean surface, aligning it according to the manufacturer’s instructions. This is where having a helper becomes invaluable, as lifting and positioning the awning onto the RV can be challenging. Using the marks made during removal as guides, align the new awning brackets and begin securing them with screws, being careful not to overtighten and potentially damage the RV’s body.
Fine Tuning: Adjusting Tension and Alignment
Once the awning is mounted, adjust the tension to ensure a taut and even appearance. Most modern awnings come with a tension adjustment mechanism; follow the specific instructions provided to achieve the perfect balance. It’s essential to check the alignment from multiple angles to guarantee symmetry and functionality.
Finishing Touches: Sealing and Securing
Apply a bead of silicone sealant around the bracket edges to create a watertight seal, preventing leaks and prolonging the life of your RV and awning. Allow the sealant to cure according to the manufacturer’s recommendations before testing the awning’s operation. Finally, reinstall any electrical components or accessories you disconnected earlier.
Testing and Enjoying Your Handiwork
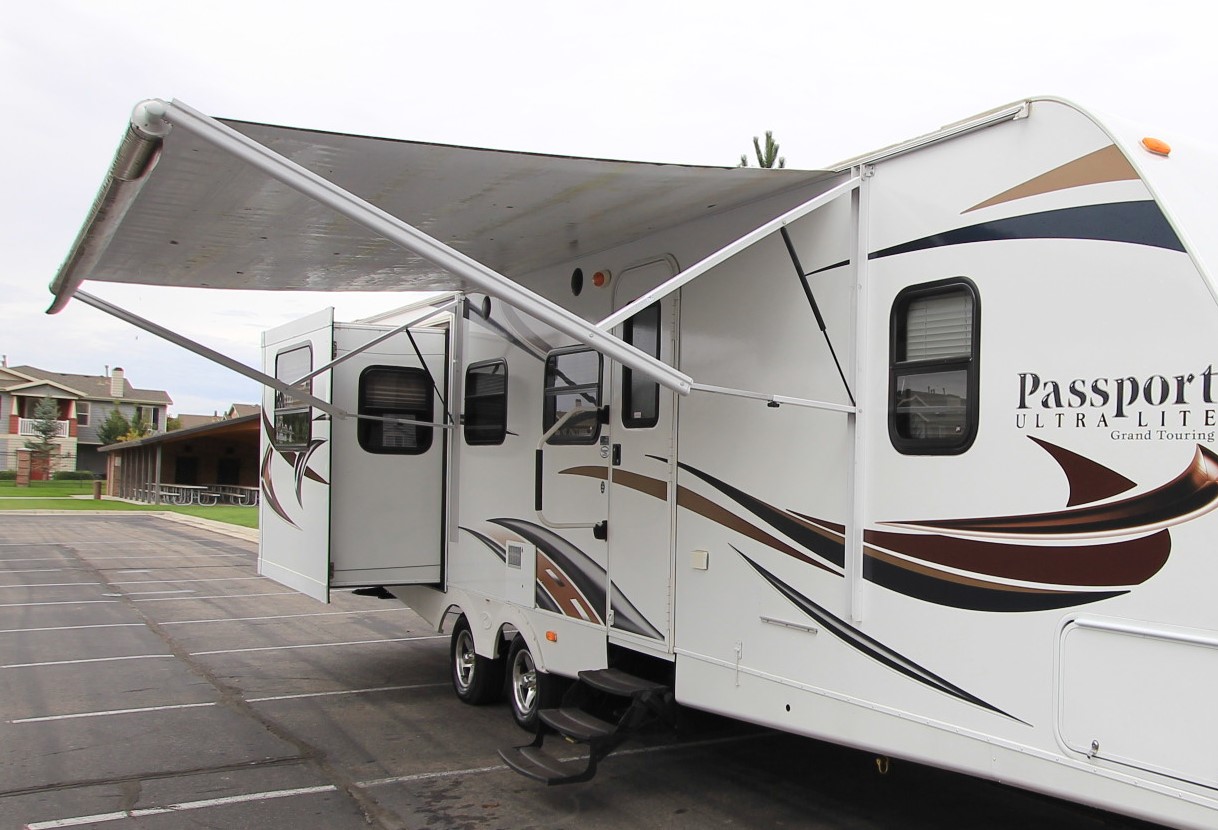
Before hitting the road, test the new awning’s operation thoroughly. Extend and retract it several times, checking for smooth movement and correct locking mechanisms. This is also a good opportunity to familiarize yourself with any additional features your new awning may have. With all checks complete, sit back and admire your handiwork – you’ve successfully replaced your RV awning like a pro!
Maintaining Your RV Awning: Tips for Longevity
Now that your new RV awning is installed, it’s crucial to maintain it properly to ensure its longevity and optimal performance. Here are some essential tips to keep in mind:
- Regular Cleaning: Dirt, debris, and tree sap can accumulate on your awning fabric, potentially causing discoloration and weakening the material over time. Use a mild soap solution and a soft-bristled brush or sponge to gently clean the awning at least once every few months or more frequently if needed. Rinse thoroughly and allow it to dry completely before storing.
- Inspect for Damage: Before and after each use, inspect the awning fabric for tears, holes, or signs of wear. Also, check the frame for bends, cracks, or loose parts. Promptly addressing minor issues can prevent them from turning into major repairs down the line.
- Protect from Elements: When not in use, consider using an awning cover to protect it from UV rays, rain, and debris. During high winds or storms, it’s best to retract the awning to prevent damage from strong gusts.
- Proper Storage: When storing your RV, ensure the awning is clean, dry, and loosely rolled up to avoid creasing the fabric. Do not store heavy items on top of the rolled-up awning, as this can cause deformation.

- Lubricate Moving Parts: Apply a silicone-based lubricant to the awning’s roller tube, arms, and hinges periodically. This will help maintain smooth operation and prevent rust and corrosion.
- Use Support Arms and Tie-Downs: When extending your awning, always use the provided support arms and stake down the awning securely. This prevents flapping and potential damage during windy conditions.
- Awning Accessories: Consider investing in accessories such as awning shades, screen rooms, or LED lighting to enhance your outdoor living space while protecting the awning fabric from direct sunlight and adding convenience.
- Seasonal Care: Prepare your awning for seasonal changes. In winter, if you’re not using your RV, fully retract the awning and ensure all moving parts are well-lubricated and protected from freezing temperatures.
Conclusion: Rolling Out a New Adventure
Replacing your RV awning not only rejuvenates your vehicle’s appearance but also ensures continued comfort and protection during your travels. By following this detailed guide, you’ve not only saved on installation costs but also gained valuable DIY skills. Your RV, now equipped with a fresh awning, is ready to roll out on new adventures, backed by your newfound confidence and expertise. Happy trails!