
Introduction: Transforming Your Outdoor Space with a DIY Retractable Awning
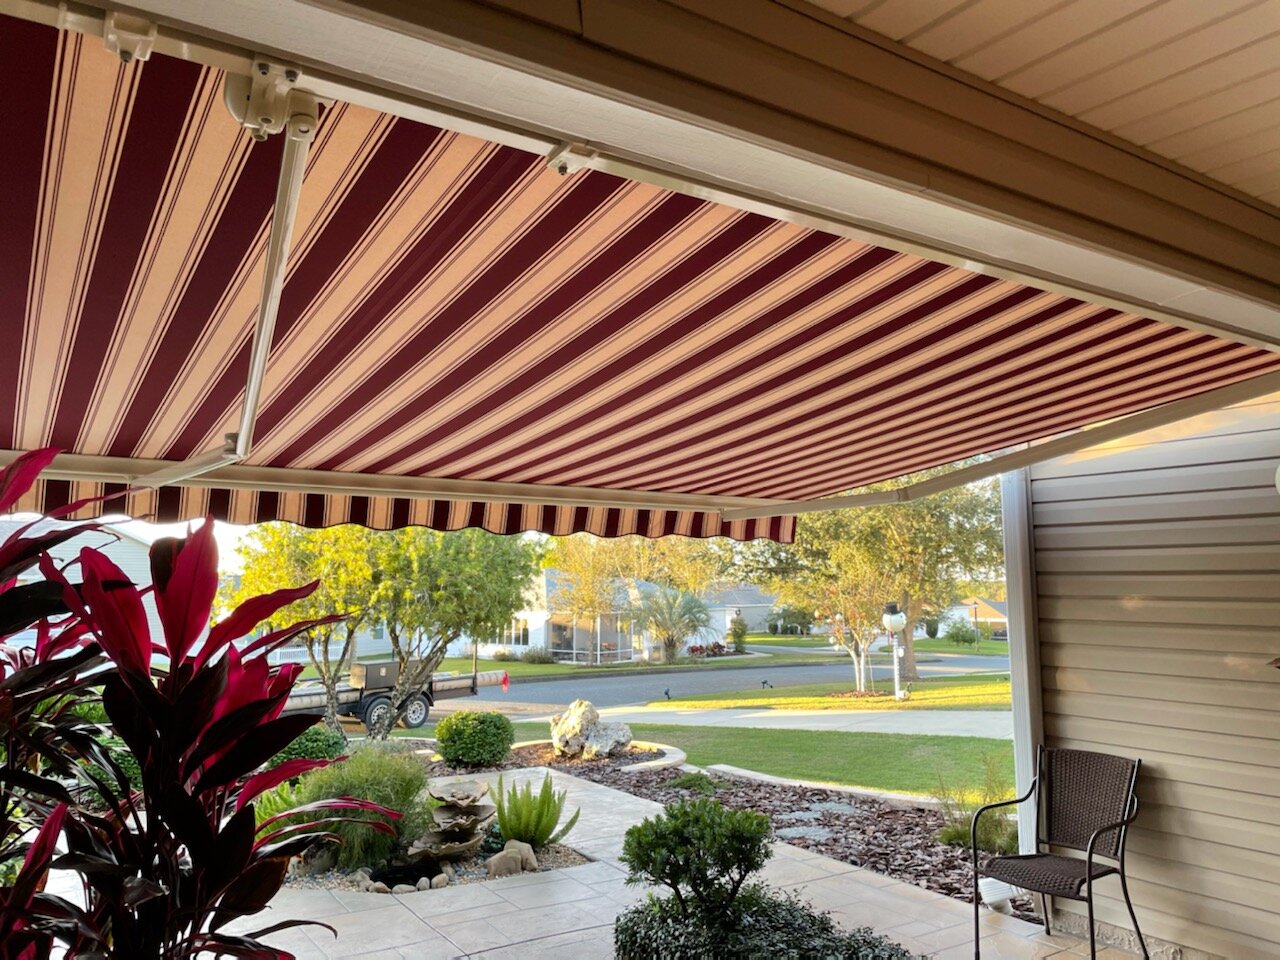
Transforming your patio or deck into a versatile, all-season retreat begins with the installation of a retractable awning. Not only do these shading systems provide on-demand sun protection, but they also add aesthetic appeal and functionality to your outdoor living area. As a beginner embarking on this DIY journey, this step-by-step guide will equip you with the knowledge and confidence to successfully install a retractable awning, enhancing your outdoor experience.
Project Preparation: Gathering Tools and Materials
Before diving into the installation process, thorough preparation is key. Start by acquiring all necessary tools and materials. You will need a retractable awning kit, measuring tape, a level, drill, screws, brackets, a ladder, and safety gear. Ensure your chosen awning matches the dimensions of the area you wish to cover and is compatible with your mounting surface. It’s crucial to read the manufacturer’s instructions thoroughly before proceeding.
Site Assessment: Identifying the Perfect Location
Begin by assessing your patio or deck to determine the optimal location for your awning. Ideally, the awning should be mounted to a sturdy structure, like the exterior wall of your home or an existing pergola beam, capable of supporting its weight. Measure the distance between mounting points and verify that the area is clear of obstructions like windows, vents, or light fixtures. Ensure the awning, when extended, will not block any desired views.
Marking and Leveling: Precision for a Professional Finish
Using a chalk line or a straight edge, mark the spots where the mounting brackets will be placed, ensuring they are level. This is critical for the awning’s stability and appearance. Double-check your measurements and use a spirit level to guarantee absolute horizontality or the required slope for water runoff, depending on your awning’s design.
Mounting Brackets: Secure Foundations for Your Awning
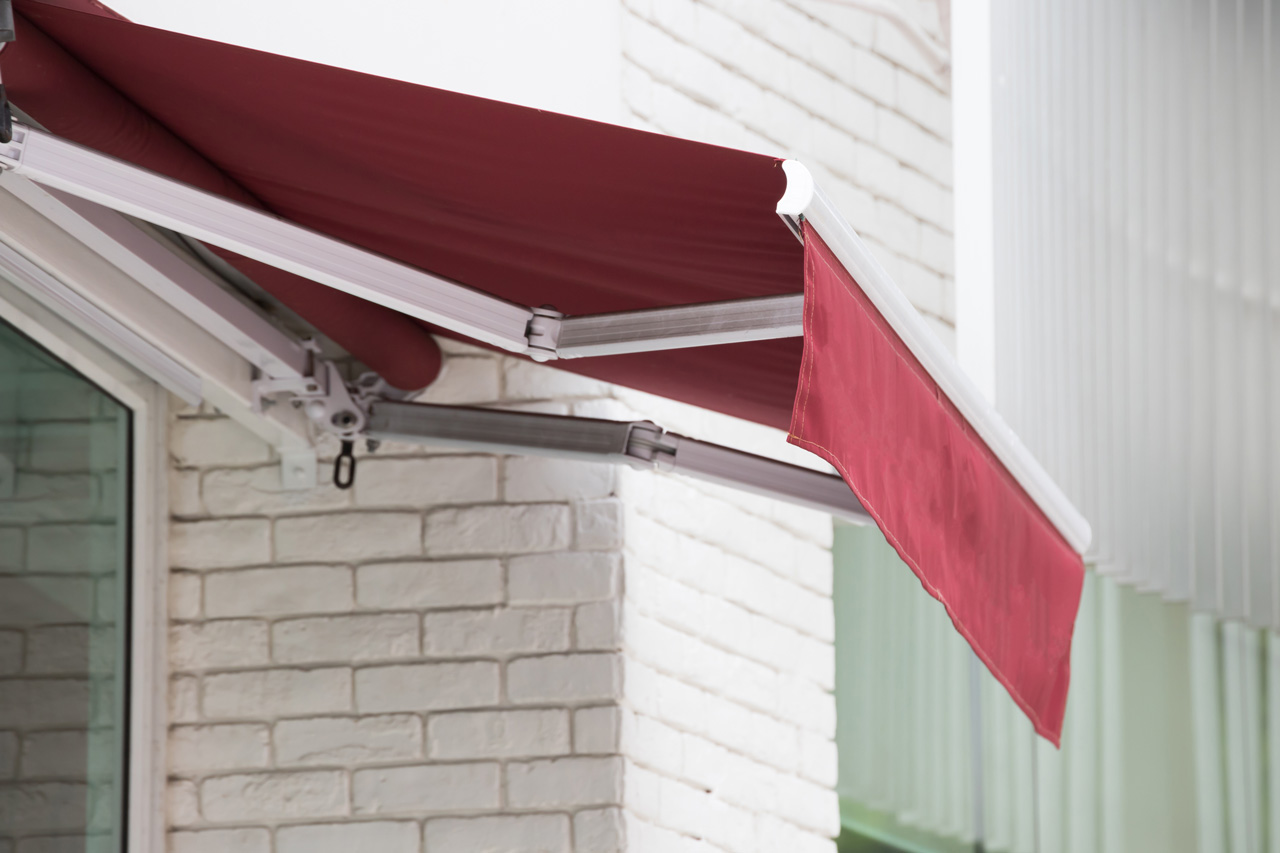
With your markings in place, attach the mounting brackets to the wall or structure firmly. Follow the manufacturer’s guidelines for screw type and size to avoid damaging the mounting surface. Use a drill to create pilot holes before screwing in the brackets to prevent cracking and ensure a tight fit. Ensure brackets are securely fastened and can bear the weight of the awning.
Awning Assembly: Piece by Piece Construction
If your awning arrives disassembled, this step involves constructing the frame and attaching the fabric canopy. Lay out all parts and follow the assembly instructions meticulously. Connect the arms, roller tube, and any additional support structures as directed. Slide the fabric canopy onto the roller tube, ensuring it’s evenly distributed and secured according to the manufacturer’s directions.
Attaching the Awning to Brackets: A Crucial Connection
With the awning assembled, carefully lift it into position, aligning it with the installed brackets. This may require assistance due to the awning’s weight. Secure the awning to the brackets using the provided hardware, ensuring all connections are tightened properly. Check again for levelness and stability before proceeding.
Electrical Setup for Motorized Awnings (Optional)
If your retractable awning is motorized, now is the time to connect it to a power source. Follow the wiring diagram included with your awning kit, ensuring all electrical work adheres to local codes and regulations. If you’re uncomfortable with electrical installations, consult a licensed electrician. Conceal wires safely and neatly, considering the use of conduit or cable covers if necessary.
Testing and Adjustments: Ensuring Smooth Operation
Once everything is in place, perform a series of tests to ensure your awning operates smoothly. Manually or using the remote (for motorized models), extend and retract the awning several times, observing for any unusual noises, resistance, or misalignments. Make minor adjustments as needed, tightening screws or realigning components for optimal performance.
Finishing Touches: Enhancing Your New Outdoor Oasis
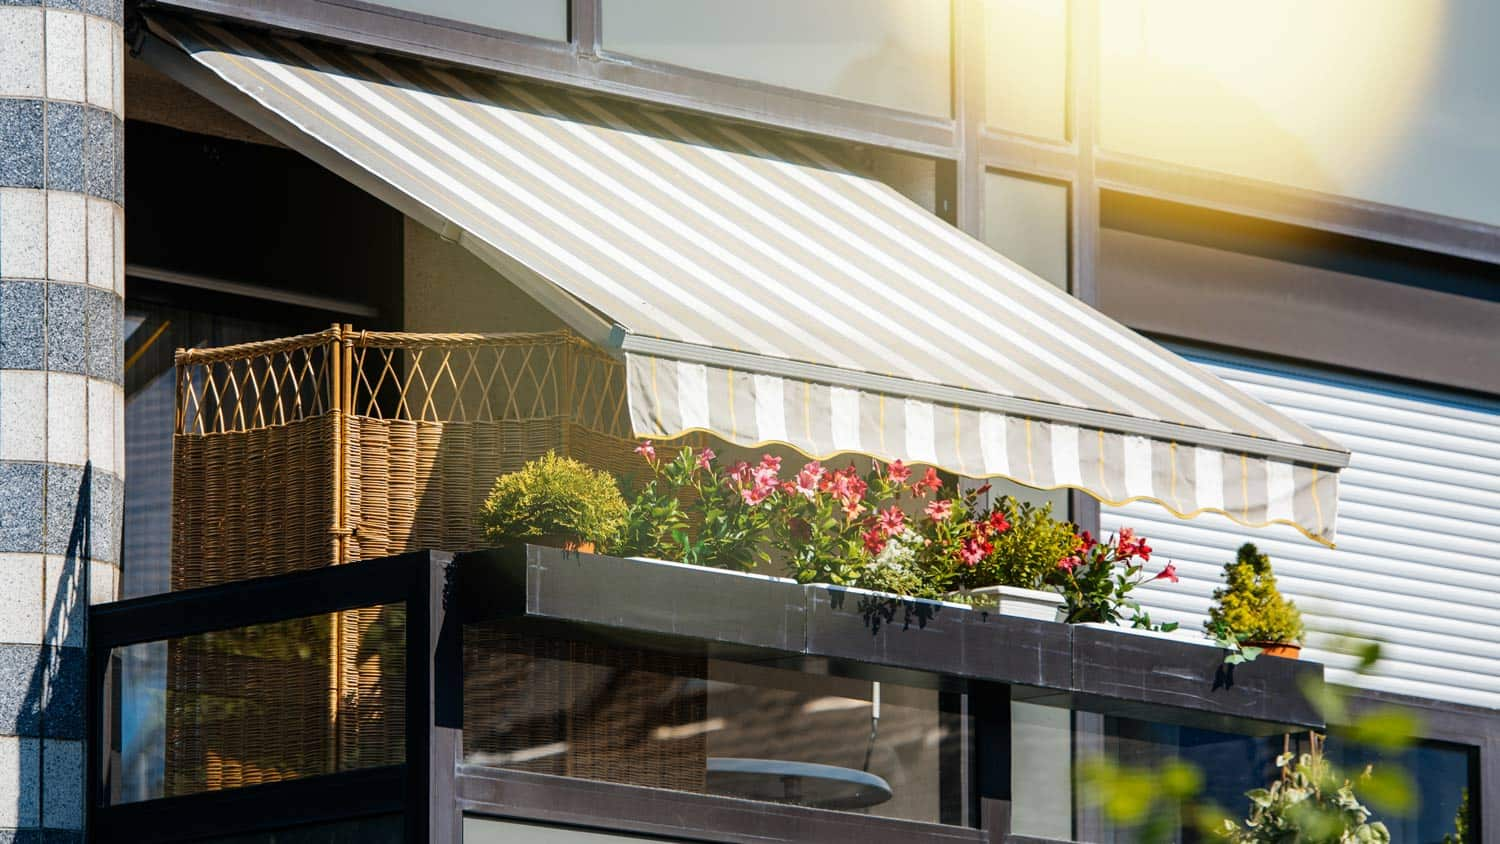
To integrate your new awning seamlessly into your outdoor space, consider adding finishing touches. Install LED lighting along the awning’s edges for ambient evening lighting or mount speakers for a complete entertainment setup. Dress up the area with outdoor furniture, potted plants, and decorative accents that complement your home’s aesthetics.
Maintenance and Care: Preserving Your Investment
To prolong the life of your retractable awning, establish a regular maintenance routine. Clean the fabric canopy with a mild soap solution and soft brush, rinsing thoroughly. Inspect the mechanism and frame annually for signs of wear or damage, addressing issues promptly. Lubricate moving parts as recommended by the manufacturer and store or protect the awning during harsh weather or off-seasons.
rotective Covers and Storage:
When not in use, especially during winter months or in areas prone to severe weather, invest in a high-quality, breathable awning cover. This will shield the fabric and mechanical components from debris, UV degradation, moisture, and potential damage from heavy snow or wind loads. Ensure the cover fits snugly and is securely fastened to prevent flapping which can cause unnecessary strain.
Seasonal Adjustments:
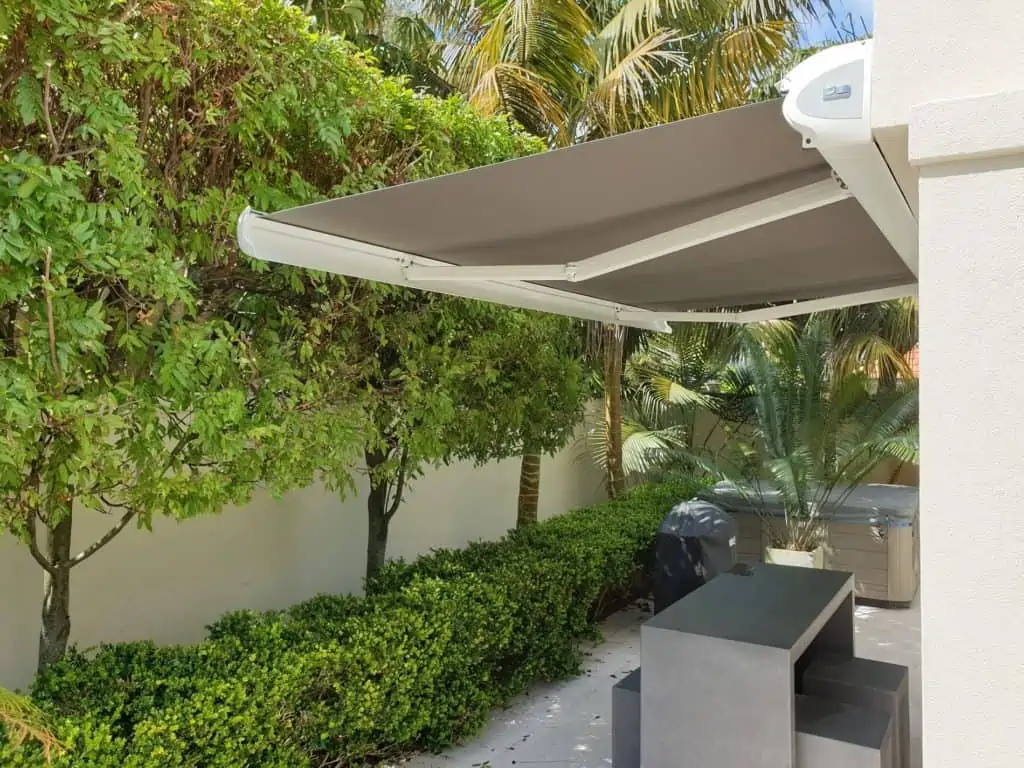
As the angle of the sun changes throughout the year, adjusting the pitch of your awning can maximize its efficiency in providing shade. Many modern awnings come with adjustable arms, allowing you to alter the angle easily. Regularly assess and modify the pitch to optimize shading during different seasons.
Wind Sensor Installation (For Motorized Awnings):
If your location experiences sudden gusts of wind, consider installing a wind sensor. This smart accessory automatically retracts the awning when wind speeds exceed a predetermined limit, preventing damage to the structure. Follow the manufacturer’s instructions carefully for installation and calibration.
Insurance Considerations:
Notify your homeowners insurance provider about the addition of a retractable awning. In some cases, awnings may be covered under your policy, but it’s crucial to understand any specific requirements or limitations.
Conclusion: Enjoying the Fruits of Your Labor
Congratulations! With your DIY retractable awning successfully installed, you’ve not only added value to your home but also created a comfortable, versatile outdoor living space. Whether you’re seeking respite from the sun or extending your evenings under the stars, your new awning is ready to serve, providing flexible comfort and enjoyment for years to come. Now, sit back, relax, and bask in the satisfaction of a job well done.