Introduction: Transforming Your Outdoor Oasis with DIY Awnings
Adding a personal touch to your outdoor living space not only enhances its aesthetic appeal but also increases functionality, especially when it comes to shading from the sun’s harsh rays. DIY awning frame projects offer an affordable and creative way to customize your patio, deck, or garden area while providing much-needed respite during warm summer days. This comprehensive guide will walk you through various DIY awning ideas, materials selection, step-by-step construction processes, and styling tips to help you create a shady oasis that blends seamlessly with your home’s architecture and your unique taste.
Materials Selection: Choosing the Right Components for Durability and Style
Selecting the right materials is the cornerstone of any successful DIY awning project. Start by considering the frame material, typically wood, aluminum, or steel. Wood, like cedar or pressure-treated pine, offers a classic, natural look but requires regular maintenance to prevent rot and decay. Aluminum is lightweight and rust-resistant, making it ideal for areas with high humidity, whereas steel, though heavier and prone to rust, provides superior strength and durability when properly coated. For the fabric, choose a UV-resistant, water-repellent material like Sunbrella or marine-grade canvas, which come in a myriad of colors and patterns to match your outdoor decor.
Design Inspiration: Exploring Different Awning Styles
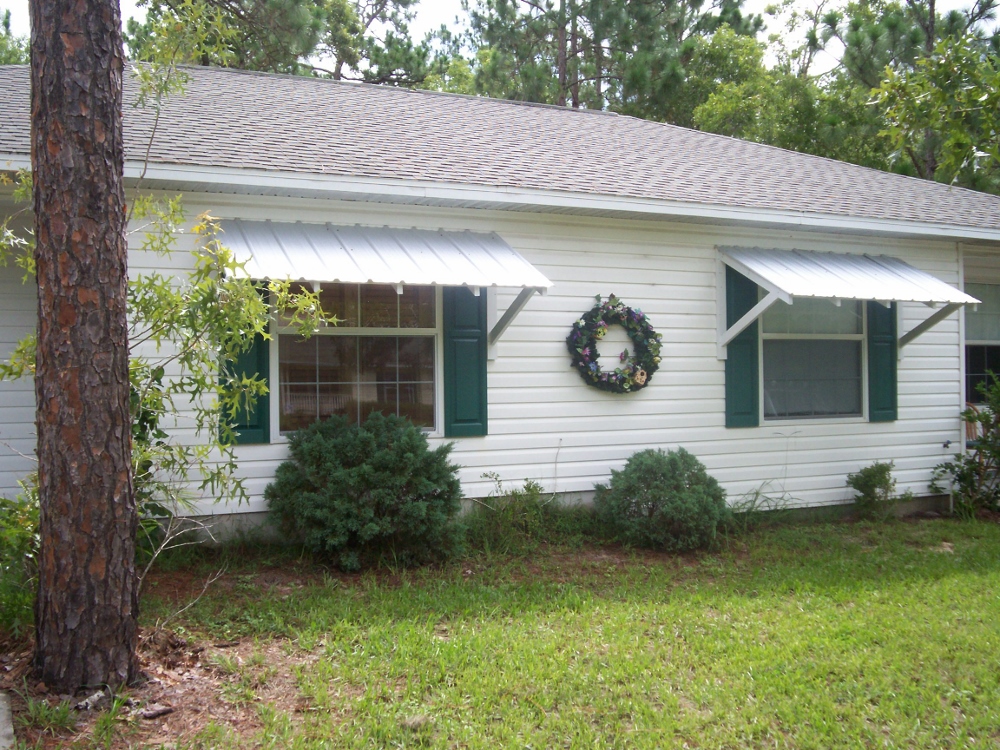
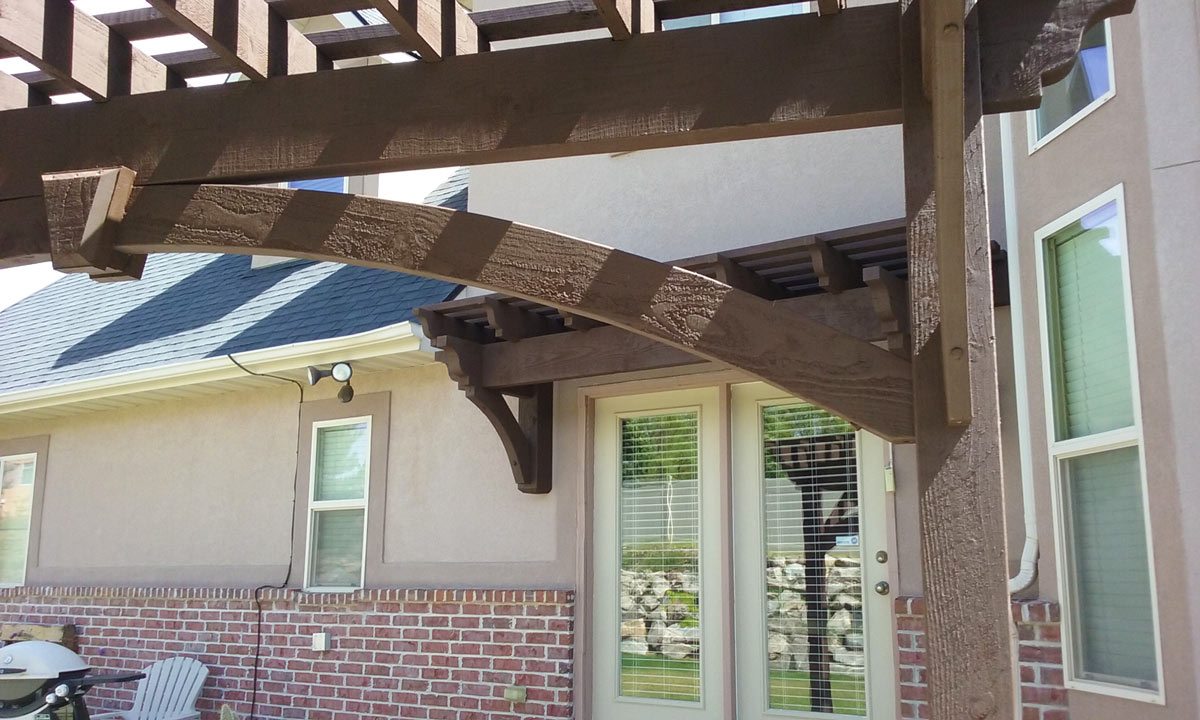
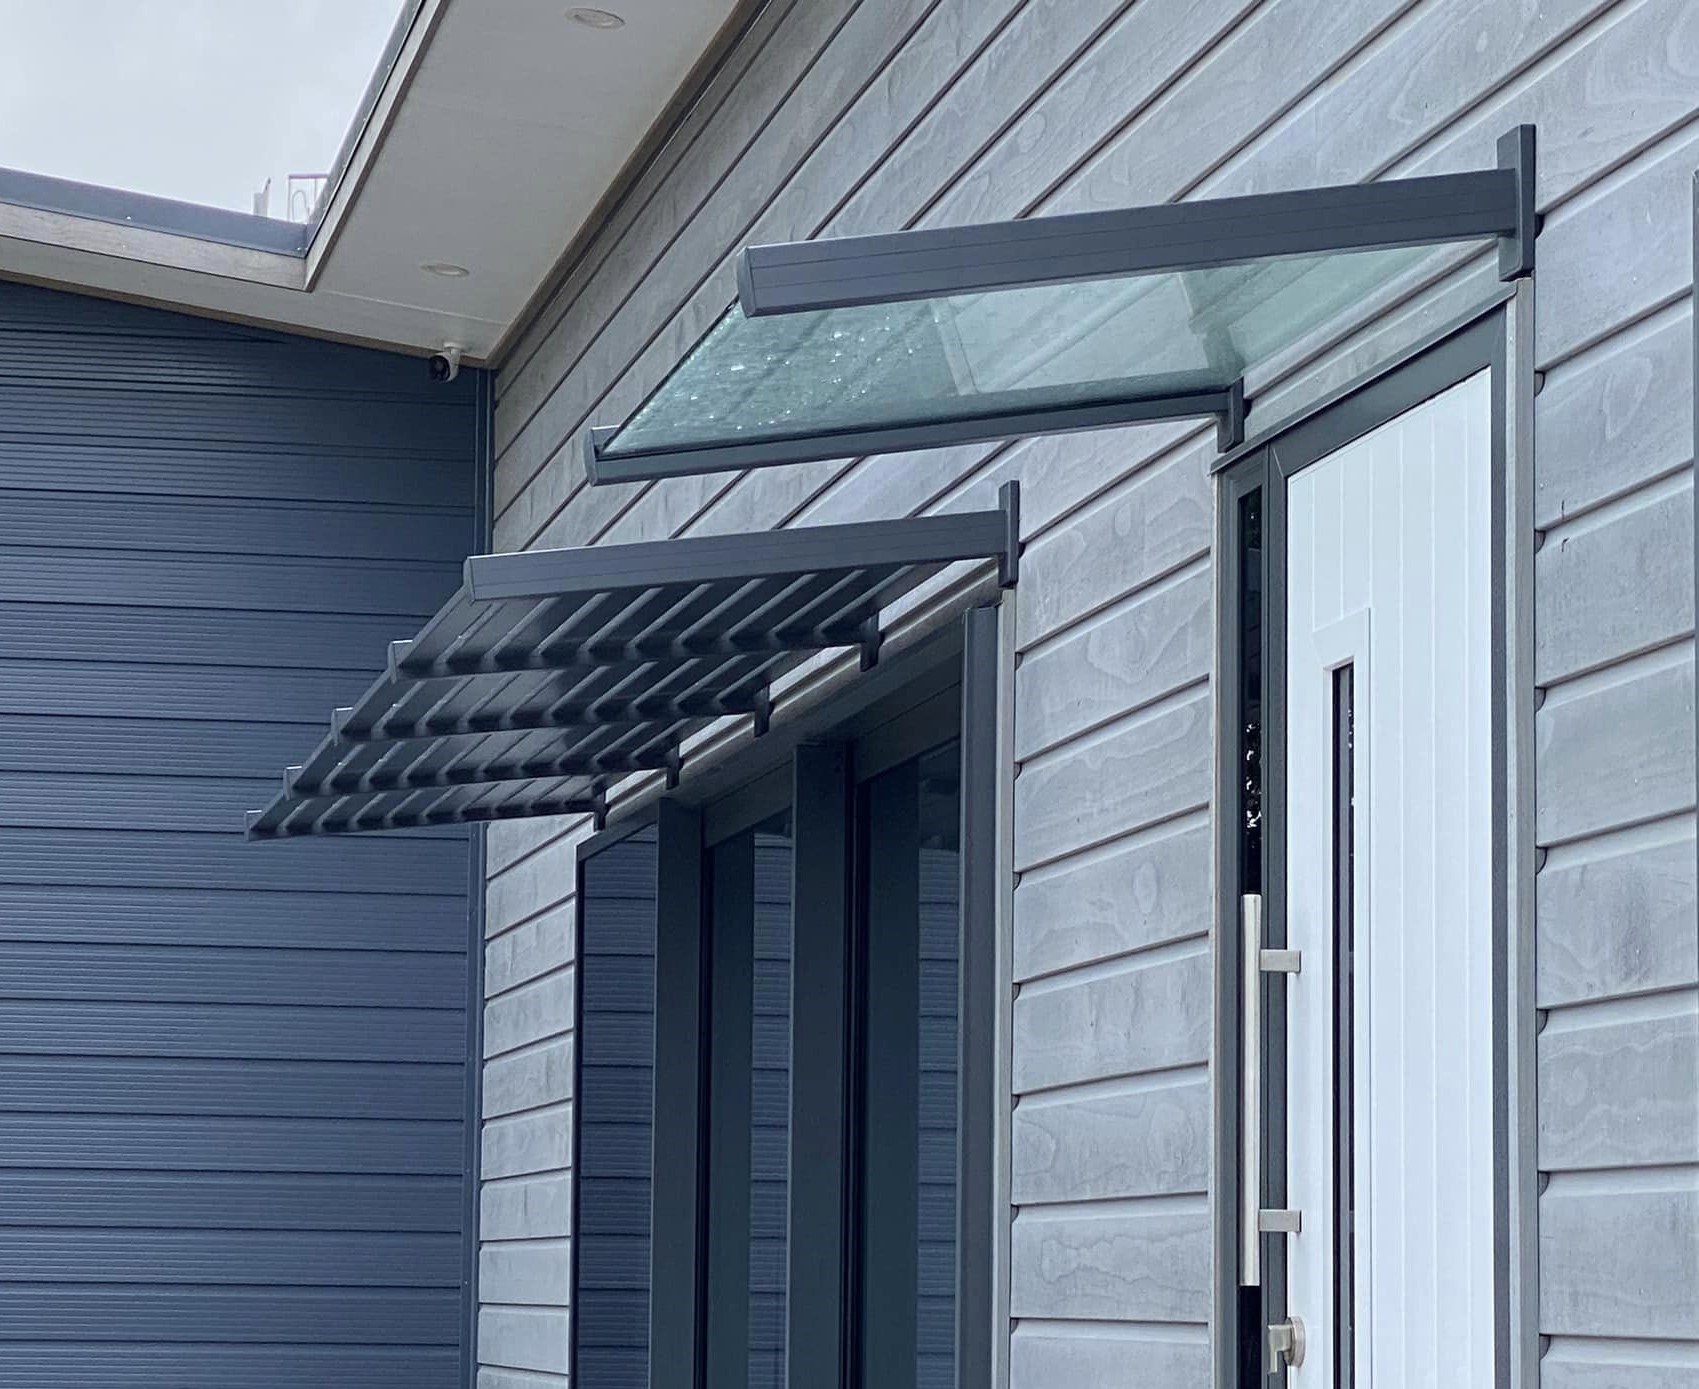
Before diving into construction, spend time exploring different awning styles to find one that complements your home’s exterior and fulfills your functional needs. Traditional fixed awnings offer a permanent solution, perfect for shading windows or doorways. Retractable awnings, on the other hand, provide flexibility, allowing you to adjust the shade as needed, while pergola-style awnings with lattice frameworks introduce an elegant, open-air feel. Don’t forget about freestanding canopies, excellent for creating a shaded seating area in the middle of your yard.
Measuring and Planning: Ensuring a Precise Fit
Precise measurements are crucial for a well-fitting and structurally sound awning. Measure the width of the area you wish to cover, adding a few inches on each side for overhang. Determine the desired projection, or how far out the awning will extend, ensuring it doesn’t obstruct walkways or views. Sketch out your design, noting dimensions, and decide on the height at which the awning will be mounted. If attaching to a wall, locate studs or use masonry anchors for solid support. Always check local building codes and obtain necessary permits before starting.
Building the Frame: A Step-by-Step Guide
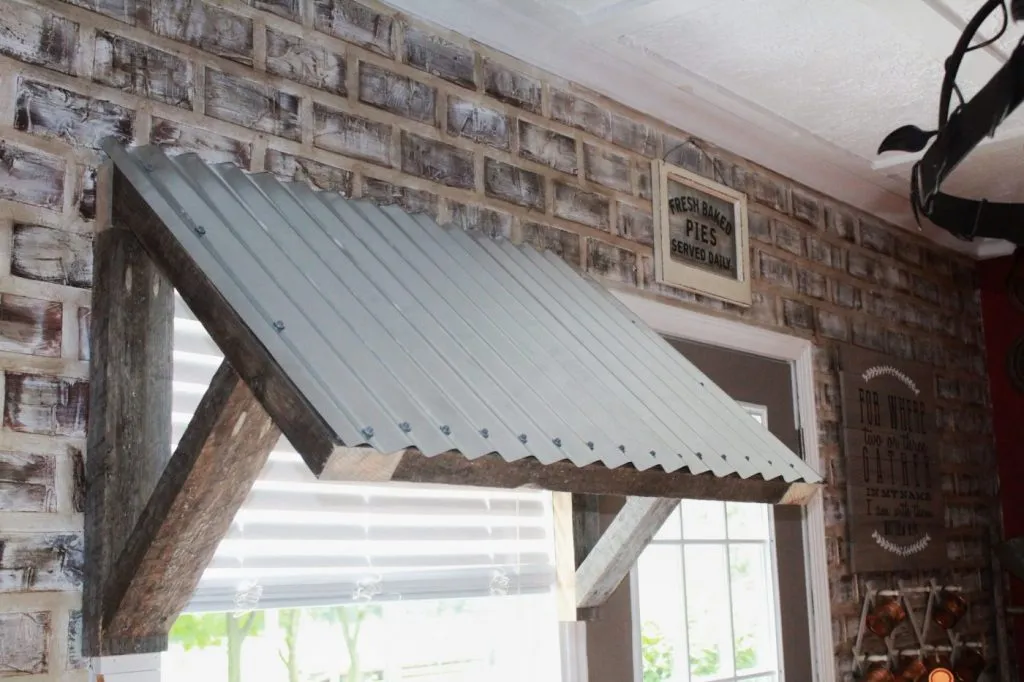
The frame serves as the backbone of your awning, so its construction must be sturdy. Begin by cutting your chosen framing material to length based on your design plan. Assemble the frame on a flat surface, using corner brackets or welding (for metal frames) to join pieces. Ensure all joints are square and reinforce as needed. For wooden frames, pre-drill holes and use galvanized screws to prevent splitting. Once the frame is assembled, apply a coat of weather-resistant paint or stain to protect against the elements.
Attaching the Fabric: Techniques for a Taut Finish
Attaching the fabric to the frame requires careful attention to achieve a taut, professional look. Lay the fabric over the frame, ensuring there’s enough excess to wrap around the frame edges and staple or screw into place. Start from the center of each side and work outward, pulling the fabric taut as you go. For added security and a clean finish, install a strip of weatherstripping along the frame before attaching the fabric. Consider adding grommets along the edges to thread rope through for additional support and tension adjustment.
Finishing Touches: Enhancing Style and Functionality
Personalize your awning with finishing touches that elevate both style and usability. Install retractable arms if you opted for a retractable design, following manufacturer instructions carefully. Add decorative trim or fringe to the fabric edges for a touch of whimsy. For evening gatherings, integrate LED strip lighting under the awning frame to create ambient illumination. Consider installing a motorized system for effortless retraction and extension, or add a wind sensor for automatic retraction during gusty conditions.
Maintenance and Longevity: Preserving Your Handiwork
To ensure your DIY awning stands the test of time, routine maintenance is key. Regularly inspect the frame for signs of wear, rust, or damage, addressing issues promptly. Clean the fabric according to the manufacturer’s guidelines, typically involving mild soap and water or specialized cleaning solutions for stubborn stains. During off-seasons or periods of extreme weather, consider removing and storing the fabric to prolong its lifespan. Proper care not only maintains aesthetics but also ensures your awning remains a reliable source of shade for years to come.
Enhancing Durability with Protective Coatings
To further protect your DIY awning from the elements, consider applying a protective coating to the fabric. There are various types of coatings available, such as water-resistant and UV-resistant treatments, which can significantly enhance the fabric’s durability and resistance to fading. These coatings can be especially beneficial if your awning is exposed to frequent sunlight or heavy rain. Always choose a product that is compatible with your specific fabric type and apply it following the manufacturer’s instructions for best results.
Seasonal Adjustments for Optimal Performance
As the seasons change, so do the angles of the sun and weather patterns. To maintain optimal shade and protection throughout the year, consider making minor adjustments to your awning. In summer, you may want to angle the awning to block direct sunlight more effectively, while in cooler months, adjusting it to allow more light can help warm up outdoor spaces. This might involve simple tilting mechanisms or more advanced adjustments if you’ve installed a motorized system.

Conclusion: Crafting a Personal Haven Under the Sun
By undertaking a DIY awning frame project, you’re not just adding a practical element to your outdoor space; you’re infusing it with personality and creativity. Whether you opt for a classic fixed structure or a more dynamic retractable design, the process from planning to execution fosters a sense of accomplishment and deepens your connection to your home. With careful consideration in material selection, meticulous planning, and thoughtful finishing touches, your handmade awning will transform your outdoor living area into a shaded retreat that reflects your unique style and provides respite from the sun’s warm embrace.